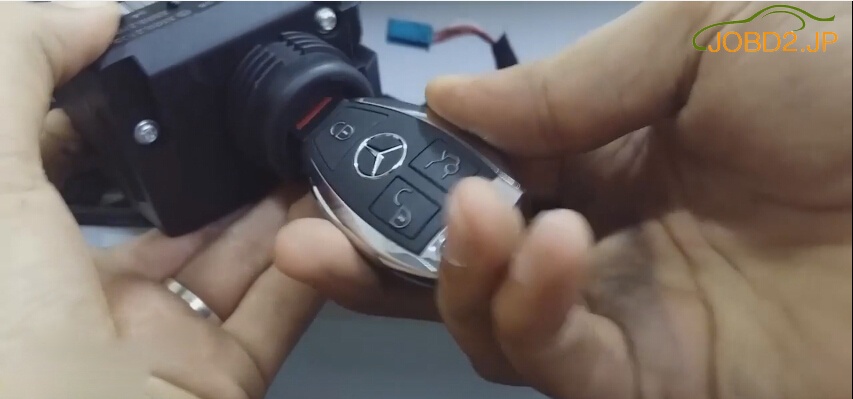
IRを介してMercedes W203のパスワードを読み取り、VVDI MB BGAツールを使用してMercedes W203キーを書き・読みます。
ステップバイステップ手順:
これは、すべての鍵が失われたFacelift W203、W209、W211にも適用されます。
ステップ1:IR経由でパスワードを読む
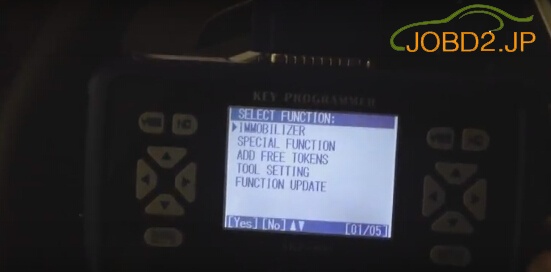
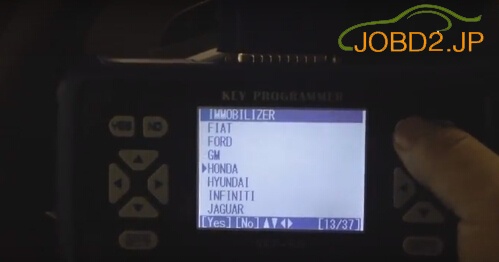
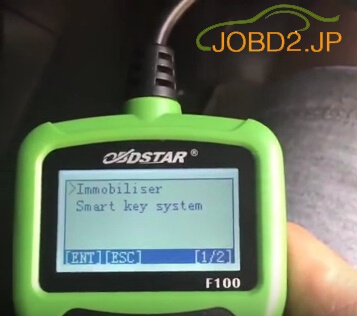
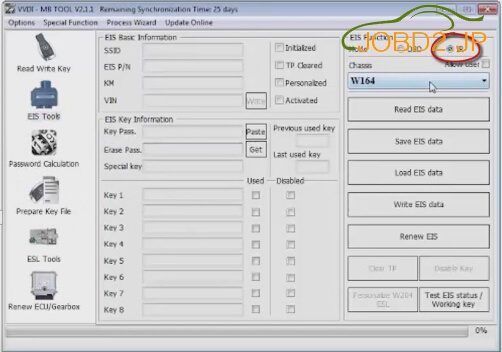
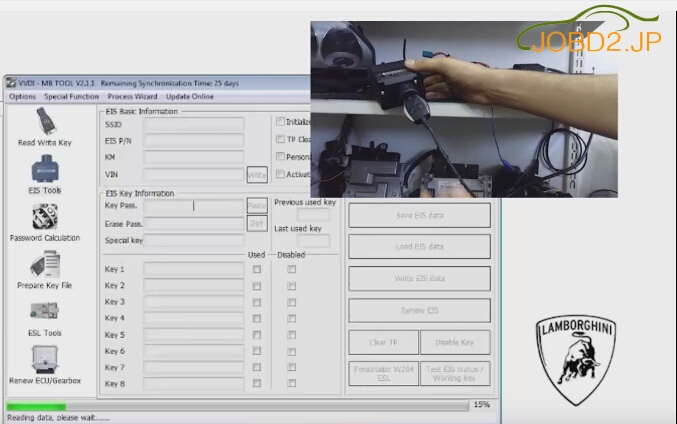
VVDI MBツール(例えば:v2.1.1)を開き、[EISツール]を選択して[IR]をオンにします。
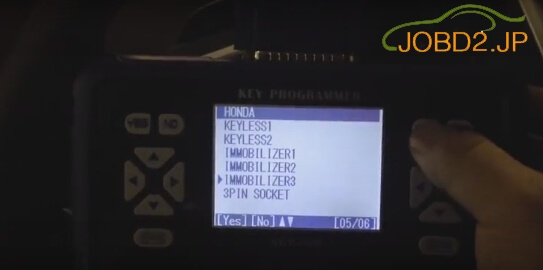
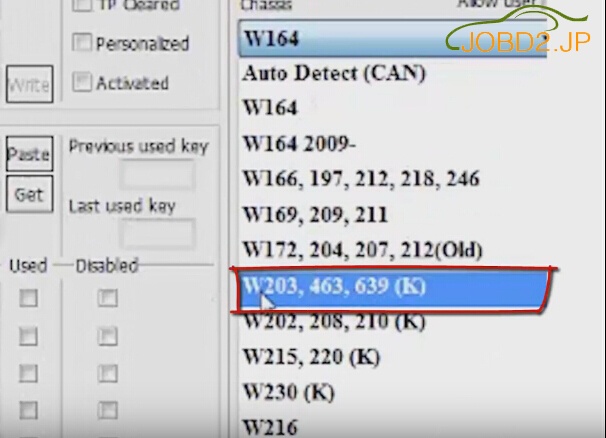
"w203、463、639(k)"を選択します。
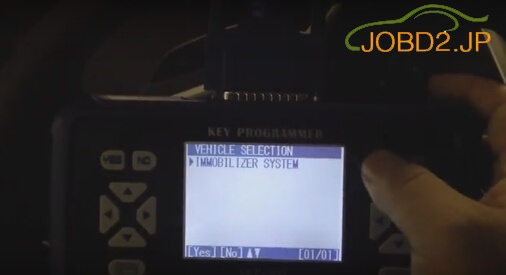
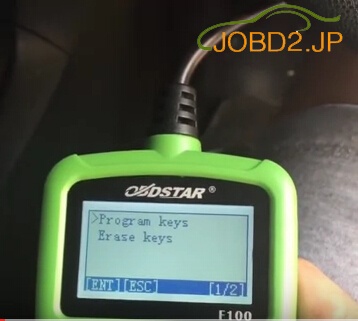
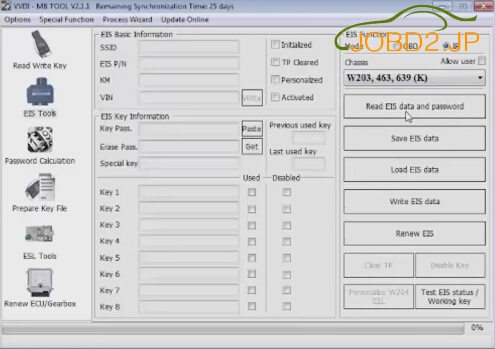
[EISデータとパスワードを読む]をクリックします。
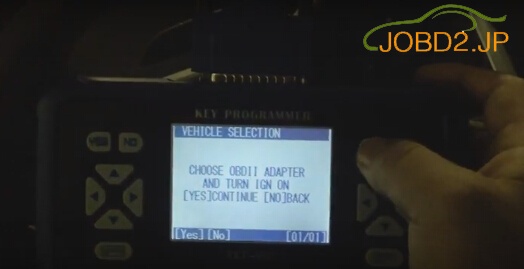
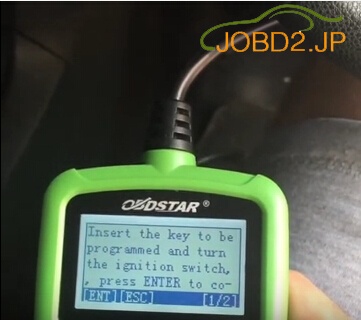
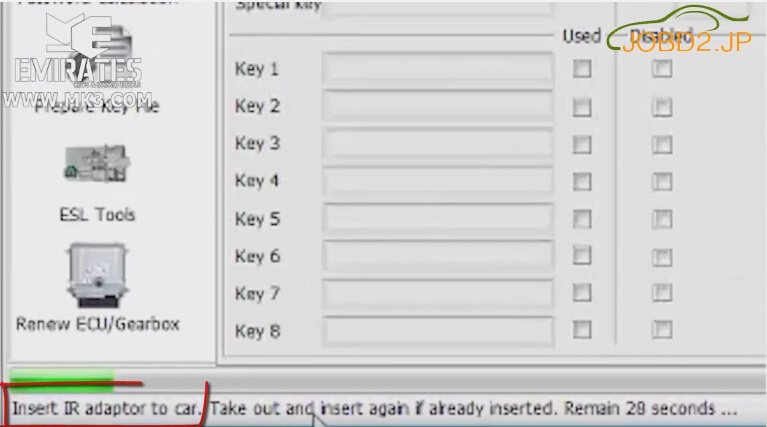
車にIRアダプタを挿入します。 既に挿入されている場合は取り出してもう一度挿入します。 28秒のまま。
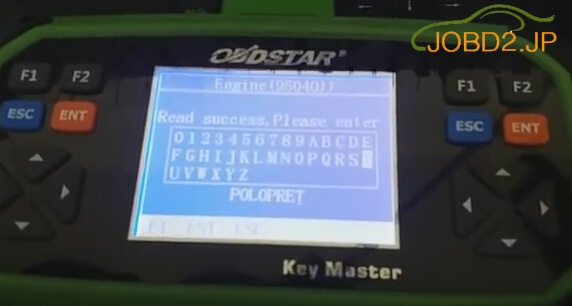
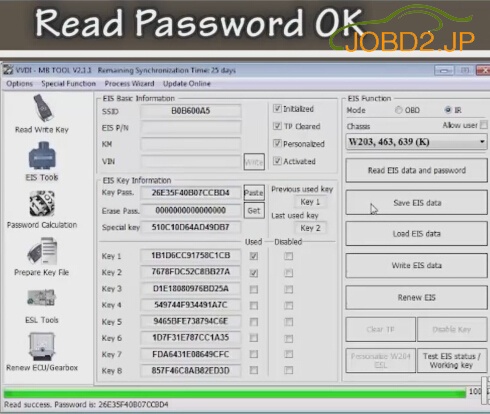
一番下のメッセージ「データの読み込み成功:EISは正常です」を取得します。
ウィンドウメッセージ「あなたはIR経由でパスワードを読もうとしますか?IRを介してパスワードを読むのは約1〜4分必要です」。 [はい]をクリックします。

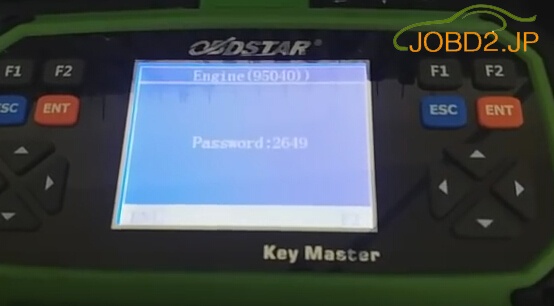
「読み込み成功、パスワードはXXXX」というプロンプトが表示されます。「キーパス」の後に空欄にそれを入力してください。

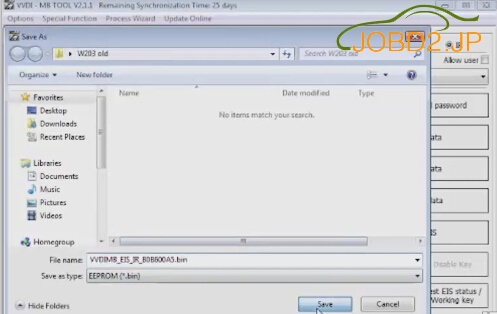
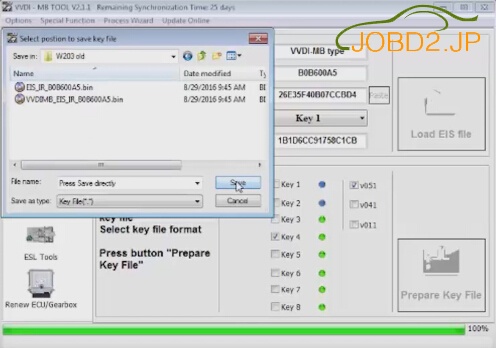
ステップ2:EISデータを保存する
「EISデータを保存」をクリックし、「W203古い」を選択し、ファイル名とタイプがデフォルトとして設定されて、「保存」をクリックします。
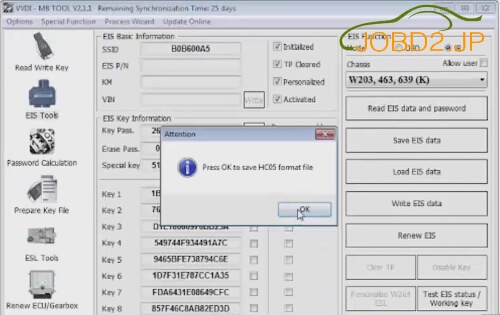
OKを押してhc05形式のファイルを保存します。
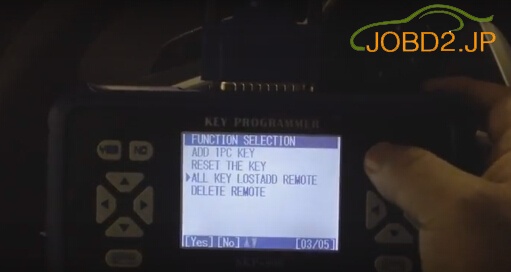
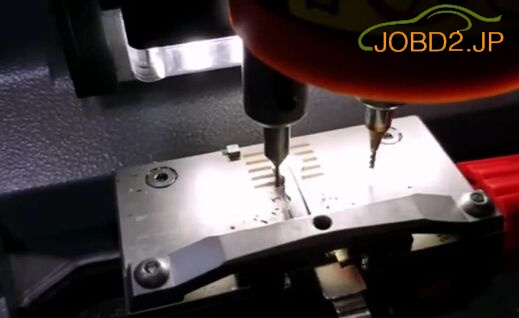
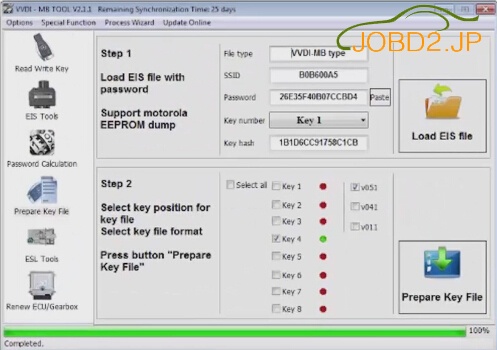
ステップ3:キーファイルを準備する
キーファイルの準備」をクリックします。
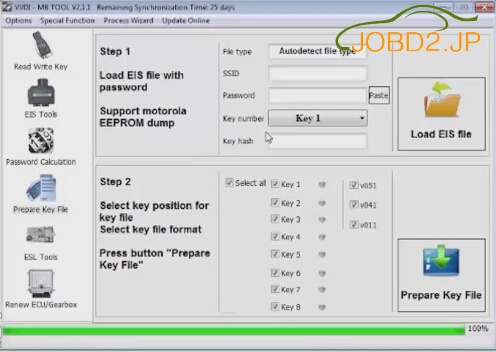
"Load EIS file"をクリックして、hc05フォーマットファイルをロードします。
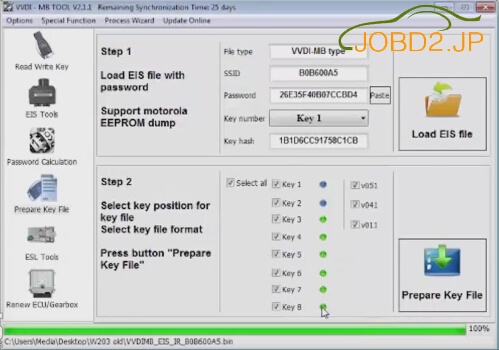
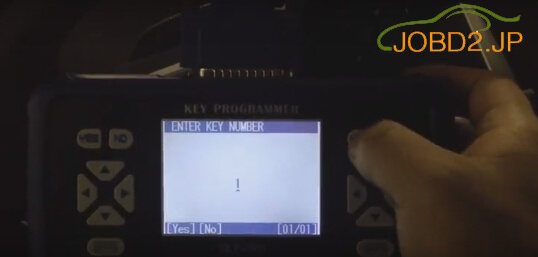
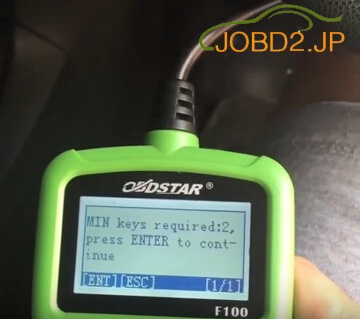
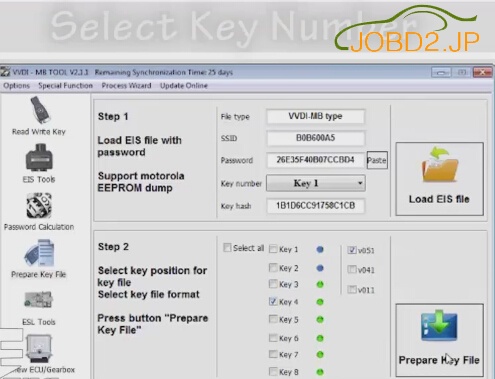
キー番号を選択し、「キーファイルの準備」をクリックします。
小さな黒とクロムのキーをプログラムするにはV51を選択します。
‐古いモトローラ2MHZが V41を選択
‐古いMotorola 4MHZがV11を選択
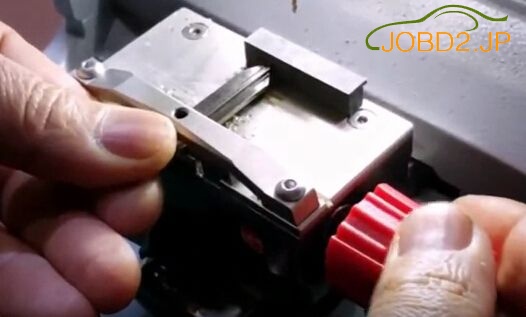
ステップ4:書き込みキーを読み込む
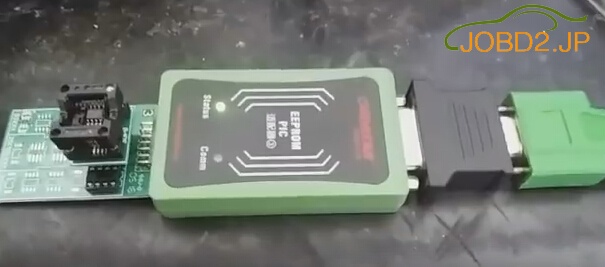
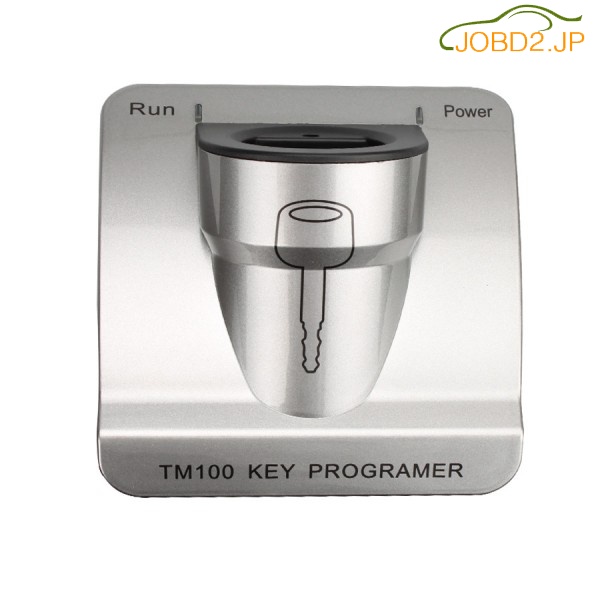
"Read Write key"をクリックし、MB BGAツールスロットにキーを挿入します。
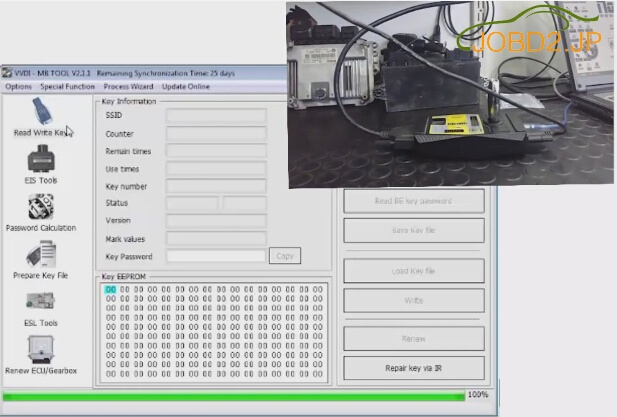
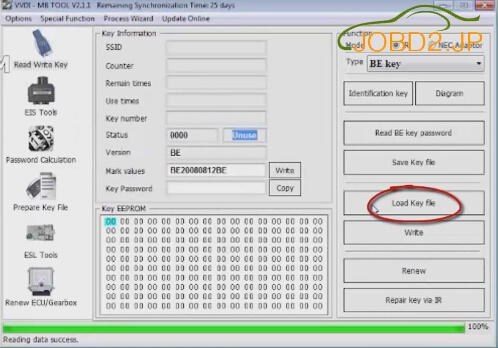
「Identification Key」をクリックして、ステータスが "0000 - 未使用"であることが表示します。「Load key file」をクリックします。
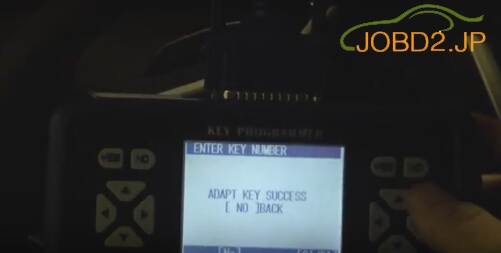
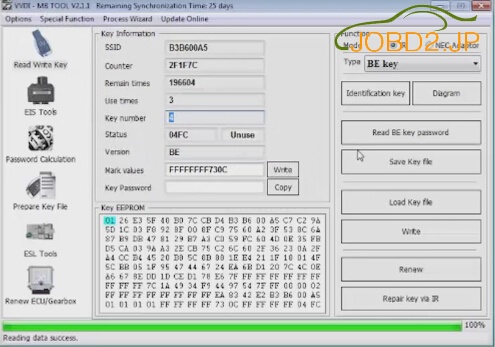
"書き込み"をクリックするとすぐにデータの書き込みが完了します。
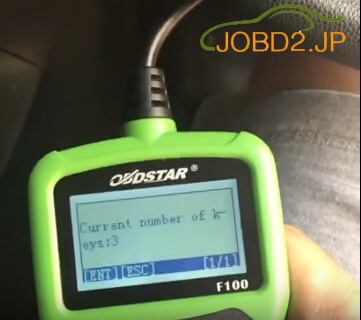
"Identification Key"をクリックすると、キー番号が4でステータスが表示されます。
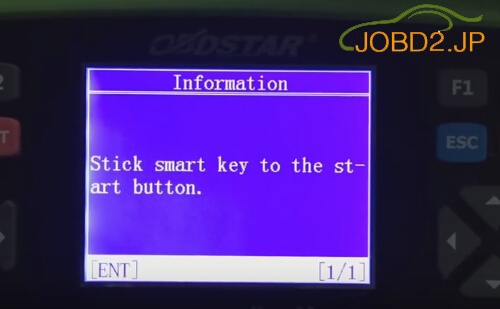
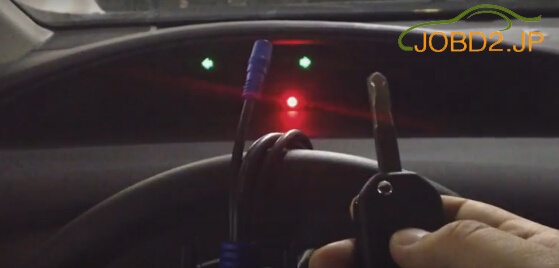
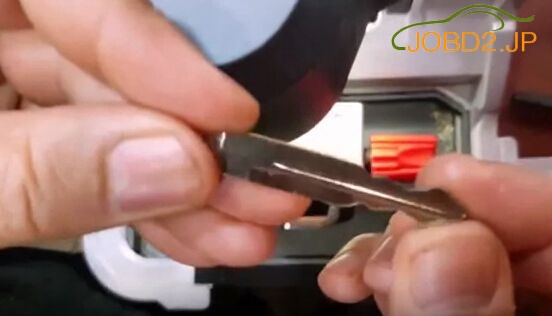
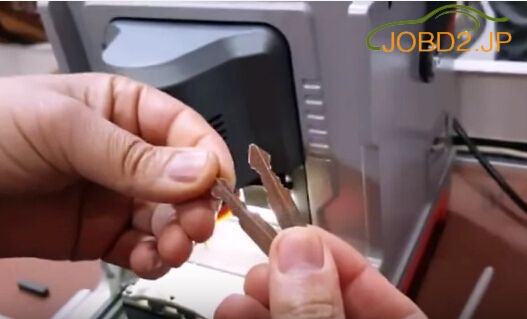
IRアダプターを取り外し、MB BGAツールのスロットからキーを取り出し、新しいキーをeisに挿入し、左に曲がり右に曲げます。
完了!