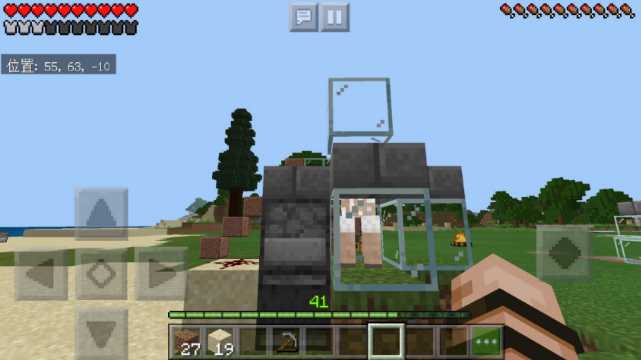
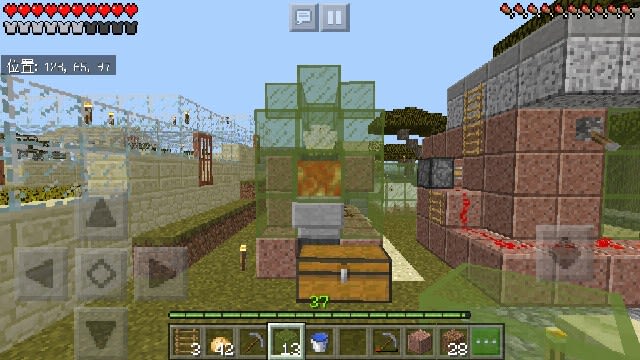
まずは、高さ3の位置にピストンを設置します。
その下のブロックにRSトーチを刺して

トーチの横にブロックとRSパウダー
そのブロックと反対側に、最大12の幅2のブロックを設置
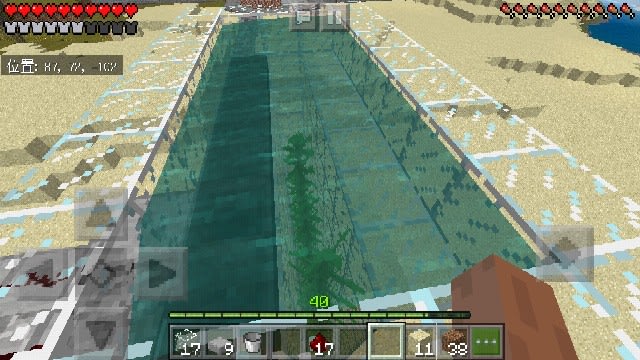
奥側にピストンを設置し、端のピストンの下は最初のピストンと同じ様にRSトーチを刺します。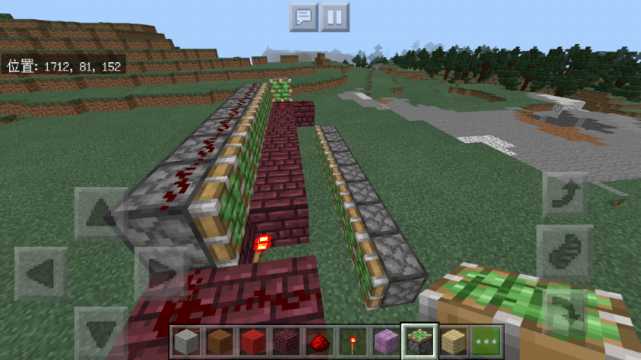
トーチの横にブロックを設置し、そこからピストンにRSパウダーを繋げます。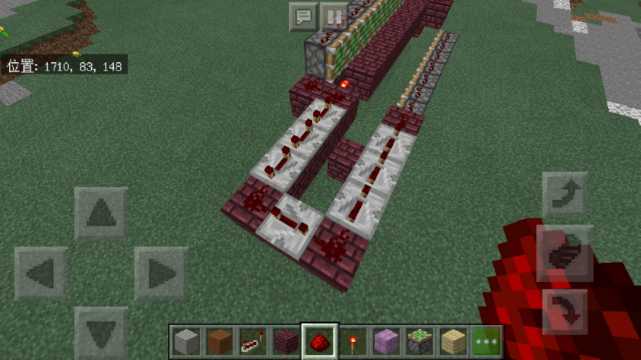
上のトーチの横から遅延最大でリピーターを下段のピストンへ向かって繋げます。
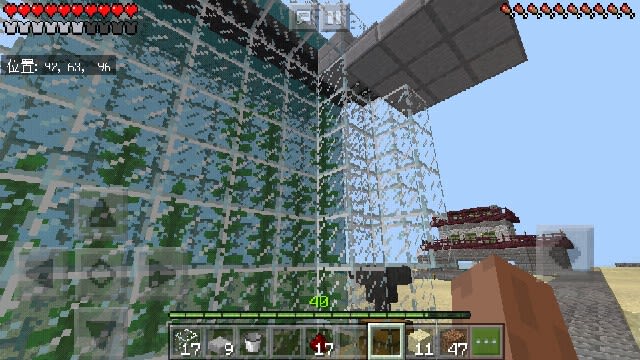
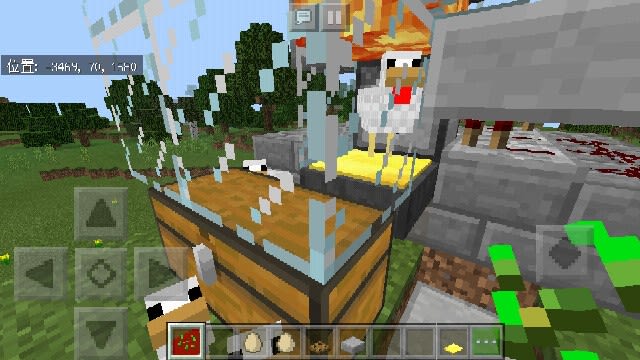
最初のピストン&トーチ横のブロック下(プルプァブロックの上)に水源を起き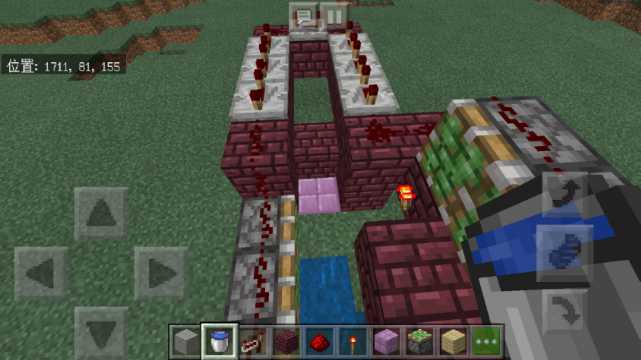
反対側のピストンより外側にも水源を起きます。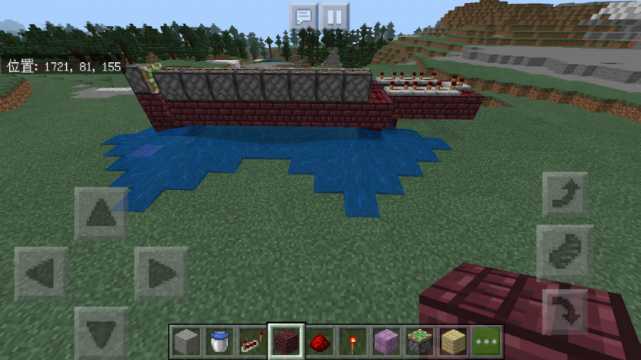
後ろは水が駄々漏れでみっともないので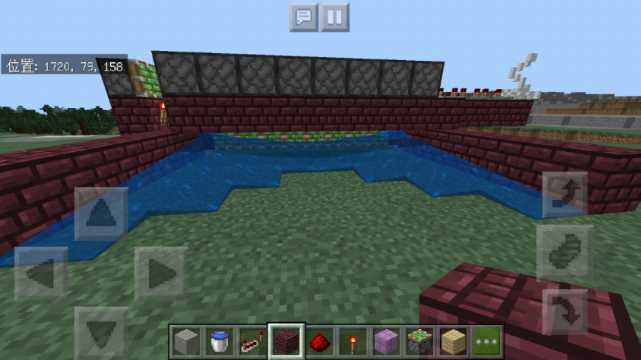
ブロックで水を塞き止めましょう。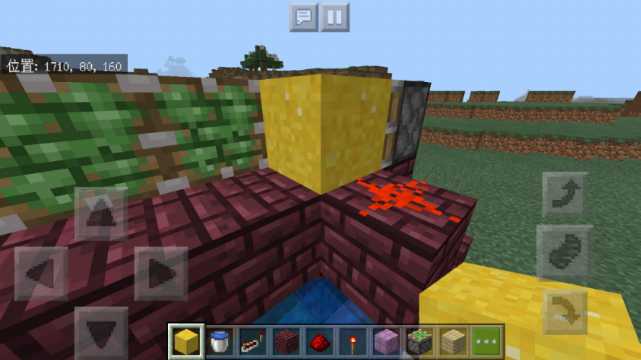
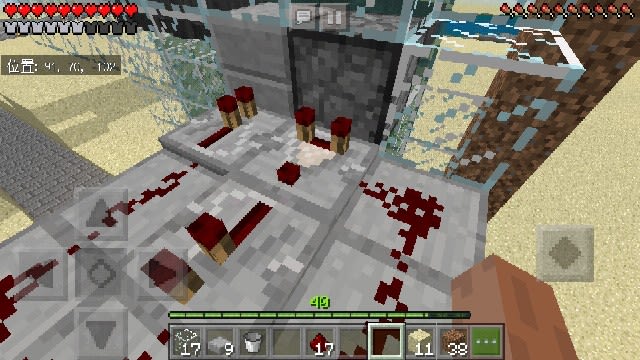
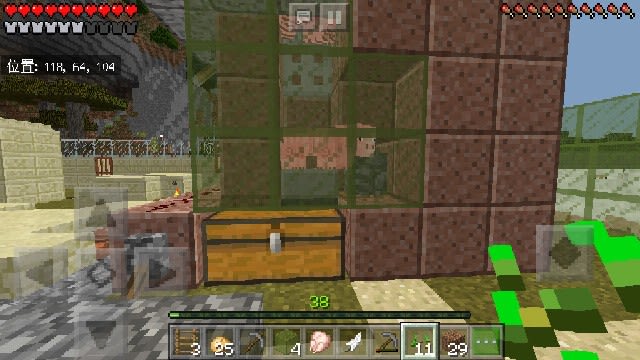
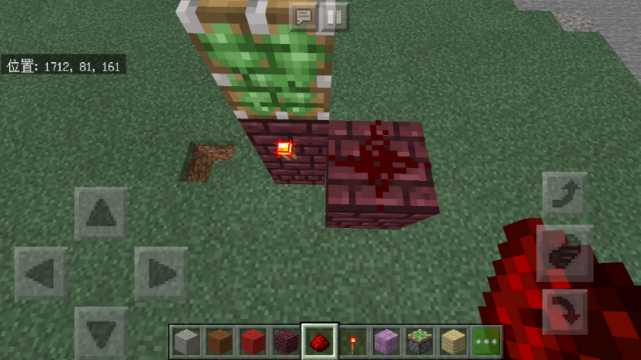
画像のRSパウダーが点灯している右奥にもブロックとRSパウダーを置いたら、ピストンに向かってコンクリートパウダーを置いてみましょう。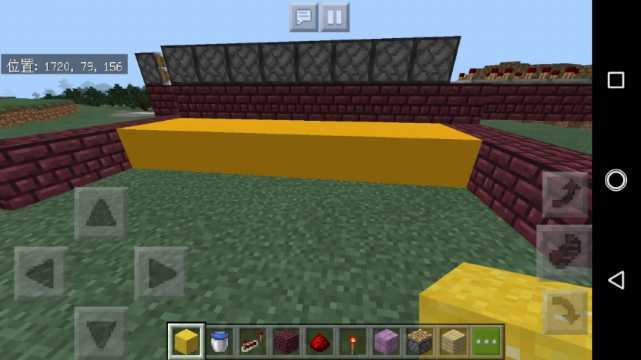
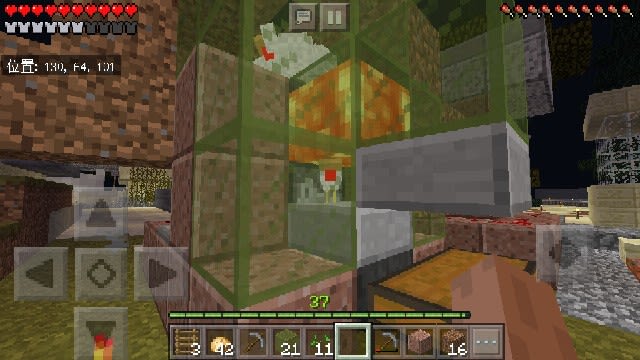
上手く動けば、画像の様にコンクリートが生成されます。
その下のブロックにRSトーチを刺して
トーチの横にブロックとRSパウダー
そのブロックと反対側に、最大12の幅2のブロックを設置
奥側にピストンを設置し、端のピストンの下は最初のピストンと同じ様にRSトーチを刺します。
トーチの横にブロックを設置し、そこからピストンにRSパウダーを繋げます。
更にピストンの反対側1ブロックの位置に内向きでピストンを設置
上のトーチの横から遅延最大でリピーターを下段のピストンへ向かって繋げます。
リピーターは5・6個で大丈夫です。
最初のピストン&トーチ横のブロック下(プルプァブロックの上)に水源を起き
反対側のピストンより外側にも水源を起きます。
後ろは水が駄々漏れでみっともないので
ブロックで水を塞き止めましょう。
画像のRSパウダーが点灯している右奥にもブロックとRSパウダーを置いたら、ピストンに向かってコンクリートパウダーを置いてみましょう。
上手く動けば、画像の様にコンクリートが生成されます。
あとはツルハシで回収するだけ。