


A340Eオートマチックトランスミッション外し

外し部品
バッテリーマイナス
ATレベルゲージ
シフトリンク
スロットルボデー部ATケーブル
エキゾーストフロントパイプ
プロペラシャフト
ミッションマウント
3クロスメンバー
T/Mハーネス
オイルクーラー行きパイプ
スターター
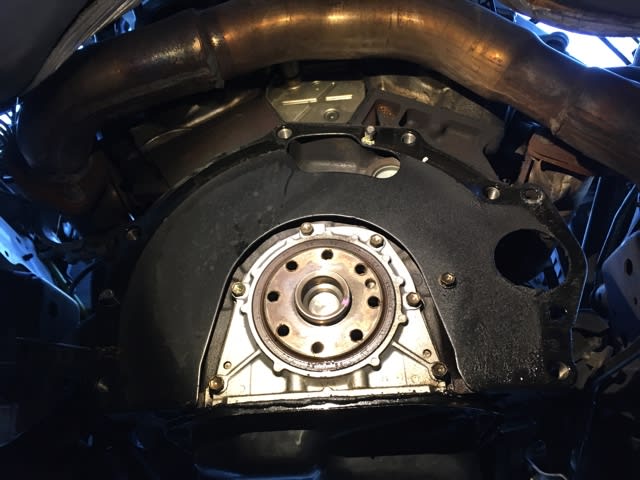
トルコンカバー
トルコンボルト
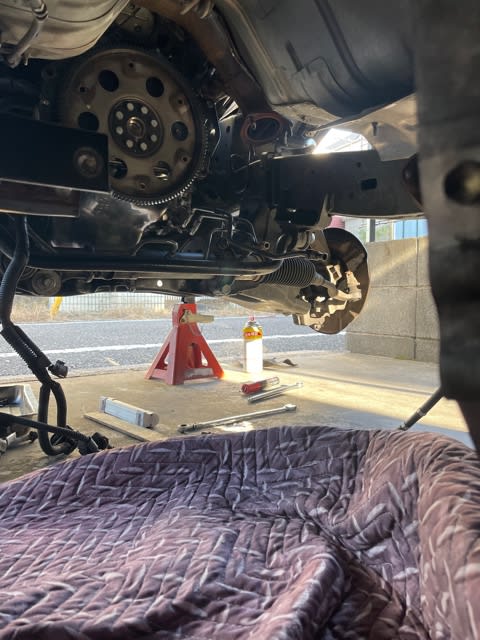
トランスミッション
コレだけ外してやっとATが外れる
本題のリアオイルシール交換

SSTを使ってポロッと引っこ抜いて
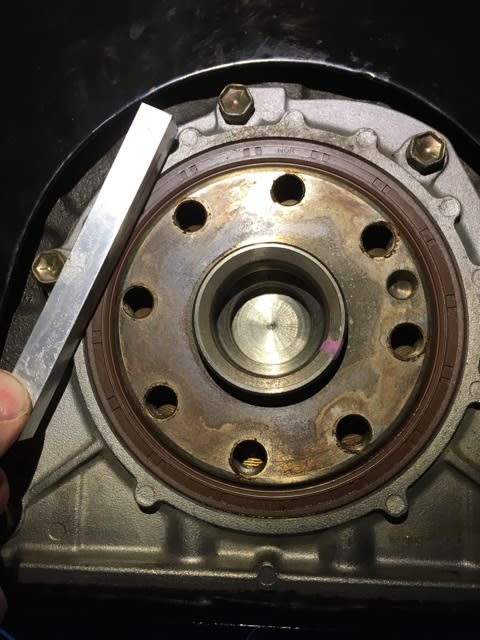
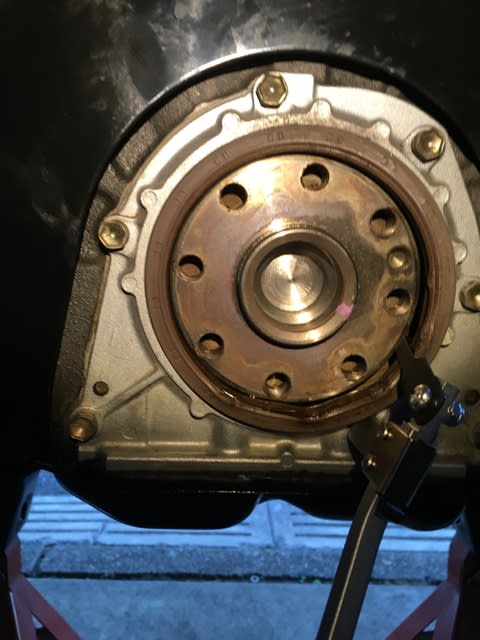
新しいのを挿入~
新しいのを挿入~
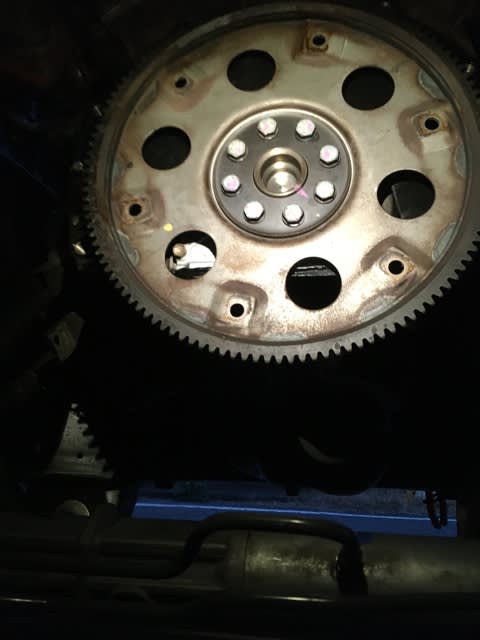
ドライブプレートを元の位置に組み付けて
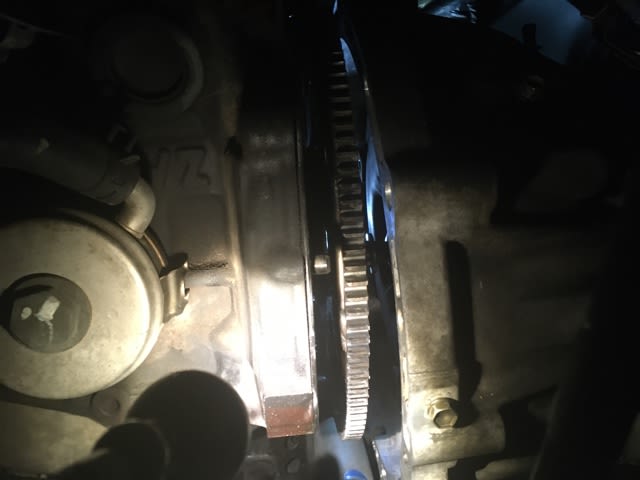
トランスミッションを平行にドッキング
ノックピンがパコっと入ったら締結。
あとは元どおり規定トルクで組み付けて終了~