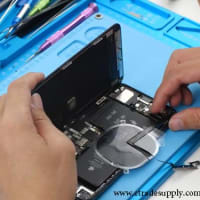
Remove Samll Components
First we remove loudspeaker.
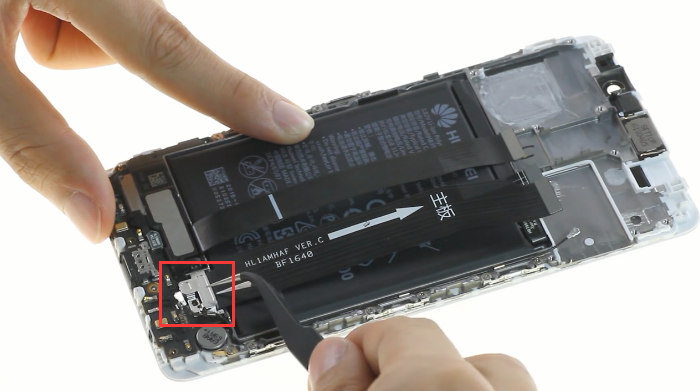
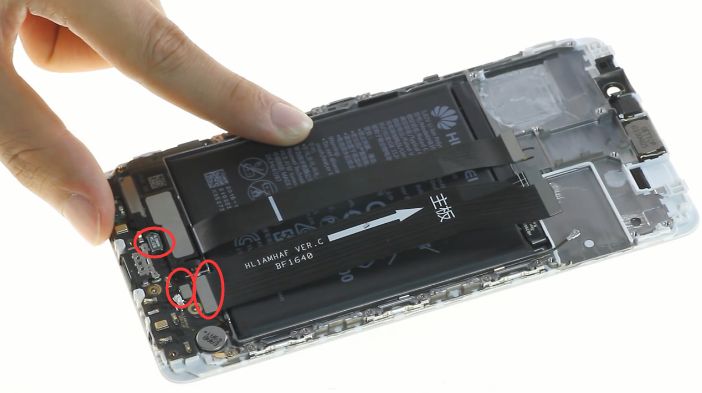
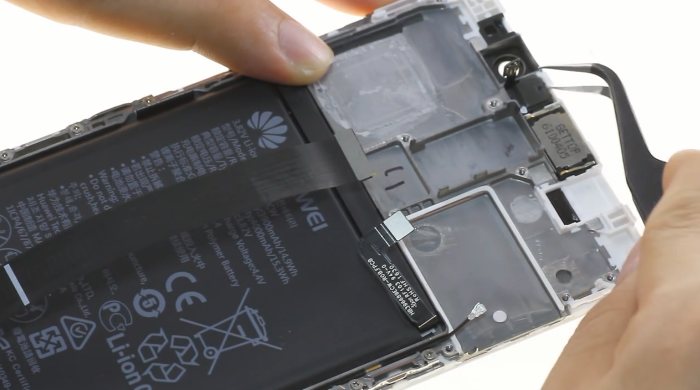
Remove metal cover bracket and release the following connectors and signal cable.
![17.release signal cable and bracket](https://www.etradesupply.com/blog/wp-content/uploads/2017/01/17.release-signal-cable-and-bracket.png)
![18.disconnect flex](https://www.etradesupply.com/blog/wp-content/uploads/2017/01/18.disconnect-flex.png)
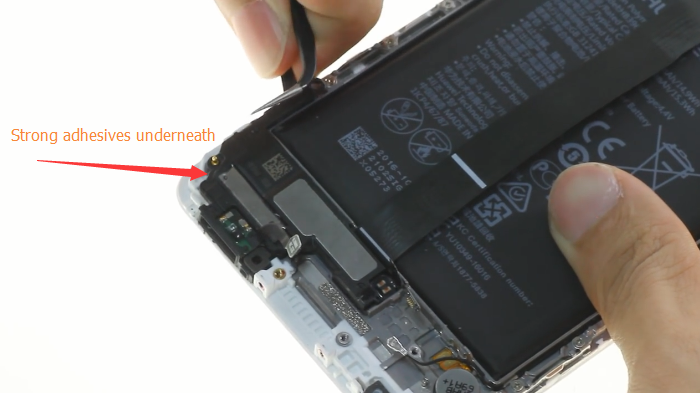
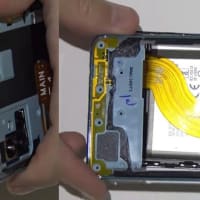
Then we can remove loudspeaker, use a tweezers gently pry up the loudspeaker, there are stickers underneath. Be careful not to scratch the speaker.
![19.remove-loudspeaker](https://www.etradesupply.com/blog/wp-content/uploads/2017/01/19.remove-loudspeaker.png)
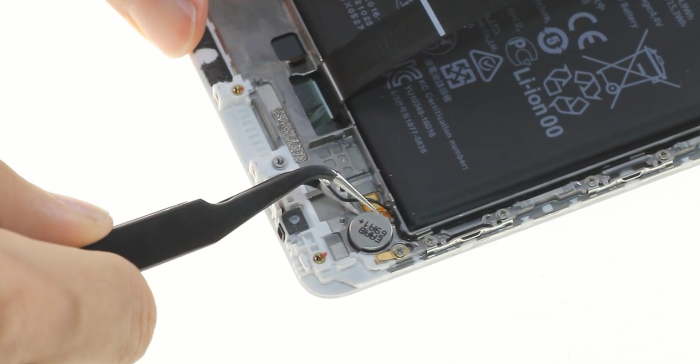
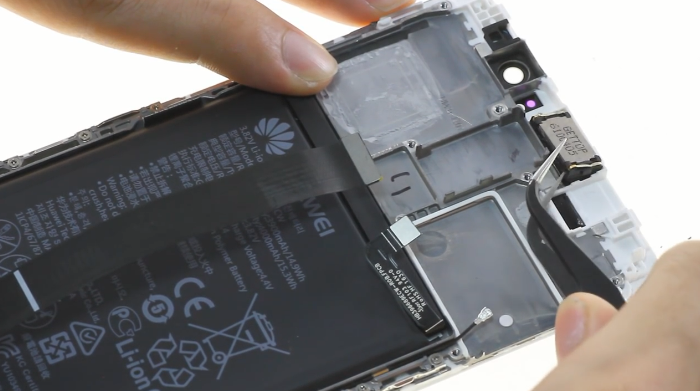
By the way, the small vibrator near by can be removed at the same time.
![20.remove-vibrator](https://www.etradesupply.com/blog/wp-content/uploads/2017/01/20.remove-vibrator.png)
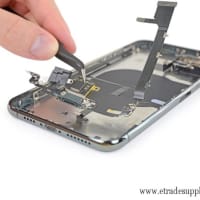
moving to up side, we have light sensor flex cable and ear speaker to be dealed with.
![21.remove-light-sensor](https://www.etradesupply.com/blog/wp-content/uploads/2017/01/21.remove-light-sensor.png)
![22.remove-earspeaker](https://www.etradesupply.com/blog/wp-content/uploads/2017/01/22.remove-earspeaker.png)
※コメント投稿者のブログIDはブログ作成者のみに通知されます