Tools need:
Heat gun/Hair dryer
Metal tool
Tweezers
Pry tool
Tape
Clean cloth
Step 1 Remove the cracked camera lens
Heat the lens with a heat gun to soften the adhesive, and stop heating it when you feel it is too hot by touching with your finger.
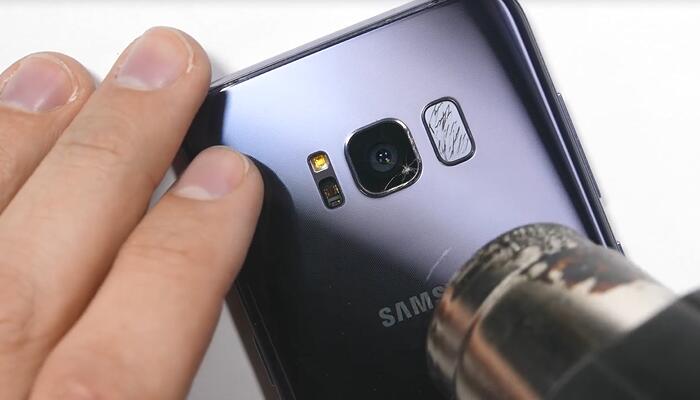
Pry up the glass with a metal tool from the position where the glass is broken.
Remove the other broken glasses with the tweezers. Please heat it again if it is hard to remove. Be sure no glass shards or dust drops into the camera when removing the glass.
Step 2 Clean the Metal rings
Tear off the adhesive tape from the metal rings.
Wipe out the glass shards or adhesive by sticky side of the tape.
Step 3 Fix the camera
Press gently the camera with the pry bar move around to get it fixed.
Step 4 Install the Camera lens
Clean off all the fingerprints and dust on the backside of glass with the cloth.
Tear off the adhesive
Fix the lens in right place with the tweezer.
Press the edges of the lens evenly to make it fixed. Please note don’t use too much pressure or you will damage the glass.
Clean the lens with the cloth
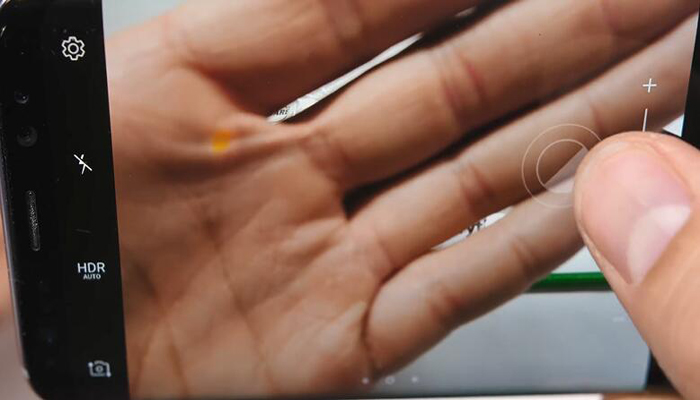
Now the camera can work well.





※コメント投稿者のブログIDはブログ作成者のみに通知されます