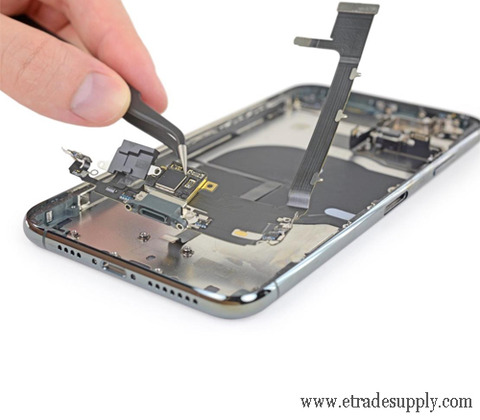
Our iPhone is a complex mobile device. It is so important that we need to be careful and patient on iPhone repair. Here we would like to come up with the five mistakes we would frequently make during the procedure of iPhone repair. We hope these tips will help you become more professional in iPhone repair.
1. Organize the screws well, don’t miss any screw or part
An iPhone contains too many tiny screws inside. Screw types such as pentalobe screws, Phillips screws, and Y-type screws. We need to organize all the screws we loosen off from the phone. Using a repair desk mat will be good for screws and parts organization. You may also use small boxes for holding screws if you don’t have a repair desk mat.
2. Choose a good and complete repair tool kit
The repair tools are necessary for mobile phone repair. Choose a good and complete repair tool kit that will make your repair works faster and more efficient. The whole iPhone repair tools kit should be contained types and sizes of screwdrivers, the opening tool like suction cup, spudger, plastic plectrum, steel prying tool, etc. Each tool functions differently, we should use them well. Do not use any other tool to tear down your phone instead, because it will damage it and the interior parts.
3. Don’t choose the cheap parts for replacement
The second thing you need to care about is don’t use the cheap, low-quality parts for your iPhone replacement. There are so many cheap parts for sale on the net. We suggest you to choose the high-quality, well-known brand replacement to purchase, even though it is expensive. Cheap parts are always bad in quality and also short warranty with follow up after-sale issues. If you don’t want to tear down your iPhone over and over again, just don’t choose the cheap parts for replacement.
4. Be careful on battery adhesive tape removal
The next thing is the iPhone battery adhesive tape removal. The battery adhesive tape is tightly past underneath the battery. It is no easy to pull out for removal. We should be very careful about it because when it is broken during pulling, it will take you lots of time to heat the adhesive tape and pry out the battery. The best way for battery adhesive tape removal is to use tweezers to pull out the side slowly, roll up and pull out the tape.
5. Don’t forget to disconnect the battery cable firstly and connect it back at last
The battery flex cable should be disconnected firstly after the display screen is tear down because it will cause the electric short circuit to the mainboard when we touch the parts with our fingers. We should always remember this when we tear down the phone. Don’t forget to connect the battery cable at the last after connecting all the display screen flex.


