


PostgreSQLのダウンロード及びインストールするには
【環境条件】
Eclipse 4.4(ルナ)
XAMPP 1.8.3
PostgreSQLについては→PostgreSQL 超入門
注意;日本語のpgAdminIIIが使いたい時はPostgreSQL-9.5バージョンを選択しなけれなならない。
最新版は日本語に対応して無い

【PostgreSQLのダウンロード】
1.下記のホームページからPostgreSQLをダウンロードする
→https://www.postgresql.org/

2.「Download」メニューをクリック

3.「Windows」メニューをクリック

4.「Interactive installer by EnterpriseDB」のブロックにある「Download the installer」というリンクをクリック
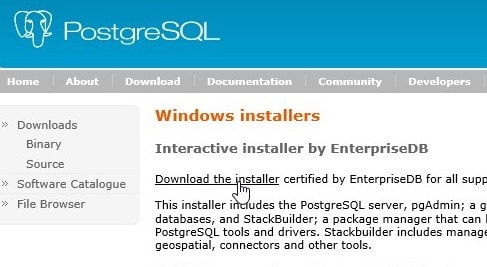
5.「Download PostgreSQL」の画面が表示

PostgreSQLのバージョン:PostgreSQL9.6.3
OSのバージョン:Windows x86-32
を選び、「DONNLOAD NOW」ボタンをクリックすると、開始される
【PostgreSQLのインストール】
1.「postgresql-9.6.3-2-windows.exe」ファイルをダブルクリックすると、インストールが開始され、下記のような画面が表示されたら、「next」をクリックする。

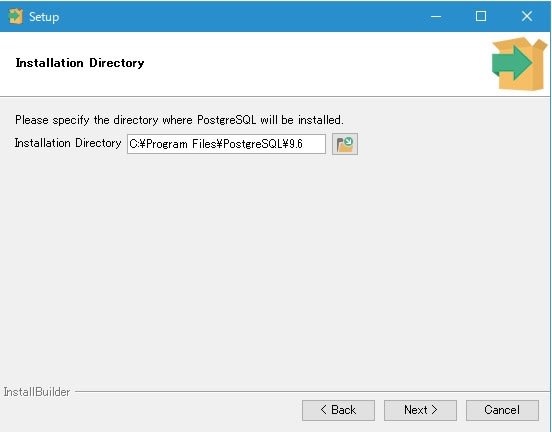
2.インストールディレクトリの設定
そのままでも良いが、任意にしても良い。設定したら、「next」をクリックする。
3.データーディレクトリの設定(データベース用)
そのままでも良いが、任意にしても良い。設定したら、「next」をクリックする。

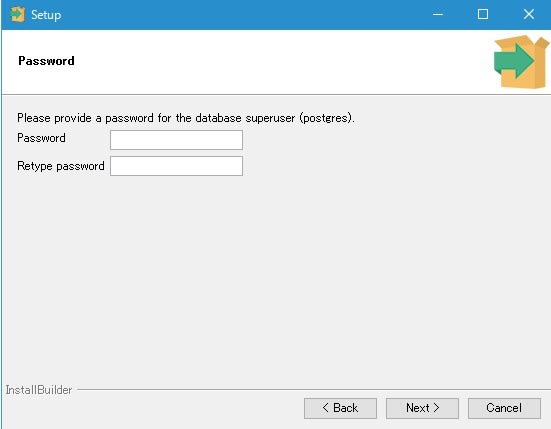
4.スーパーユーザである「postgres」アカウントのパスワードを設定
password:✗✗✗✗
Retype password:同じパスワード
設定したら、「next」をクリックする。
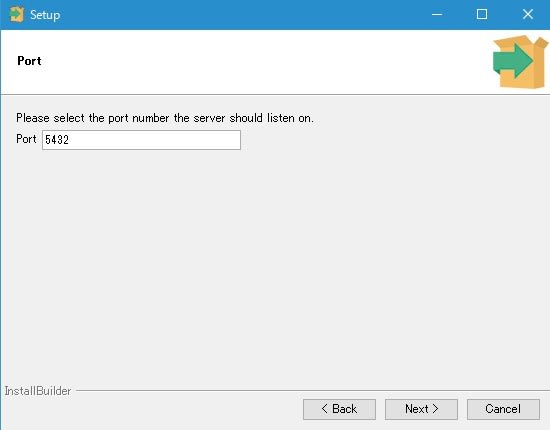
5.ポート設定
デフォルトのままで「next」をクリックする
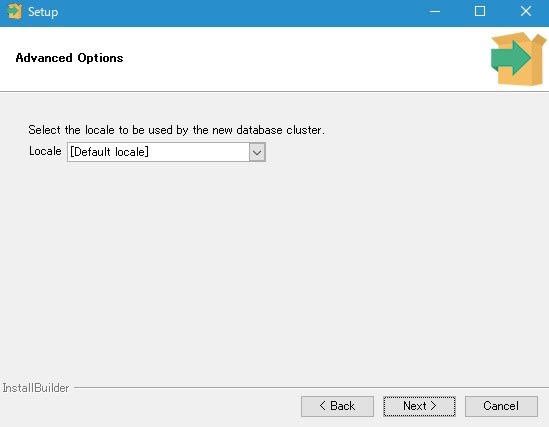
6.アドバンスオプション
デフォルトのままで「next」をクリックする
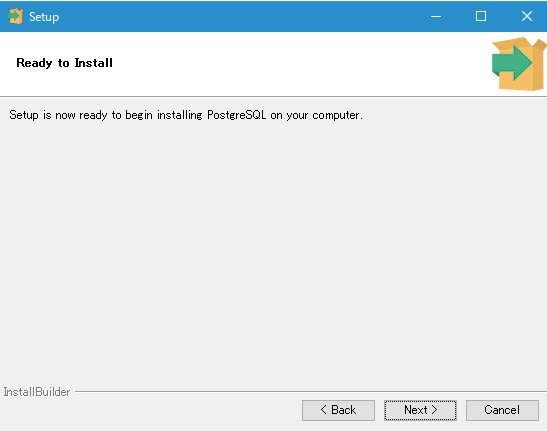
7.最終確認
良ければ、「next」をクリックする
8.完了
Stack Builderと書かれた左側のチェックを外し、「finish」をクリックして終わり

【PATHの設定】
コマンドプロンプトからPostgreSQLを呼び出すためのパス設定をする
・wind10の場合
1)スタートメニューを右クリックしてから表示されたメニューの中の「システム」をクリックし、更に「システム」-「システムの詳細設定」をクリック する。
2)「環境変数」のPATH変数に、「C:¥PostgreSQL¥9.6¥bin」を追加する。つまり、PostgreSQLをインストールしたフォルダーのbinにパスを通す
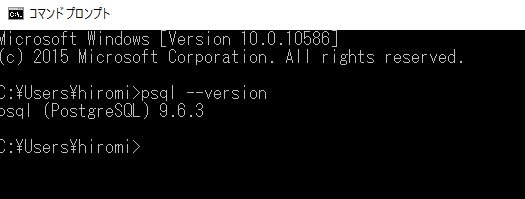
3)動作確認する
「psql --version」と入力して、バージョンが返されれば「OK」
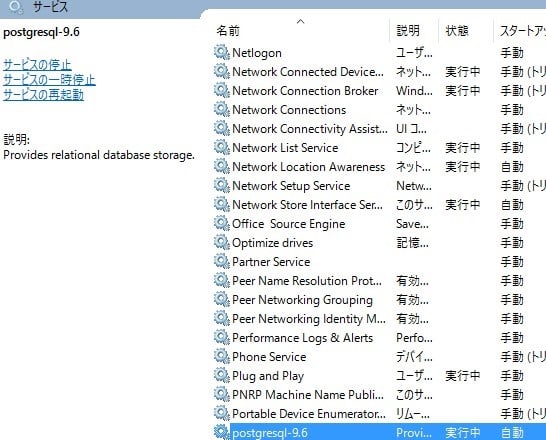
もし、表示されなかった場合は、スタートメニューの中から「コンピュータの管理」をクリックし、左側メニューの中の「サービスとアプリケーション」の中にある「サービス」をクリックする。
「サービス」の中からPostgresql-9.6をクリックして手動で立ち上げるか、自動設定にする
以上


※コメント投稿者のブログIDはブログ作成者のみに通知されます