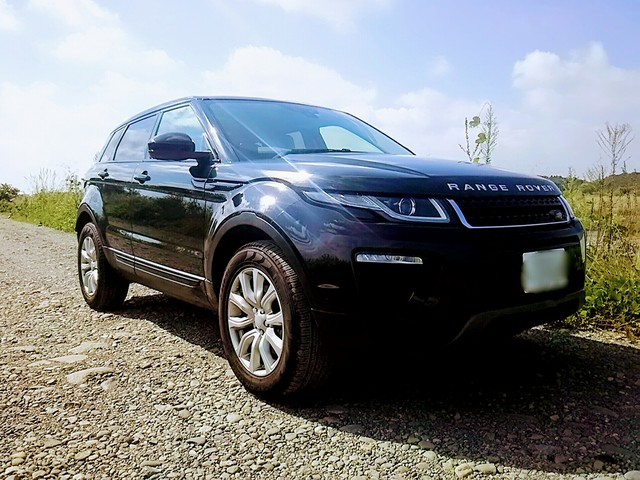
車好きは何かと自分でやりたがる?!


のは私だけ?
昨年まではメンテナンスパックが有ったので車のメンテナンスはお任せでしたが、今年からは実費精算との事なので、遊び半分で消耗材交換します。
まずは第一弾。
エアクリーナーエレメント交換。
コイツです。
付いている所はココなので、プラスドライバーでビスを緩めます。
6ヶ所緩めればOK。
ビスは外れて落ちないような作りなので、頭が十分飛び出せばOK。
カバーを持ち上げれば見えてきました。
ただ外すだけです。
一目瞭然!
手前が外したエレメント。
後は、
新しいエレメントを入れて、逆の手順で戻していくだけです。
では、また次回。
まだ続きますよ。