念願のCrowPiがようやく手元に!
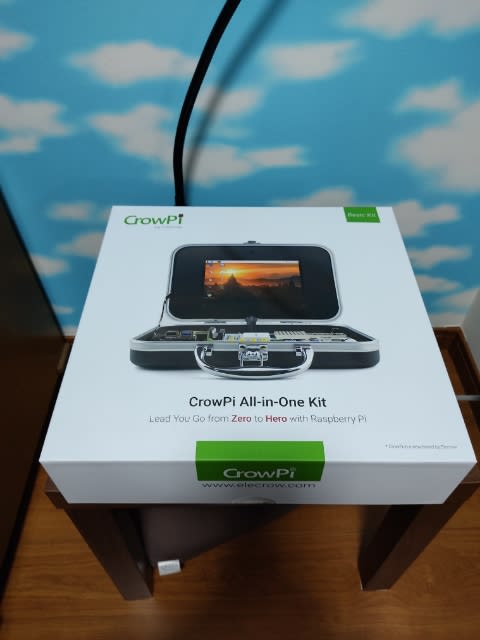
ずっと品切れが続いてて、再入荷のお知らせ来たから即購入😍
上記のサイトで32,000円くらいで購入。
(Amazonだと出品者からの購入となり5万くらいなので避けた方が良い)
今CrowPi2の開発がクラウドファンディングで進んでいるらしいけど、日本じゃ支援できないそうだし、現状で買えるのはコレ☝
箱にはCrowPi All-in-one Kitとあり、
Quick Start GuideにRaspberry Pi Development boardと書かれているように
Raspberry Piを使った開発がオールインワンで楽しめるというもの🥳
とは言うものの何ができるかはまだよく分かっていない😅
何はともあれ早速開封
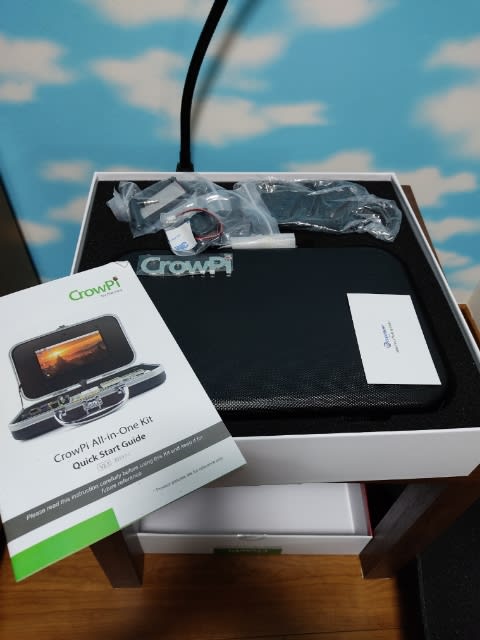
右の名刺みたいなのにメール送ったらたら21個のビデオレッスンを見れるらしい
後で送っておこう
ってか普通にYoutubeにあがってるけど🤔
(↑ちょっと小デブなお兄さんが解説している)
まずこれが開発ボード本体
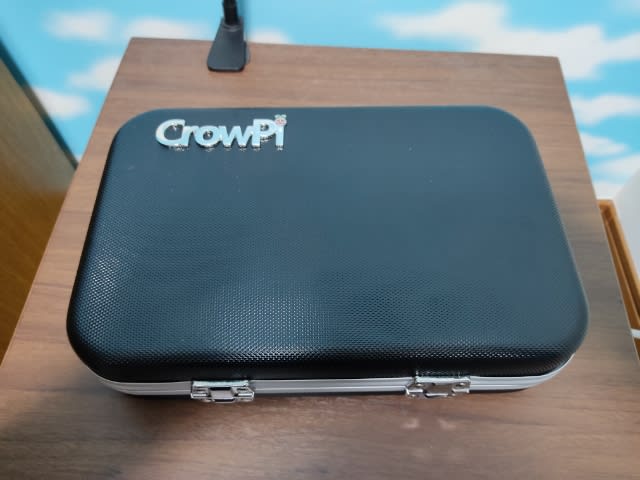
↑閉じた状態と開けた状態↓
上記のサイトでスパイグッズっぽいって書いてあったのも頷ける🤔

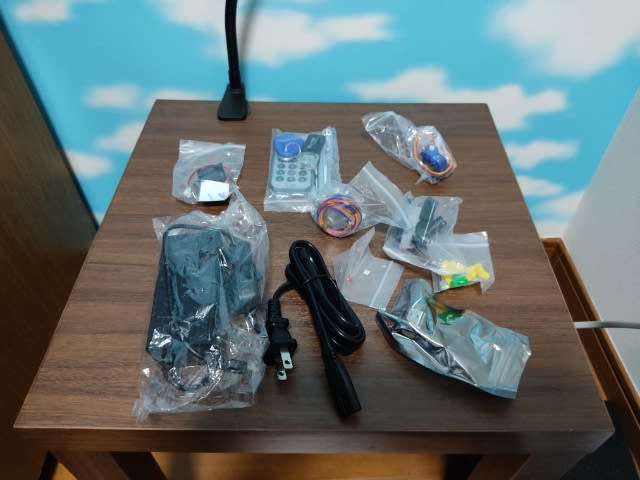
そして電源ケーブルと部品類
マニュアル見ながら初期設定してみるか
ちなみに、Raspberry Pi本体は付いていないので、自分で用意する必要がある。
マニュアルには3か4が使えると書いてあるけど
 接続コネクタはマイクロHDMIになっているから今回は4を使用。
(ただ、ボードには2-3と書いてあるから2もいけるのかな?🤔持ってないけど)
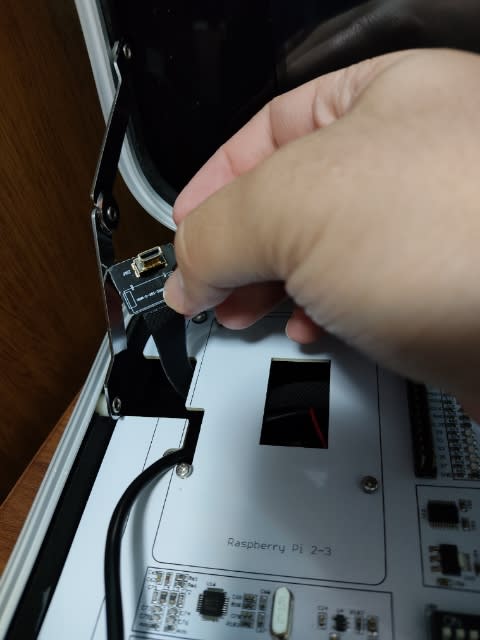
ラズパイ3で組むときは付属のHDMIコネクタに差し替えるっぽい

microSD(32GB)は付属していたので、それを挿入。
OSも既に書き込み済みだったので手間が省けて良かった。
ちなみにラズパイ4でも8GBメモリ版だと付属のSDではOSが起動しなかったので4GB版を使用した(後に8GB版に入れ替え)
ただ8GB用OSを自分で用意すれば問題無く使えそう
とりあえずラズパイ4を仮組みで起動してみるとちゃんとOSが立ち上がり初期設定画面となったので設定をしていく
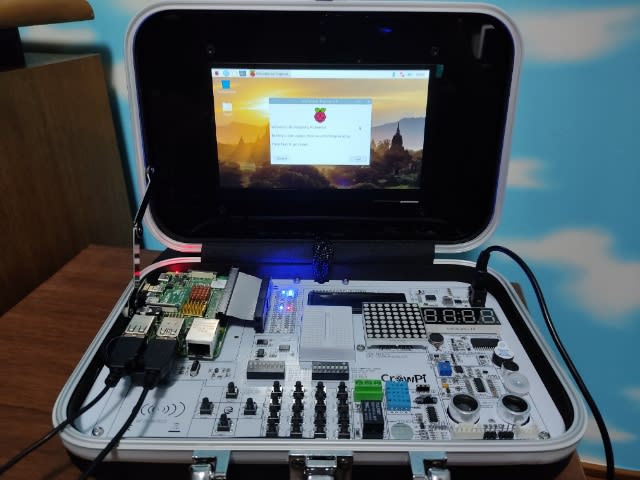
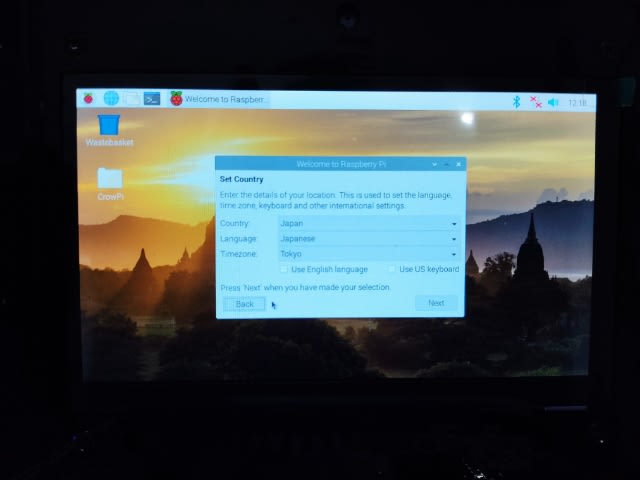
NEXTをクリックすると言語等の設定
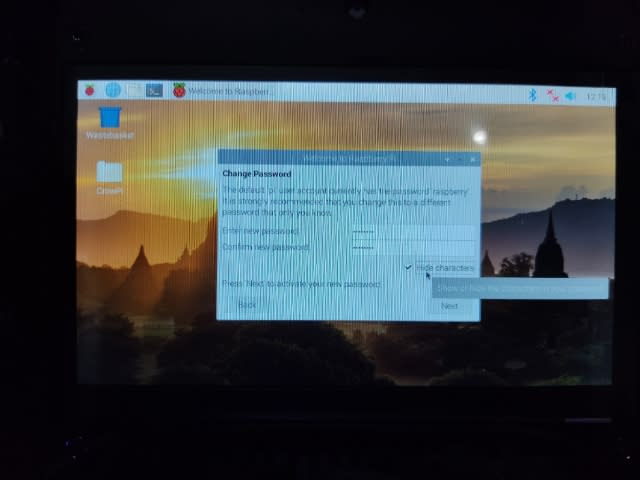
パスワードの設定
WiFiの設定をするとソフトウェアのアップデートが始まったのでしばらく放置
なにやらエラーが出た模様
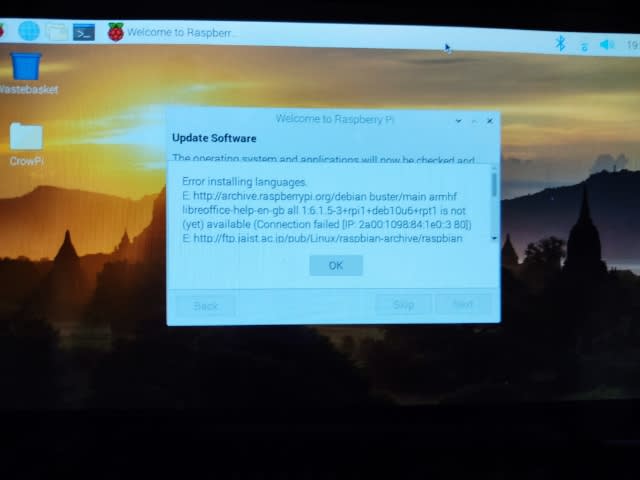
まだ日本語に対応してないのがあるよ
って言う感じのエラーかな?
とりあえず無視してOKボタンをクリック
そして再起動

再起動後、文字が日本語になっているのを確認
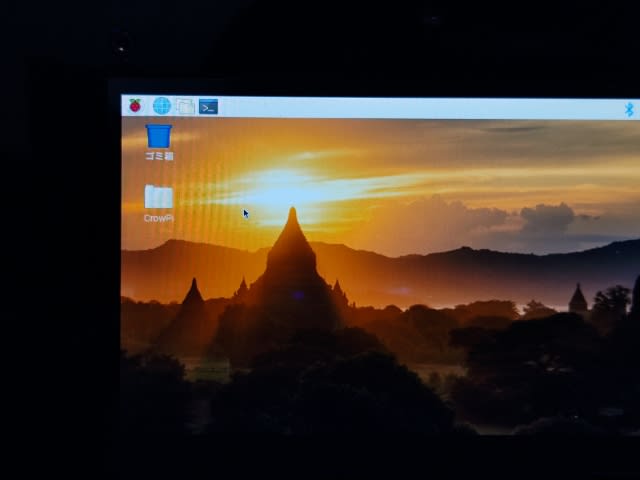
起動が確認できたからネジ止めしていこう
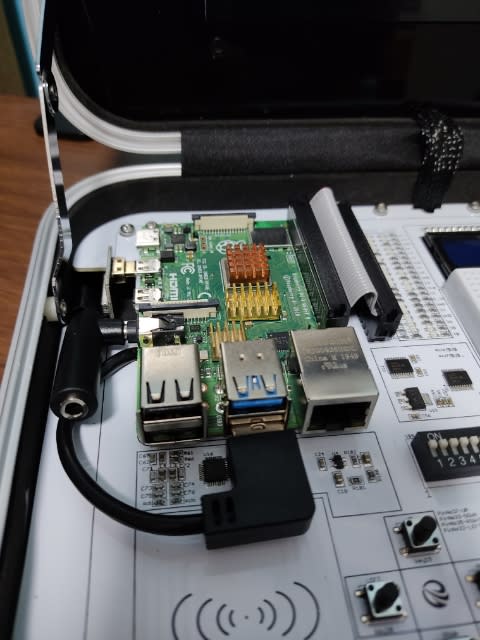
奥のIDEケーブルみたいなの(Rainbow Cable)が固くて結構大変
手前のUSBケーブルもUSB2のソケットに干渉するから1個しか使えないな😥
結局、ラズパイ4の8GB版に入れ替えて、
今回はこんな感じでセッティング↓

SDは以前作成していたものを使って起動した

↑メモリが8GB弱あるのが確認できる
これで問題なさそうだから8GB版でいこう
なお、Quick Start GuideとCrowPi-lessonsのPDFは以下からダウンロードできる
CrowPi-lessonsの21のレッスンは以下の通り
Lesson 1 - Using the Buzzer for alert sound or notification.
Lesson 2 - Get input from button to control the Buzzer.
Lesson 3 - How Relay works and how to control it.
Lesson 4 - Send vibration signal to the vibration sensor.
Lesson 5 - Detect sound using the sound sensor.
Lesson 6 - Detect low or bright light using the Light sensor.
Lesson 7 - Detect room temperature and humidity using the DHT11 sensor.
Lesson 8 - Detect motion using the motion sensor.
Lesson 9 - Getting distance information using the Ultrasonic sensor.
Lesson 10 - Controlling the LCD Display.
Lesson 11 - Read / Write RFID card using the NFC module.
Lesson 12 - Using the step motor and making step movements.
Lesson 13 - Controlling servos motors using the servo interfaces.
Lesson 14 - Controlling the 8x8 Matrix LED.
Lesson 15 - Controlling the 7 Segment Display.
Lesson 16 - Detecting touch using the Touch Sensor.
Lesson 17 - Detecting tilt using the Tilt Sensor.
Lesson 18 - Using and controlling the Button Array.
Lesson 19 - Using and controlling the IR sensor
Lesson 20 - Making your own circuit board using the Bread Board
Lesson 21 - Using the CrowPi Camera
また、次のブログから1つ1つレッスンをこなしていこう。


