


◆Raspberry Pi用高解像度オートフォーカスカメラモジュールを取付ける手順
1.準備
●CPU : Raspberry Pi 4 Model B 4GB
●SD : SDSQXNE-032G-GN6MA [ SanDisk ]
●AC/DC : Google 30W USB-C 充電器
●Case : Raspberry Pi 4アルミニウムケース 冷却ファン付き
●Camera : Raspberry Pi用高解像度オートフォーカスカメラモジュール
●Tripod : SR-RG1 [ SmallRig ]
●CPU : Raspberry Pi 4 Model B 4GB
●SD : SDSQXNE-032G-GN6MA [ SanDisk ]
●AC/DC : Google 30W USB-C 充電器
●Case : Raspberry Pi 4アルミニウムケース 冷却ファン付き
●Camera : Raspberry Pi用高解像度オートフォーカスカメラモジュール
●Tripod : SR-RG1 [ SmallRig ]
●PC OS : Windows 10 Pro 64bit
●SSH Tool : TeraTerm-4.106
2.OSのダウンロード・インストール

ここへアクセスして、
<Download for Windows>をクリック
ダウンロードしたファイルを起動
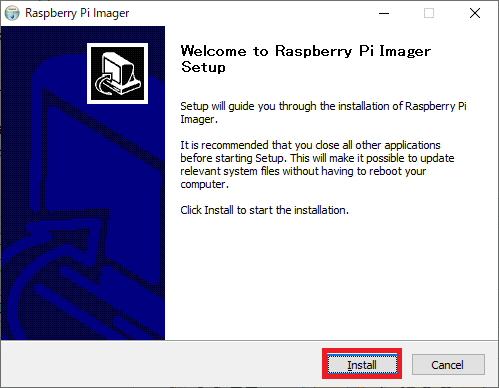
<Install>をクリック

<Finish>をクリック

Raspberry Pi Imager v.1.7.1(2022年3月28日現在)が起動する
<CHOOSE OS>をクリック
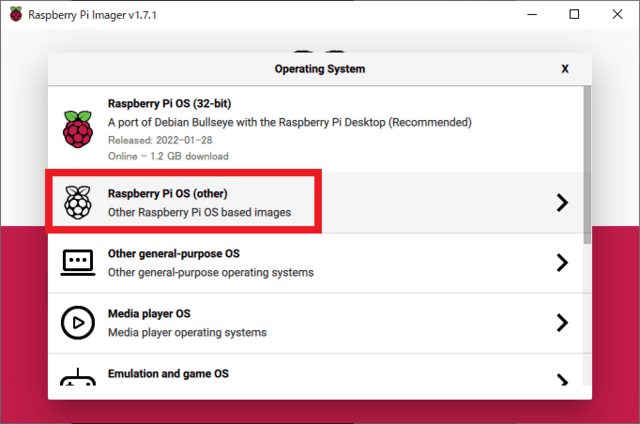
<Raspberry Pi OS(other)>を選択

<Raspberry Pi OS (64-bit)>を選択
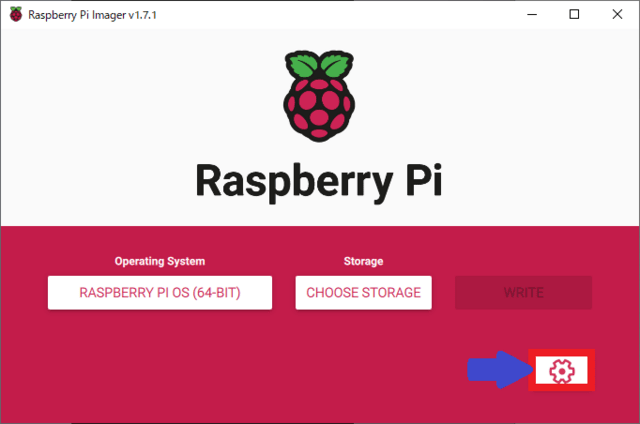
<詳細設定>アイコンをクリック

<SSH>を有効にして、<wifi>設定を自分の環境に合わせる
<SAVE>をクリック
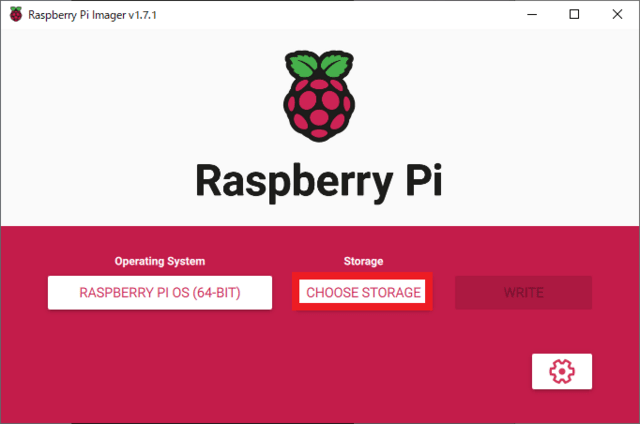
<CHOOSE STORAGE>をクリック
SDカードを選択
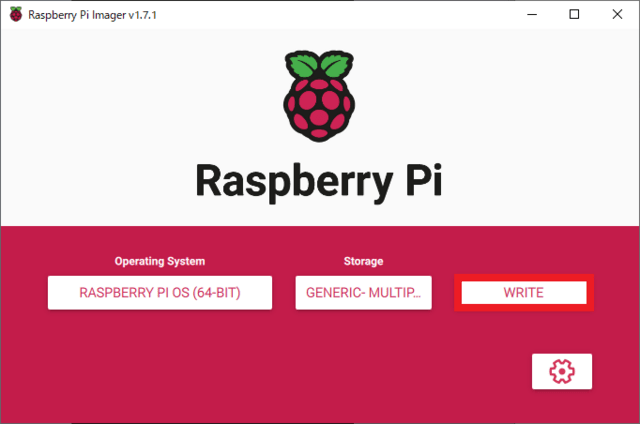
<WRITE>をクリック
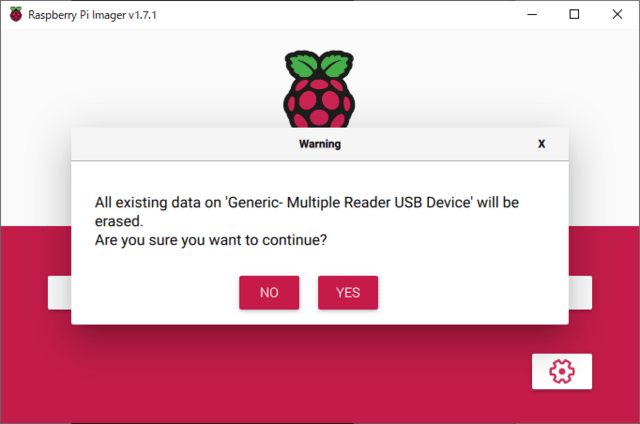
OS書込み終了後、<NO>をクリック
3.オートフォーカスカメラモジュールを組立

オートフォーカスカメラモジュールをRaspberry Pi に接続
カメラの三脚穴を利用して、三脚に取付
SDカードをRaspberry Pi に挿入して、電源投入
4.SSH接続
TeraTerm 4.106を起動

ホスト(T): raspberrypi と入力
<OK>をクリック

<続行(C)>をクリック
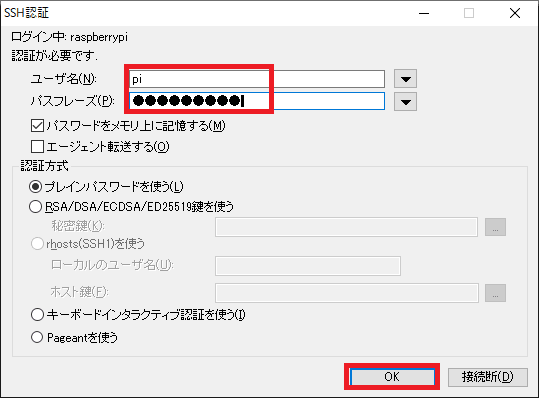
ユーザ名(N): pi を入力
パスフレーズを入力
<OK>をクリック
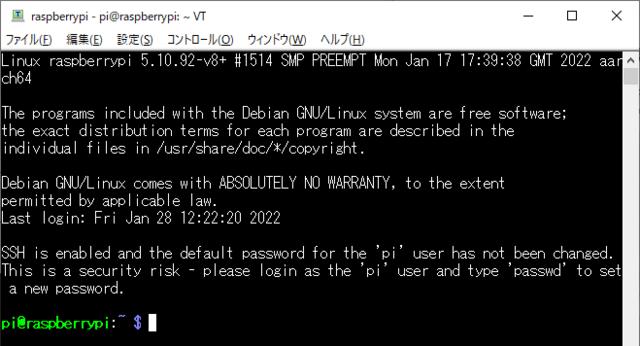
Raspberry Pi と接続完了
4.samba の導入
~$ sudo apt install samba
~$ sudo nano /etc/samba/smb.conf

最終行に下記を追記
[pi]
comment = pi user file space
path = /home/pi
force user = pi
guest ok = no
create mask = 0666
directory mask = 0777
read only = no
comment = pi user file space
path = /home/pi
force user = pi
guest ok = no
create mask = 0666
directory mask = 0777
read only = no
上書き保存して、終了

~$ sudo smbpasswd -a pi
パスワードを2回入力して、設定

~$ sudo systemctl restart smbd
samba の再起動を実行
~$ sudo reboot
Raspberry Pi を再起動
5.libcamera の導入
ここのドキュメントを参照
SSHで下記コマンドを実行
~$ wget -O install_pivariety_pkgs.sh https://github.com/ArduCAM/Arducam-Pivariety-V4L2-Driver/releases/download/install_script/install_pivariety_pkgs.sh
~$ chmod +x install_pivariety_pkgs.sh
~$ ./install_pivariety_pkgs.sh -p libcamera_dev
~$ ./install_pivariety_pkgs.sh -p libcamera_apps
~$ ./install_pivariety_pkgs.sh -p imx519_kernel_driver
~$ git clone https://github.com/ArduCAM/Arducam-Pivariety-V4L2-Driver.git
~$ chmod +x install_pivariety_pkgs.sh
~$ ./install_pivariety_pkgs.sh -p libcamera_dev
~$ ./install_pivariety_pkgs.sh -p libcamera_apps
~$ ./install_pivariety_pkgs.sh -p imx519_kernel_driver
~$ git clone https://github.com/ArduCAM/Arducam-Pivariety-V4L2-Driver.git
~$ sudo reboot
Raspberry Pi が再起動するので、再度 SSH 接続
※Raspberry Pi 4 以外は、いろいろ呪文が必要。ドキュメントを参照
6.テスト撮影
SSHで下記コマンドを実行
~$ libcamera-still -t 5000 -o test.jpg --autofocus
samba が動作しているので
\\raspberrypi\pi\test.jpg ファイルを開いて、確認
4656 x 3496 画素の画像を取得

カメラモジュールから 撮影距離 70mmの画像
これより近いと、ピントが合わない

カメラモジュールから 撮影距離 150mmの画像
オートフォーカス機能が動作していることを確認
─以上─