OpenWrt化WZR-HP-G300NHのLuCIをssl(https)で接続するよう設定する
「システム・ソフトウェア」を選択し、「リストの更新」を行う
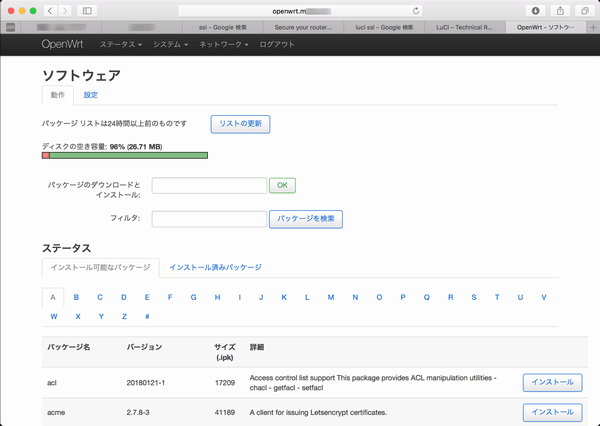
プログレッシブ表示が無いので「リストの更新」状況が判らないが結果表示されるまで待つ。

「フィルタ」に「luci-ssl」設定し検索する

「luci-ssl」をインストールする
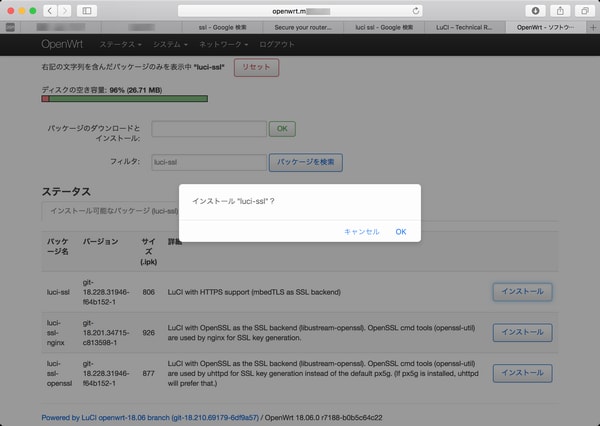
パッケージがダウンロードされ、インストールが行われる

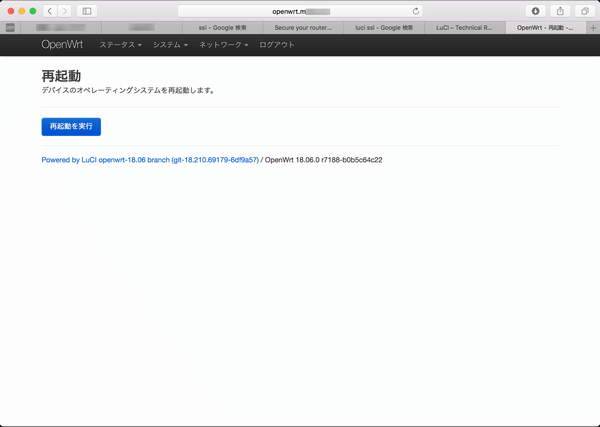
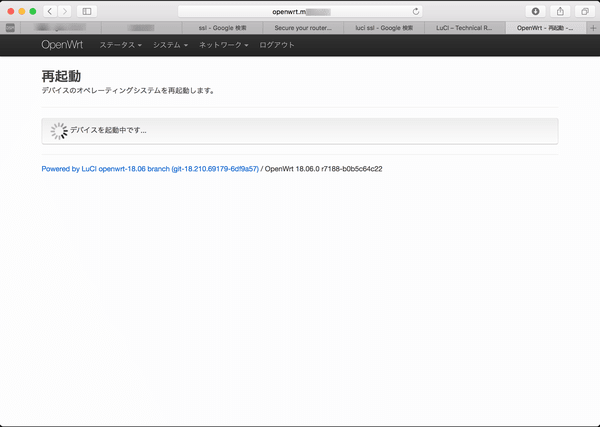
インストールが終了すると「再起動」確認となるので、再起動を実行する
いくら待っても再接続しないので、ほど良い頃合いを見計らって、「http://OpenWrt/index.html」でアクセスする
「luci-sslパッケージ」に含まれる「px5g」により自己署名サーバ証明書が生成され起動されたhttpsにredirectで接続する
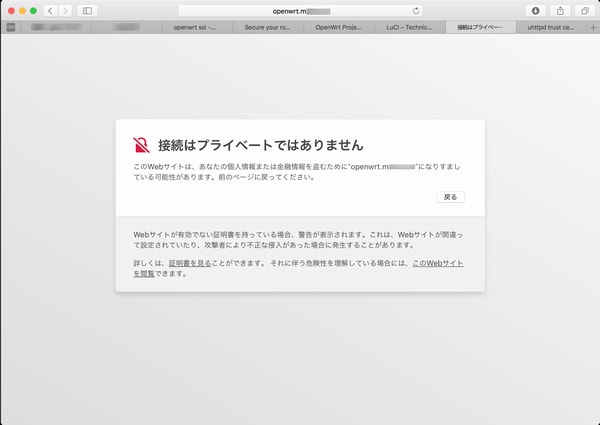
「サーバ証明書の内容」

証明書を信頼して接続を続行する

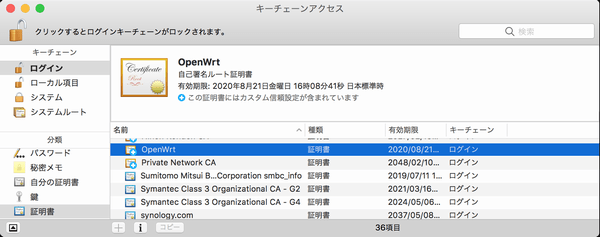
macOSX sierraのキーチェーンに自己署名証明書を登録するための認証を行う

キーチェーンのログインにサーバ証明書が登録される(正規のサーバ証明書設定後は、削除する)
httpsでLuCI起動後、メニューを確認するが、httpsに関連した設定は存在しない。

サーバ証明書をプライベートCAが発行したイントラネット用サーバ証明書に入れ替える方法を調べてみる
・安全性の向上について(WebUI)
・利用できるhttpパッケージ
・uhttpdサーバを使用
・サーバ証明書の設定
「luci-ssl」パッケージは、uhttpdサーバでサーバ証明書(公開鍵)が「/etc/uhttpd.crt」に秘密鍵が「/etc/uhttpd.key」に設定されている。uhttpd.crtもuhttpd.keyもDERフォーマットのバイナリである必要がある。CA発行の中間CA証明書やルート証明書は、結合して「/etc/uhttpd.crt」に設定するよう記載されている。
Let's Encryptの証明書(DST Root CA X3/Let's Encrypt Authority X3/サーバ証明書)のようにtrust pathに中間CAがあるサーバ証明書をOpenWrtに設定させる時の情報
・https configuration for uhttpd
・DER Certificate chain not being walked, FireFox and SSL Labs fail
これらの情報を解釈すると「trust path」の公開鍵を結合したファイルを公開鍵設定する。
結合したファイルは、上記情報によると「結合したファイル」を「バイナリ(der)」変換するように読める。
「openssl x509」のコマンドで結合したファイルをバイナリにすることは出来ない(実行した場合は、ファイル先頭の証明書がDERファイルとなる)。
結合する「trust path」の各証明書は、PEMフォーマット。結合したfullpathファイルもPEMフォーマット。
ファイルの拡張子は、「.pem」でも「.crt」でも良い。
「/etc/config/uhttpd」設定ファイルで「option cert ファイルパス名」で指定されたファイル。
秘密鍵
・暗号化されていない「バイナリ形式(DER)」のファイルである事が必要。
・秘密鍵を「PEM形式」のファイルを指定するとuhttpdが起動しない。
サーバ証明書の「PEM -> DER」変換
server.pem -> server.crt
openssl x509 -in server.pem -outform der -out server.crt
サーバ証明書の「DER -> PEM」変換
server.crt -> server.pem
openssl x509 -inform der -in server.crt -out server.pem
trust pathの結合
cp server.pem intermediate-ca.pem > fullpath.pem
サーバ秘密鍵の「PEM -> DER」変換
openssl rsa -in server-key.pem -outform der -out server.key
証明書ファイルをOpenWrtにコピー
scp fullpath.pem root@192.168.1.1:/etc/uhttpd.crt
scp server.key root@192.168.1.1:/etc/uhttpd.key
OpenWrtのuhttpd設定例
/etc/config/uhttpd
option cert /etc/uhttpd.crt
option key /etc/uhttpd.key
OpenWrtのuhttpd再起動
/etc/init.d/uhttpd restart
OpenWrtがSSLネゴシエーション時に「trust path」設定のサーバ証明書が提示されるか確認する
openssl s_client -connection 192.168.1.1:443 -CAfile rootCA.pem -showcerts -status

「システム・ソフトウェア」を選択し、「リストの更新」を行う
プログレッシブ表示が無いので「リストの更新」状況が判らないが結果表示されるまで待つ。
「フィルタ」に「luci-ssl」設定し検索する
「luci-ssl」をインストールする
パッケージがダウンロードされ、インストールが行われる
インストールが終了すると「再起動」確認となるので、再起動を実行する
いくら待っても再接続しないので、ほど良い頃合いを見計らって、「http://OpenWrt/index.html」でアクセスする
「luci-sslパッケージ」に含まれる「px5g」により自己署名サーバ証明書が生成され起動されたhttpsにredirectで接続する
「サーバ証明書の内容」
証明書を信頼して接続を続行する
macOSX sierraのキーチェーンに自己署名証明書を登録するための認証を行う
キーチェーンのログインにサーバ証明書が登録される(正規のサーバ証明書設定後は、削除する)
httpsでLuCI起動後、メニューを確認するが、httpsに関連した設定は存在しない。
サーバ証明書をプライベートCAが発行したイントラネット用サーバ証明書に入れ替える方法を調べてみる
・安全性の向上について(WebUI)
・利用できるhttpパッケージ
・uhttpdサーバを使用
・サーバ証明書の設定
「luci-ssl」パッケージは、uhttpdサーバでサーバ証明書(公開鍵)が「/etc/uhttpd.crt」に秘密鍵が「/etc/uhttpd.key」に設定されている。uhttpd.crtもuhttpd.keyもDERフォーマットのバイナリである必要がある。CA発行の中間CA証明書やルート証明書は、結合して「/etc/uhttpd.crt」に設定するよう記載されている。
Let's Encryptの証明書(DST Root CA X3/Let's Encrypt Authority X3/サーバ証明書)のようにtrust pathに中間CAがあるサーバ証明書をOpenWrtに設定させる時の情報
・https configuration for uhttpd
・DER Certificate chain not being walked, FireFox and SSL Labs fail
これらの情報を解釈すると「trust path」の公開鍵を結合したファイルを公開鍵設定する。
結合したファイルは、上記情報によると「結合したファイル」を「バイナリ(der)」変換するように読める。
「openssl x509」のコマンドで結合したファイルをバイナリにすることは出来ない(実行した場合は、ファイル先頭の証明書がDERファイルとなる)。
結合する「trust path」の各証明書は、PEMフォーマット。結合したfullpathファイルもPEMフォーマット。
ファイルの拡張子は、「.pem」でも「.crt」でも良い。
「/etc/config/uhttpd」設定ファイルで「option cert ファイルパス名」で指定されたファイル。
秘密鍵
・暗号化されていない「バイナリ形式(DER)」のファイルである事が必要。
・秘密鍵を「PEM形式」のファイルを指定するとuhttpdが起動しない。
サーバ証明書の「PEM -> DER」変換
server.pem -> server.crt
openssl x509 -in server.pem -outform der -out server.crt
サーバ証明書の「DER -> PEM」変換
server.crt -> server.pem
openssl x509 -inform der -in server.crt -out server.pem
trust pathの結合
cp server.pem intermediate-ca.pem > fullpath.pem
サーバ秘密鍵の「PEM -> DER」変換
openssl rsa -in server-key.pem -outform der -out server.key
証明書ファイルをOpenWrtにコピー
scp fullpath.pem root@192.168.1.1:/etc/uhttpd.crt
scp server.key root@192.168.1.1:/etc/uhttpd.key
OpenWrtのuhttpd設定例
/etc/config/uhttpd
option cert /etc/uhttpd.crt
option key /etc/uhttpd.key
OpenWrtのuhttpd再起動
/etc/init.d/uhttpd restart
OpenWrtがSSLネゴシエーション時に「trust path」設定のサーバ証明書が提示されるか確認する
openssl s_client -connection 192.168.1.1:443 -CAfile rootCA.pem -showcerts -status