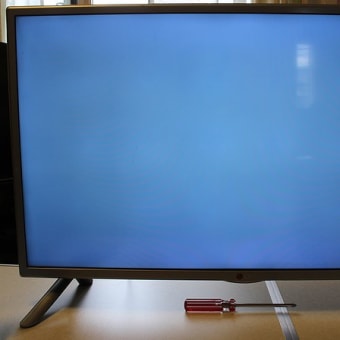
When I moved to Nagano, I bought an LG 32-inch TV, 32LB5810, and some light dots started appearing on the screen. As the days went by, the number of dots increased and it became quite difficult to see.
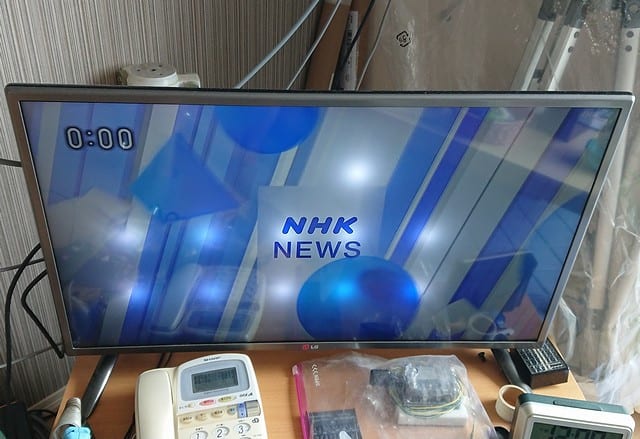
↓更に日が経つと、1か所以外ほぼ全ての光点が出る様になった。

↑As the days went by, more and more dots appeared on the screen.
なにが起こっているか判らないが、取り敢えずバラしてみる。
I don't know what is going on, but I took it apart.
↓赤丸部の見えるネジをすべて外す。

↑Remove all the visible screws in the red circle.
プラボディの隙間にへらを突っ込んで裏ブタを外す。
Remove the back cover by inserting a spatula into the gap.
↓中の様子。左が電源基板。右がメイン基板。シールドの下にT-CON基板。
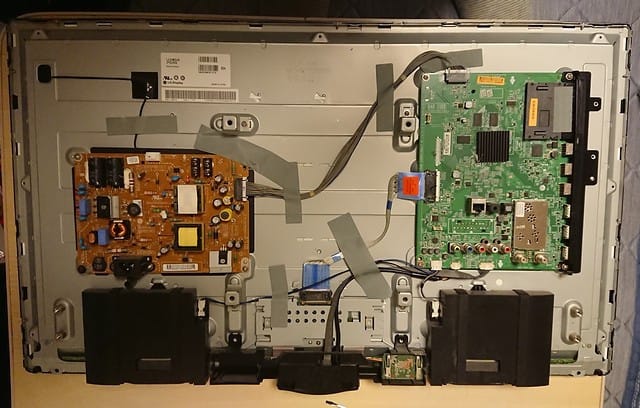
↑Inside view. Left is the power supply board. The main board is on the right. T-CON board under the shield.
↓リモコン受光部を持ち上げて外す。
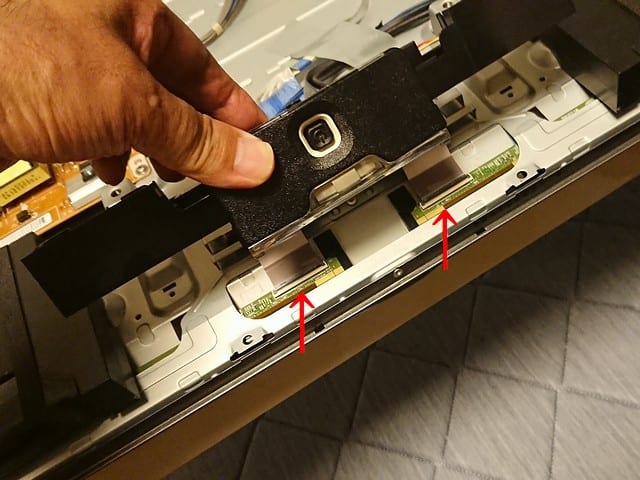
↑Lift up and remove the remote control receiver.
矢印のT-CONからのフレキを外し液晶を分離しなかった為後で苦労する事に。
I will have a hard time later because I did not remove the flexible cable from the arrow T-CON and separate the LCD.
↓外周のネジと引っ掛かり部を外して、フロントベゼルを外す。

↑Remove the screws and hooks around the outer circumference and remove the front bezel.
↓矢印の位置にネジを全て外す。

↑Remove all the screws at the arrowed positions.
↓さらにマイナスドライバーでこじって外す。

↑Remove the bezel by prying with a flathead screwdriver.
↓フロントベゼルと一緒に液晶パネルが外れてくる。

↑The LCD panel comes off together with the front bezel.
矢印の引っ掛かりを外して、黒いプラの枠を金属フレームから外す。
Remove the black plastic frame from the metal frame by removing the arrow hooks.
↓黒い枠を外すと、散光板が外れて、下のバックライトLEDが見える。
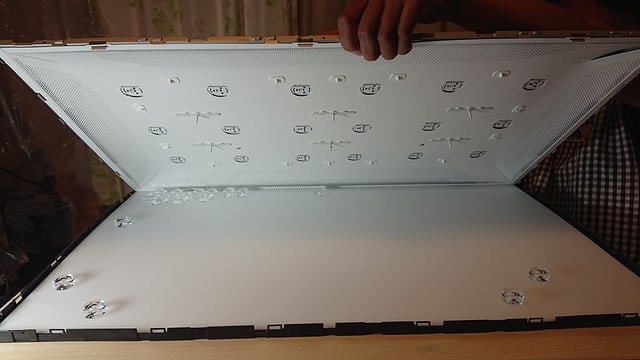
↑Remove the black frame and diffuser plate to reveal the backlight LEDs below.
下に何か一杯転がっている。
There is a lot of stuff lying around underneath.
↓どうやらLED用のレンズだ。全て外れている!

↑Apparently they are lenses for LEDs. All of them are off!
↓と言う事で、瞬間接着剤でレンズを張り付ける。

↑Attach the lens with super glue.
この時、液晶パネルが付いたままなので、上下を逆に出来ず、上向きにレンズを張り付ける必要が有り、接着剤が固まらない内に手を離すと直ぐにレンズが落ちる。
At this time, since the LCD panel is still attached, it cannot be turned upside down and the lens needs to be attached facing up.If I remove my hand before the adhesive hardens, the lens will immediately fall off.
接着面が3点のピンポイントで付いてるので、削って、広い面積で接着できるようにして何とか取り付ける。
Since the adhesive surface is attached at three pinpoints, I managed to shave off a large area so that I could attach the lenses.
↓やっとの事で全部取り付けた。
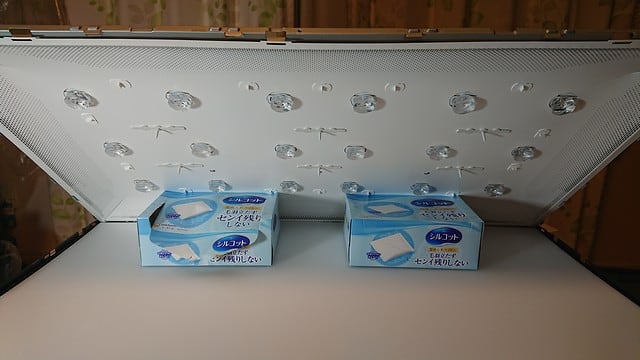
↑Finally, all the lenses were attached.
↓元通りに組み立てて、動作試験。あれ?治ってない!
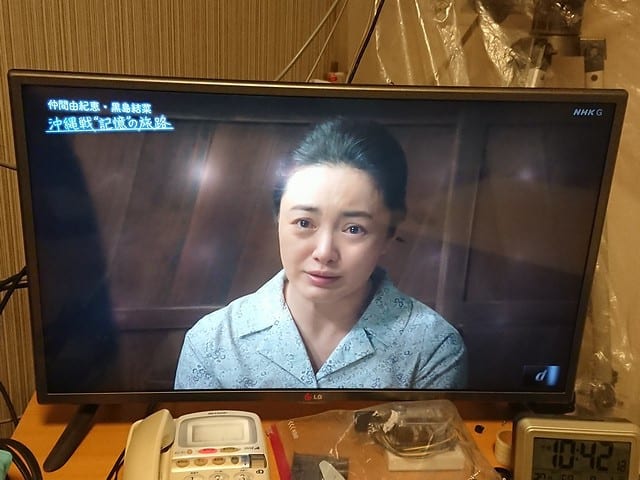
↑Assembled the TV again. Operation test. What's wrong? It is not cured!
↓いくつか光点が見える。

↑Some light spots are visible.
↓明るい画面で確認するとかなり沢山見える。まるで治ってないじゃん!!
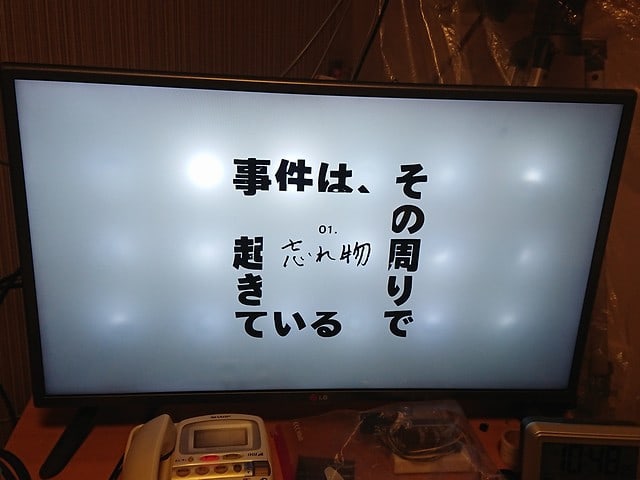
↑I see a lot of light spots when I check it on a bright screen. It is not cured!
う~ん、接着面を増やす為に、レンズの足の部分を削った形になるから、パネル迄の距離が変わって光が均一に届いてないのだろうか??
Well, in order to increase the adhesive surface, the foot of the lens has been cut off, so the distance to the panel has changed and the light is not reaching the panel evenly.
しかし、削ってしまった物は元に戻せない。
However, once something has been cut off, it cannot be undone.
諦めて、このテレビはお蔵入り、実家で使ってないテレビを持ってきて使う事になった。
I gave up and put this TV in storage. I had to bring an unused TV from my parents' house and use it.
トホホホ、、、、今回は大失敗だ、、、、、
Tohohoho、、、、This time it's a big mistake、、、、、
2022.08.01 (2024/4/17UP)
① LG 32型TV 修理 32LB5810 バックライトレンズ取付失敗編
② LG 32型TV 修理 32LB5810 失敗原因確認編
③ LG 32型TV 修理 32LB5810 バックライト交換編
④ LG 32型TV 修理 32LB5810 リモコン修理編
⑤ LG 32型TV 修理 32LB5810 散光板修正編
⑥LG 32型TV 2台目修理 32LB57YM
① LG 32inch TV repair 32LB5810 Backlight lens installation failure
② LG 32inch TV repair 32LB5810 Confirm of cause of failure
③ LG 32inch TV repair 32LB5810 Backlight replacement
④ LG 32inch TV repair 32LB5810 Remote control repair
⑤ LG 32inch TV repair 32LB5810 Diffuser plate repair
⑥LG 32inch TV repair 32LB57YM


