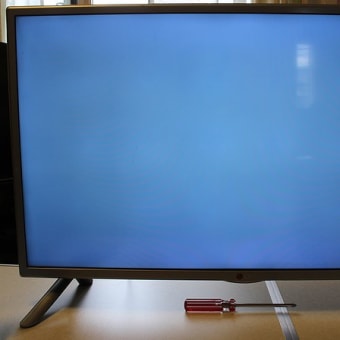
On March 18, I prepared the KX2 on the roof-top during lunch break to chase the AWE-san on weekdays, but KX2 couldn't tune the ATU, so couldn't use the HF. I repaired the Elecraft KX2 myself.

↓KX2の出力をモジュアナで調べてみると、数mWしか出ていない。

↑Checked the output of the KX2 by the modulation analyzer, it showed only a few mW.
↓スペアナで見ても+7dBm程度。

↑Even if checked by the spectrum analyzer, it's showed about +7dBm.
↓電流を見ると600mA弱しか流れていない。
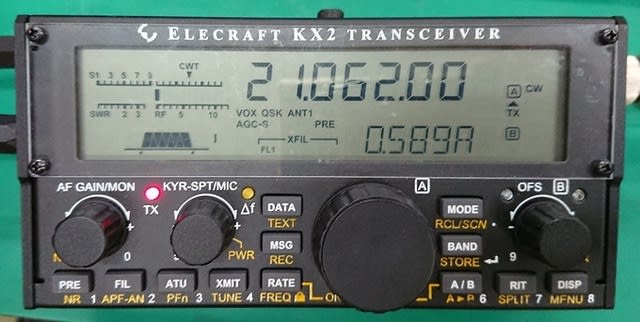
↑The current is only a little less than 600mA.
どうやら、ファイナルが壊れたか、ファイナルに入力が来てなくてファイナルがお仕事していない様である。
Apparently, the final FETs were broken, or do not working because there was no input to the final FETs.
と言う事で、裏蓋を開けて、ATUユニットを外す。
So, open the back cover and remove the ATU unit.
↓赤丸のネジとコネクタを外し基板を引き上げる。

↑Remove the red circle screws and connectors and pull up the board.
↓ATUを外すと、ファイナルとドライバーの片割れが見える。

↑When you remove the ATU, can see the final and the driver's half.
↓先ずドライバーの出力をスペアナでみて見る。

↑First, look at the output of the driver with a spectrum analyzer.
ハイインピーダンスプローブが無いのでオシロプローブ見る。
Since there is no high impedance probe, look by the oscilloscope probe.
↓その為レベルは少しいい加減だが、SAは-41dBm程を示している。
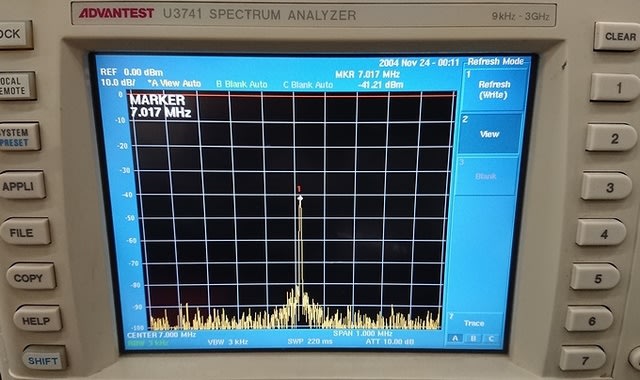
↑Therefore, the level is a little sloppy, but SA shows about -41dBm.
回路構成からレベルダイヤを予想すると、オシロプローブでのレベル差を考慮してもかなり低いと思われる。
Predict the level diagram from the circuit configuration.
Even considering the level difference use the oscilloscope probe, it seems to be considerably lower than that.
↓ドライバの入力側を見ると、-16dBm程を指している。

↑Check the input side of the driver, it showes about -16dBm.
ドライバが壊れてる可能性が高いが、一応前後のレベルと電圧を確認。
The driver is likely to be broken, but check other levels and voltages.
↓結果は概ね下記の通りだった。

↑The results were generally as above.
この結果から、ドライバは電圧、入力共にOK。でも出力NGに付き不良。
From this result, both the voltage and input to the driver are OK.
However, the driver is defective due to output NG.
ファイナルは少ない入力に対して、20dB程のゲインが見られるのでOK。
The final is OK because can see a gain of about 20dB for a small input.
と言う事で、今回はドライバーの不良の様だ。
So, this time it looks like a driver failure.
故障確立の高いと思ったドライバーとファイナルは故障当日に手配済。
The driver and final, which I thought had a high probability of failure, were ordered on the day of the failure.
ファイナルは国内店舗なのですぐ届いたが、ドライバーは個人入手できそうな国内店が見つけられず、AliExpressで注文した。
The final was a domestic store, so it arrived immediately, but the driver couldn't find a domestic store so ordered it on AliExpress.
↓3月18日に注文して、4月6日に届いた。約19日掛かった。

↑Ordered on March 18th and arrived on April 6th. It took about 19 days.
と言う事で、早速ばらしてドライバーを交換する。
Disassemble and replace the driver ICs.
↓赤丸のネジを外してANT側の側面板を外す。

↑Remove the red circle screw and remove the side plate on the ANT side.
右端の小さいネジは、固定には関係なかった。何用だろうか?
The small screw on the far right was not involved in fixing.
↓先にファイナルを止めてるネジを外す。
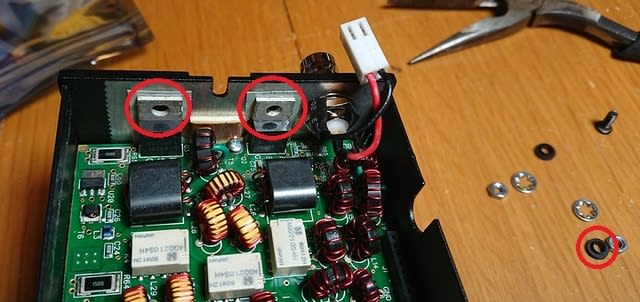
↑Remove the screw that holds the final FETs first.
右端の絶縁用の黒ワッシャは向きが有るので組立時注意の事。
The black washer for insulation on the right end has a direction, so be careful when assembling.
↓反対側の側板も外す。私のKX2は下の2本は固定に関係なし。

↑Also remove the side plate on the opposite side.
下のネジはオプション固定用?
Is the lower screw for fixing options?
真ん中の小さい基板も外す。
Also remove the small PCB board in the middle.
↓赤丸のネジ3本を外して、RFボードを上に引き抜く。

↑Remove the three red circle screws and pull out the RF board upward.
橙色の四角の下に接続用コネクタが有るので、注意して引き上げる。
There is a connector under the orange square, so pull it up carefully.
↓RFボードの裏側。

↑The back side of the RF board.
↓AF/IF/制御ボード

↑AF/IF/control board
↓赤四角の所が、ドライバーIC。

↑The red square is the driver ICs.
↓熱容量が少し大きいが、予備半田を事前に盛っておく。
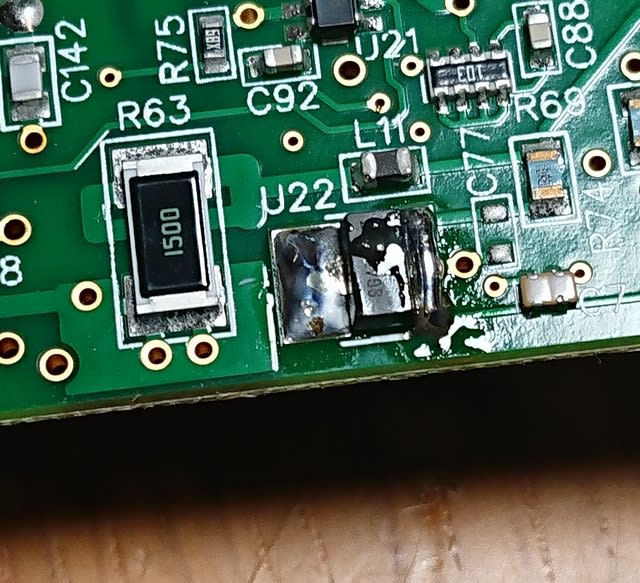
↑The heat capacity is a little large, but pre-solder is piled up in advance.
↓半田ごて2本同時に使って、ドライバーICを外す。

↑Use two soldering irons at the same time to remove the driver IC.
↓外した後は余分な半田を除去する。

↑After removing, remove excess solder.
↓軽くシンナーで清掃して、手前のランドに予備半田を乗せる。

↑Clean with thinner and put pre-solder on the land in front.
↓予備半田を溶かしてICを乗せ位置決めの後、他の端子を半田付け。

↑After melting the pre-solder and placing the IC on it for positioning, solder the other terminals.
↓2個とも交換したら、元通りに組立。

↑After exchanging both, reassemble the KX2.
↓パワー計でチェック。無事に10W出る様になった。

↑Check by power meter. KX2 now outputs 10W normally.
無事に故障したエレクラフトのKX2を自分で修理できた。
Repair Elecraft KX2 by myself was completed.
これでまたKX2/FT-817の2台体制でSOTAに行けるな!
Now we can go to SOTA again with KX2 and FT-817.
2021.3.18-4.6 (4/7 UP)
エレクラフト KX2 修理 2021/3/18
KX2 修理 ATU動作不良⇒ドライバー交換 2022/12/18
KX2再修理;ATU動作不良、HI CUR 表示、POW出ず 2022/12/28


