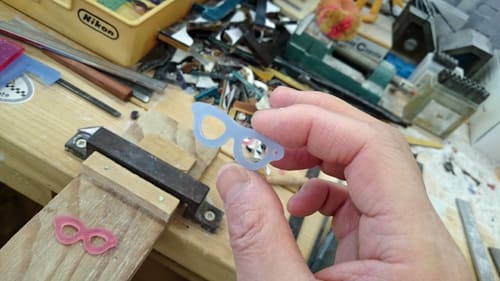
同じ生地でナノネも作ります
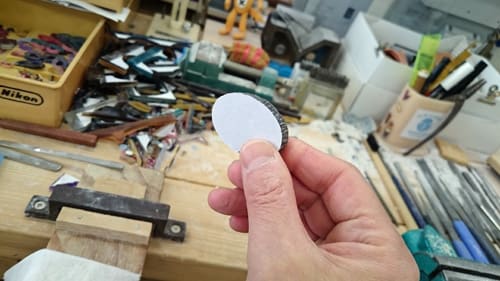
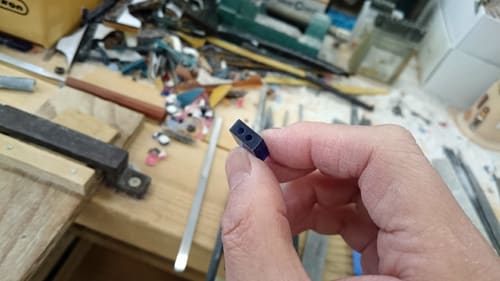
まずは四角く切り出します
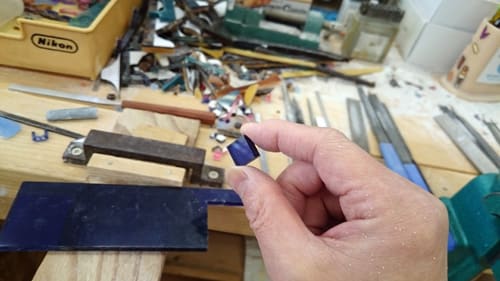
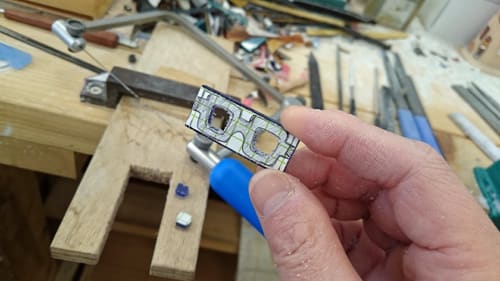
レンズの部分の穴を開けます
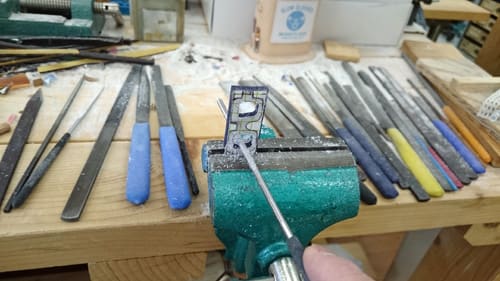
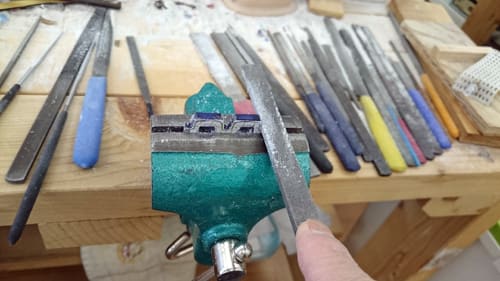
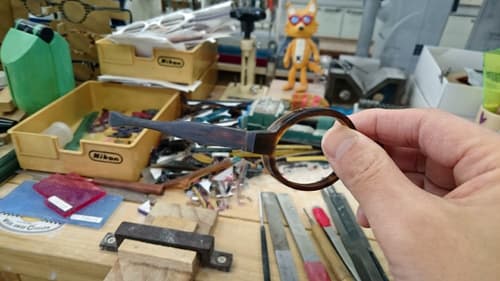
テンプルの形に削ります
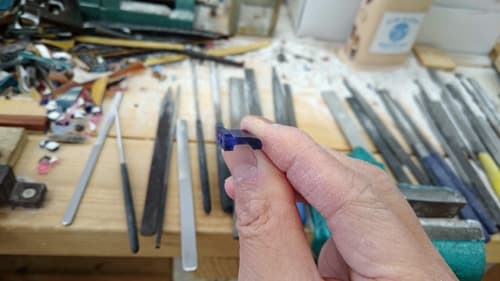
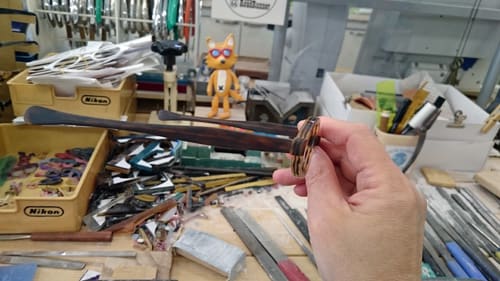
テンプルができました
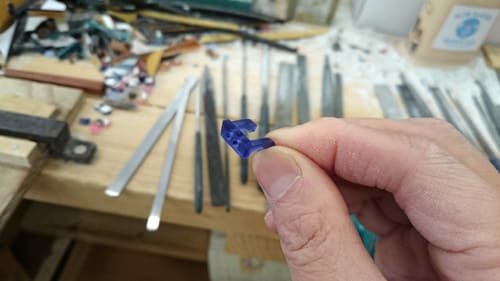
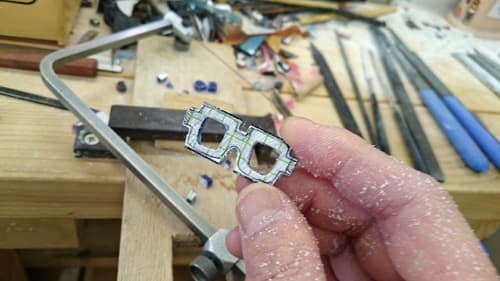
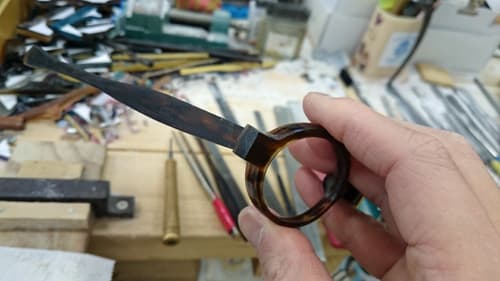
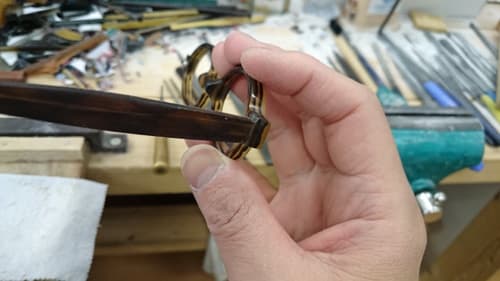
上のリムを丸く削ります
下のリムも丸く削ります
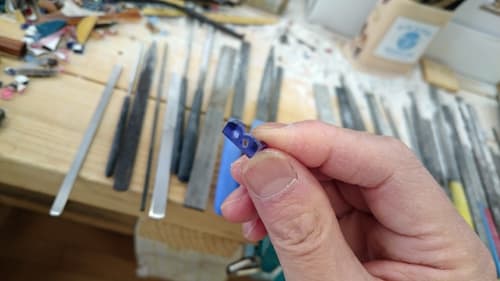
上と違ってテンプルを張り出させるように削るので難しいです

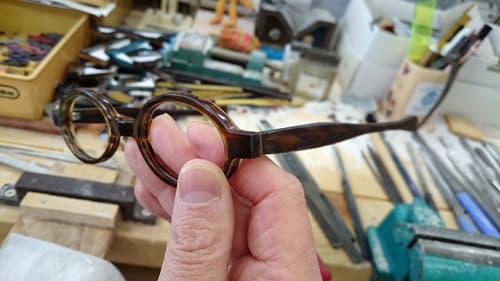
もう少しキレイにしてからツヤ出しして完成です
まずは四角く切り出します
レンズの部分の穴を開けます
テンプルの形に削ります
テンプルができました
上のリムを丸く削ります
下のリムも丸く削ります
上と違ってテンプルを張り出させるように削るので難しいです
もう少しキレイにしてからツヤ出しして完成です