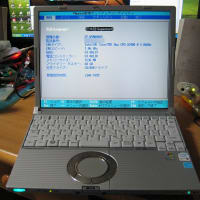
The other day, when I climbed Mt. Higashigonoto, I had a hard time inputting callsigns because the 0 and O keys on my PC didn't work. It seems that the Fn, F2, F3 keys, etc. do not work when I go back and check. So I replaced the keyboard of Let's Note CF-SX4 by myself.
↓山で「0」と「O」のキーが効かなかったレッツノートCF-SX4
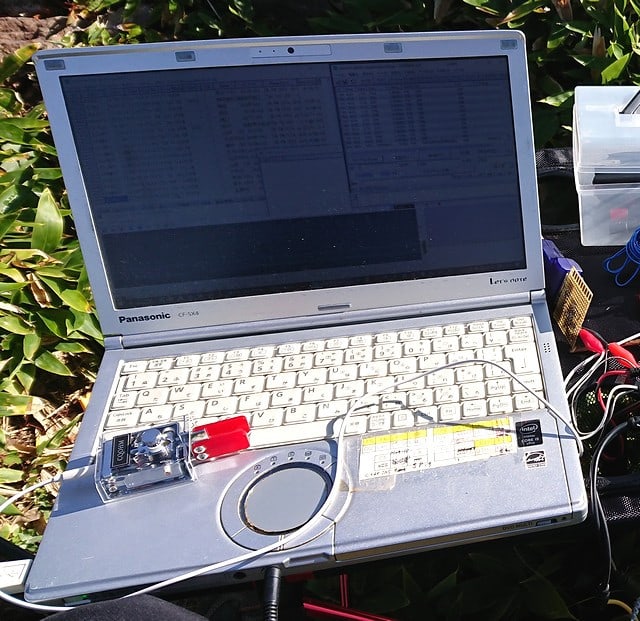
↑At the summit, the "0" and "O" keys on the Let's Note CF-SX4 didn't work.
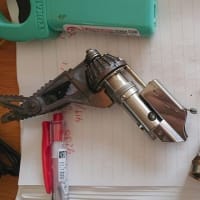
↓キーボードは全面両面テープ張り。取り易くする為キーボードをドライヤーで加熱。
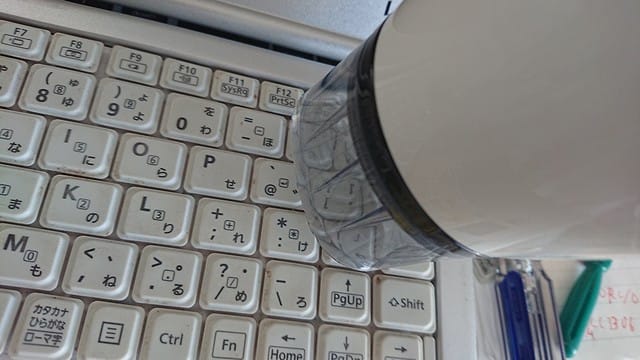
↑The keyboard is attached with double-sided tape. Heat the keyboard with a hair dryer to make it easier to remove.
↓軽くピンセットを端に挿し、持ち上げてからカードを差し込む。

↑Insert the tweezers into the edge, lift it up and insert the card.
今回は古いJAF会員証を端から突っ込んでキーボードを剥がしていく。
This time I stuck my old card in from the edge and peeled off the keyboard.
スペースキーの下にフレキとコネクタが有るので気を付ける事。
Be careful because there is a flexible cable and a connector under the space key.
↓剥がしたら、キーボードを手前にひっくり返し、コネクタを引き出す。
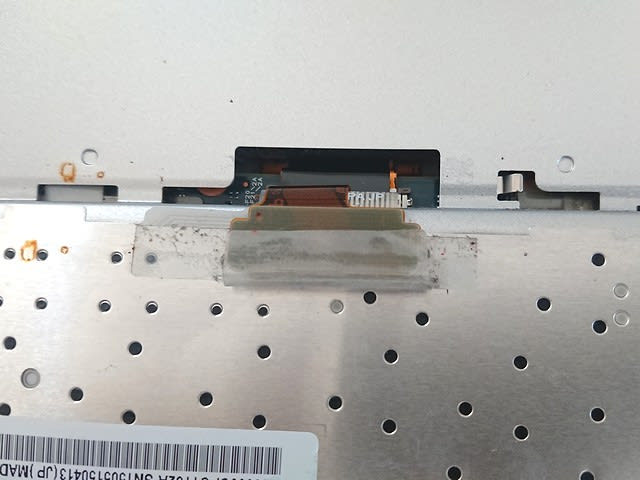
↑After peeling off, turn the keyboard over and pull out the connector.
↓コネクタを止めている両面テープを剥がす。

↑Peel off the double-sided tape that holds the connector.
↓コネクタの白いロック板をピンセットで引き出す。

↑Pull out the white lock plate of the connector with tweezers.
ロックを外せば、フレキが簡単に抜けるので、新しいキーボードに取り換える。
The flexible cable can be easily removed, so you can replace it with a new keyboard.
コネクタを止める両面テープは剥がして、新しいキーボードに再利用する。
Peel off the double-sided tape holding the connector and reuse it on the new keyboard.
↓PC側に残った両面テープは綺麗にはがして、新しく両面テープを張る。
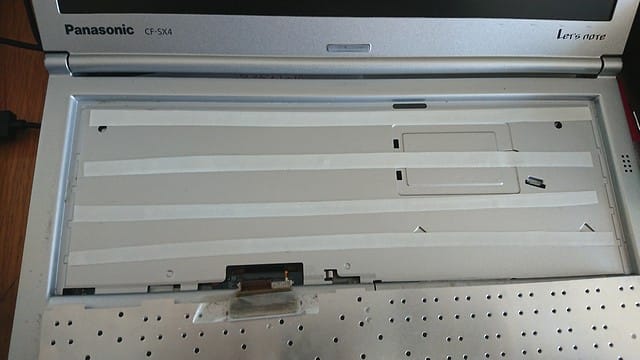
↑Peel off the double-sided tape remaining on the PC side cleanly, and apply new double-sided tape.
↓コネクタを上手く穴に押し込めながら、キーボードを元通り取り付ける。
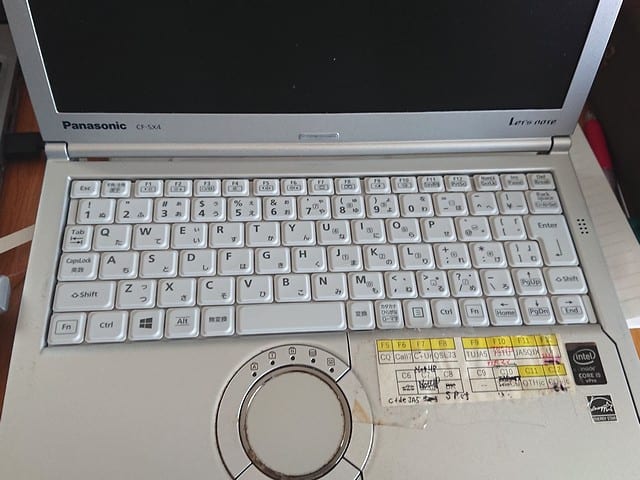
↑Reinstall the keyboard while pushing the connector into the hole.
これで、無事に全てのキーが動くようになった。
Now all keys work fine.
ちなみに、今回は新品のキーボード約3k円也を使用した。ヤフオク等で中古のキーボードも売っているのでそれを使うと安く上がると思うが、一旦剝がすとキーボード下のアルミ板が変形気味なのと、接点の劣化が心配なので新品を使用した。
By the way, this time I used a new keyboard about 3k yen. Used keyboards are also sold on Yahoo Auctions, etc., so I think it will be cheaper to use them, but I used a new one because I was worried that the aluminum plate under the keyboard would be deformed and the contacts would deteriorate once I peeled it off.
これで、またしばらく山でも使えそうだ。
With this, I think I can use it in the mountains for a while.
2022.9.15 (9/22 UP)