


エレキのボディとネックをバフがけしました。
いよいよ組み込み。
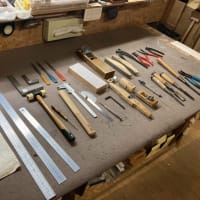
まずはお客さん持ち込みの移植するパーツを磨きます。

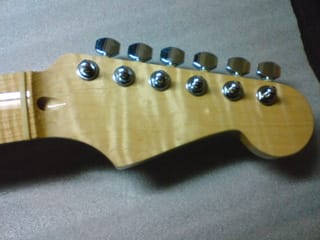
ナットとペグを付けます
ネックとボディをくっつけます

ブリッジの位置を割り出して取り付けます

弦を張って磨りあわせ。

すり合わせが終わったらフレットを1本1本成形して磨いて今日はここまで。
いよいよ組み込み。
まずはお客さん持ち込みの移植するパーツを磨きます。
ナットとペグを付けます
ネックとボディをくっつけます
ブリッジの位置を割り出して取り付けます
弦を張って磨りあわせ。
すり合わせが終わったらフレットを1本1本成形して磨いて今日はここまで。


※コメント投稿者のブログIDはブログ作成者のみに通知されます