


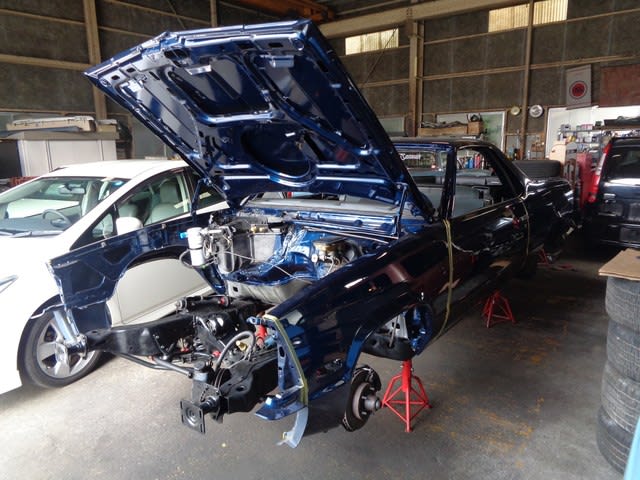
こんにちは。87エルカミーノ進めます。
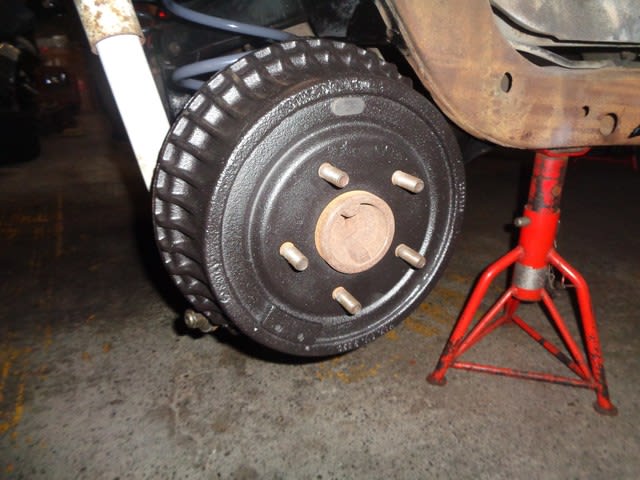
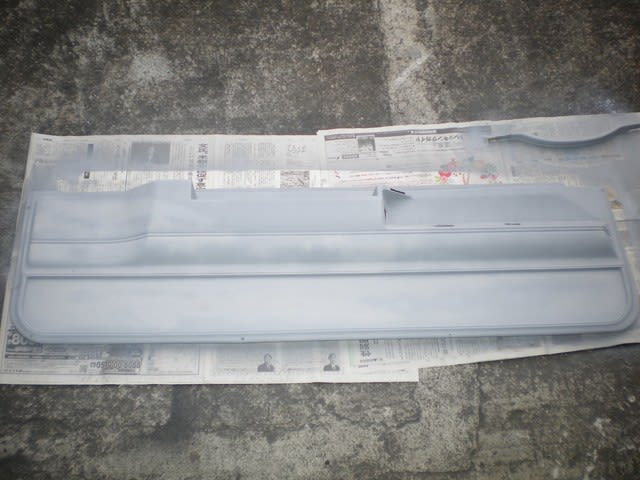
ドラムカバー耐熱塗装します。

下地処理して耐熱で塗りました。

左右塗り終えて付けました。
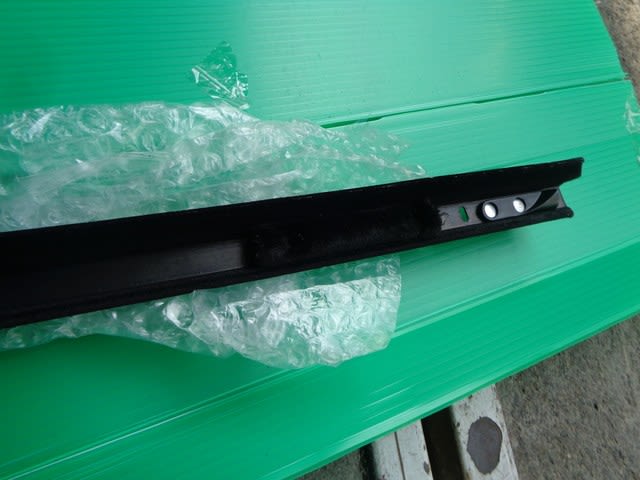
左側ドアーアウター水切りモール、入りました。
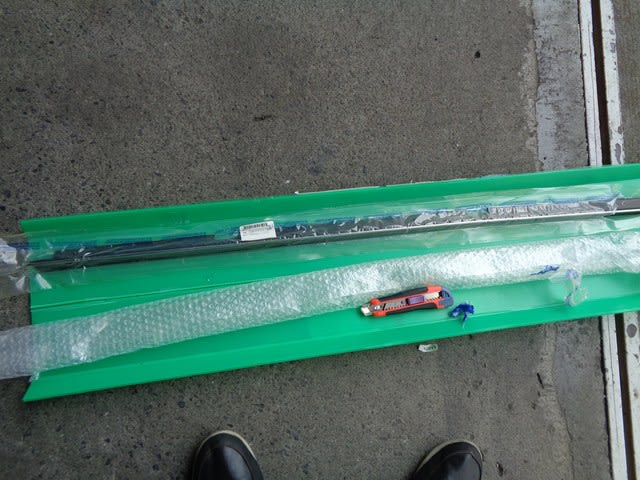
パッケージはLH左用です。
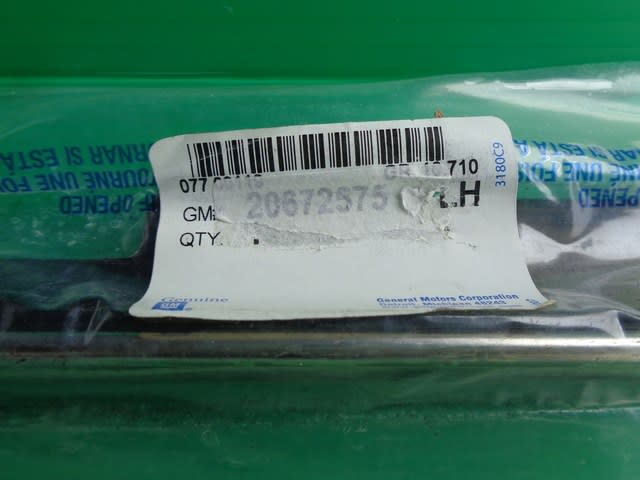
開けて確認、大丈夫左用です。
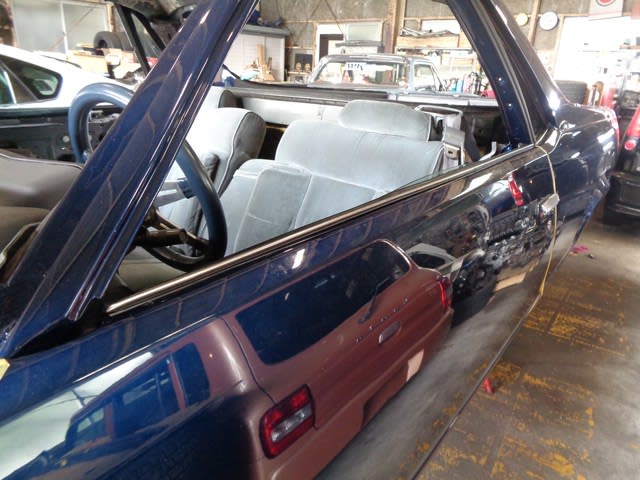
取付、ドアーガラスもレギュレーターに取付ました。
ドア内装パネルが塗装剥がれているので、
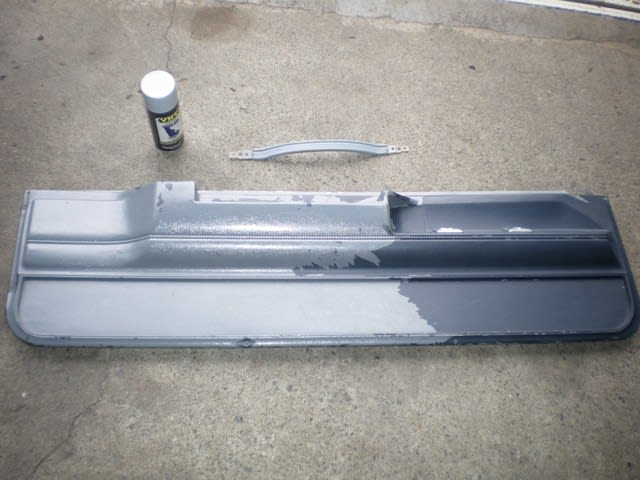
下地処理

剥がすのが大変です。下地処理できました。
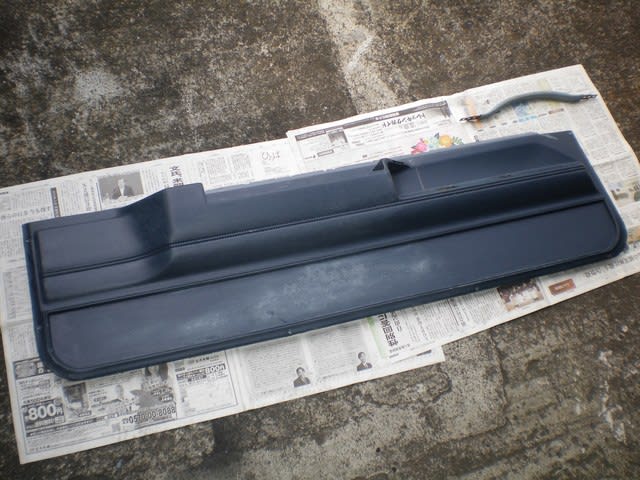
内装用塗料で塗ります。あれれ、
駄目だ、、、、色が全然違います。キャップの色見本は同じ感じですが、、、塗料取り直します。
動画は https://youtu.be/40wVdCPL7QE に準備されています。
ドラムカバー耐熱塗装します。
下地処理して耐熱で塗りました。
左右塗り終えて付けました。
左側ドアーアウター水切りモール、入りました。
パッケージはLH左用です。
開けて確認、大丈夫左用です。
取付、ドアーガラスもレギュレーターに取付ました。
ドア内装パネルが塗装剥がれているので、
下地処理
剥がすのが大変です。下地処理できました。
内装用塗料で塗ります。あれれ、
駄目だ、、、、色が全然違います。キャップの色見本は同じ感じですが、、、塗料取り直します。
動画は https://youtu.be/40wVdCPL7QE に準備されています。


※コメント投稿者のブログIDはブログ作成者のみに通知されます