This, I have been thinking about, on and off for the last 10 years. My spoon making was suddenly interrupted two years ago. Therefore, recent resumption of my spoon making, in a way, gave me an insight into this issue.
You just take a step back from something and look at it from perhaps slightly different angles that you are used to. Usually, you are bound to do that if you are taking a new look at something. In the worst case you could have forgotten how you used to make them. So, in that case, you might be effectively looking at the whole thing from scratch.
Either way, my considered and instinctive view is that there can only be two types of spoons in this world, almost flat spoons and very deep spoons. There should not be intermediate spoons in terms of depth. They will be next to useless and not worth my time.
I can be justified, if you think about the use of spoons. They are nothing but carriers, of solids or liquids. As long as solids do not fall off the spoon its concave depth can be as shallow as you wish.
Somebody mentioned to me something akin to this in relation to infant spoons. Infants often fail to reach the bottom of the concave with their tongues. If they are flattish then the spoon's extent, apparently, does not matter much. I would rejoice in that as it will make my life a lot easier.
Take a look at the following photo.

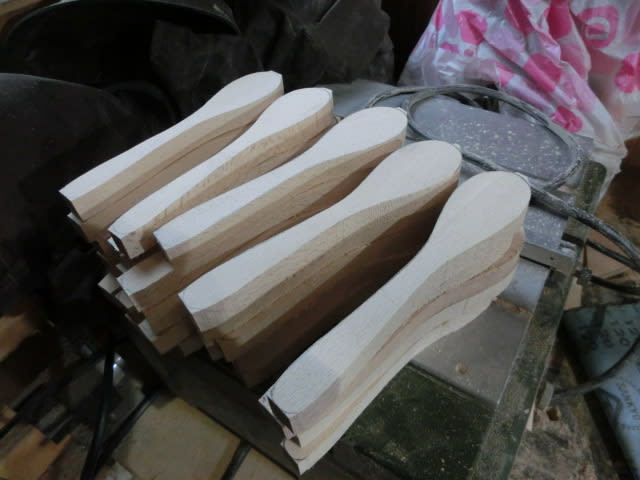
These are all infant spoons I have been making lately. Beautiful, are they not? They are almost flat and not very strongly "S" shaped. Infants cannot take in a lot of solids in one go at any one time, anyway. So, that goes to that. Now, think about curry spoons. Do you need bucket like deep spoons for your curry intake? No, of course, you do not.
The only additional consideration would be spoons' spatial extent. My gut feeling is that curry spoons should be round and almost flat in their external appearance. Actually, the same can be said of soup spoons, except that they should be deep enough.
It must be true that for large single intakes the spoon shape, top-on shape anyway, should be almost round.
I have been making these infant spoons and some other photos are here.

With these, convex surfaces are not yet there. Intake areas are also still flat. These "bottom" surfaces will be sanded into convexes, very shortly. I will also be talking about details, separately, as this stage is very important.

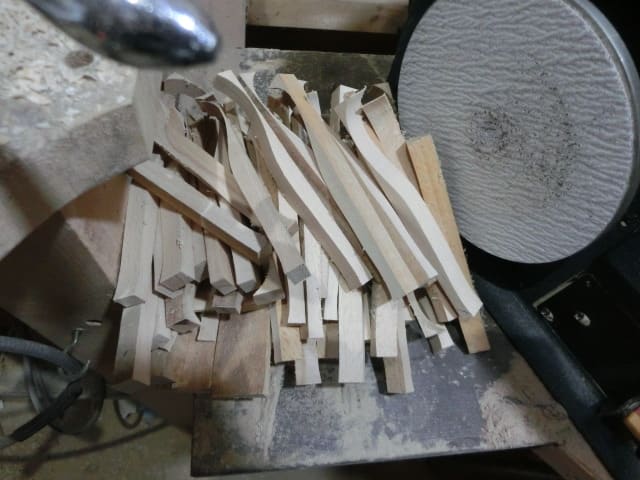
With above, convex surfaces are there, and yet intake areas are still flat. Stems are also rectangular in cross-section and need to be rounded. However, I feel that I am still perfectly capable of making these rather flat spoons, even after a lapse of two years. I pride myself on that...
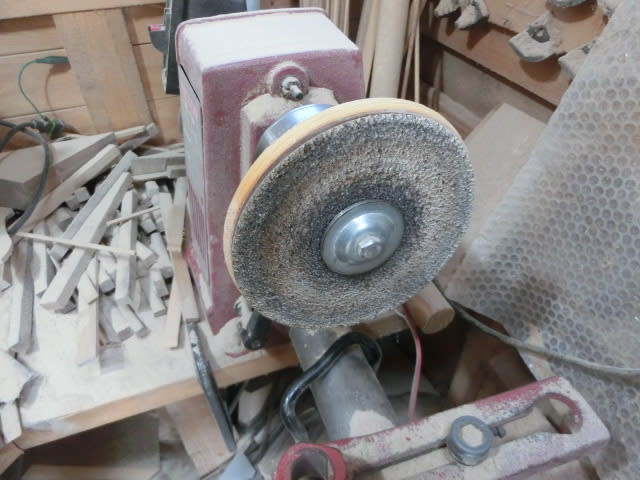
What follows is the bits I sometimes (not always) use for cleaning the inner surface of the concaves. I am not exactly happy with these.

Anyway, I will soon be taking up the task of adult spoons making, I think.
You just take a step back from something and look at it from perhaps slightly different angles that you are used to. Usually, you are bound to do that if you are taking a new look at something. In the worst case you could have forgotten how you used to make them. So, in that case, you might be effectively looking at the whole thing from scratch.
Either way, my considered and instinctive view is that there can only be two types of spoons in this world, almost flat spoons and very deep spoons. There should not be intermediate spoons in terms of depth. They will be next to useless and not worth my time.
I can be justified, if you think about the use of spoons. They are nothing but carriers, of solids or liquids. As long as solids do not fall off the spoon its concave depth can be as shallow as you wish.
Somebody mentioned to me something akin to this in relation to infant spoons. Infants often fail to reach the bottom of the concave with their tongues. If they are flattish then the spoon's extent, apparently, does not matter much. I would rejoice in that as it will make my life a lot easier.
Take a look at the following photo.

These are all infant spoons I have been making lately. Beautiful, are they not? They are almost flat and not very strongly "S" shaped. Infants cannot take in a lot of solids in one go at any one time, anyway. So, that goes to that. Now, think about curry spoons. Do you need bucket like deep spoons for your curry intake? No, of course, you do not.
The only additional consideration would be spoons' spatial extent. My gut feeling is that curry spoons should be round and almost flat in their external appearance. Actually, the same can be said of soup spoons, except that they should be deep enough.
It must be true that for large single intakes the spoon shape, top-on shape anyway, should be almost round.
I have been making these infant spoons and some other photos are here.

With these, convex surfaces are not yet there. Intake areas are also still flat. These "bottom" surfaces will be sanded into convexes, very shortly. I will also be talking about details, separately, as this stage is very important.

With above, convex surfaces are there, and yet intake areas are still flat. Stems are also rectangular in cross-section and need to be rounded. However, I feel that I am still perfectly capable of making these rather flat spoons, even after a lapse of two years. I pride myself on that...
What follows is the bits I sometimes (not always) use for cleaning the inner surface of the concaves. I am not exactly happy with these.

Anyway, I will soon be taking up the task of adult spoons making, I think.


