パエ-リャ

木製カトラリ-

Comparison

2015-02-28 16:19:22 | Weblog


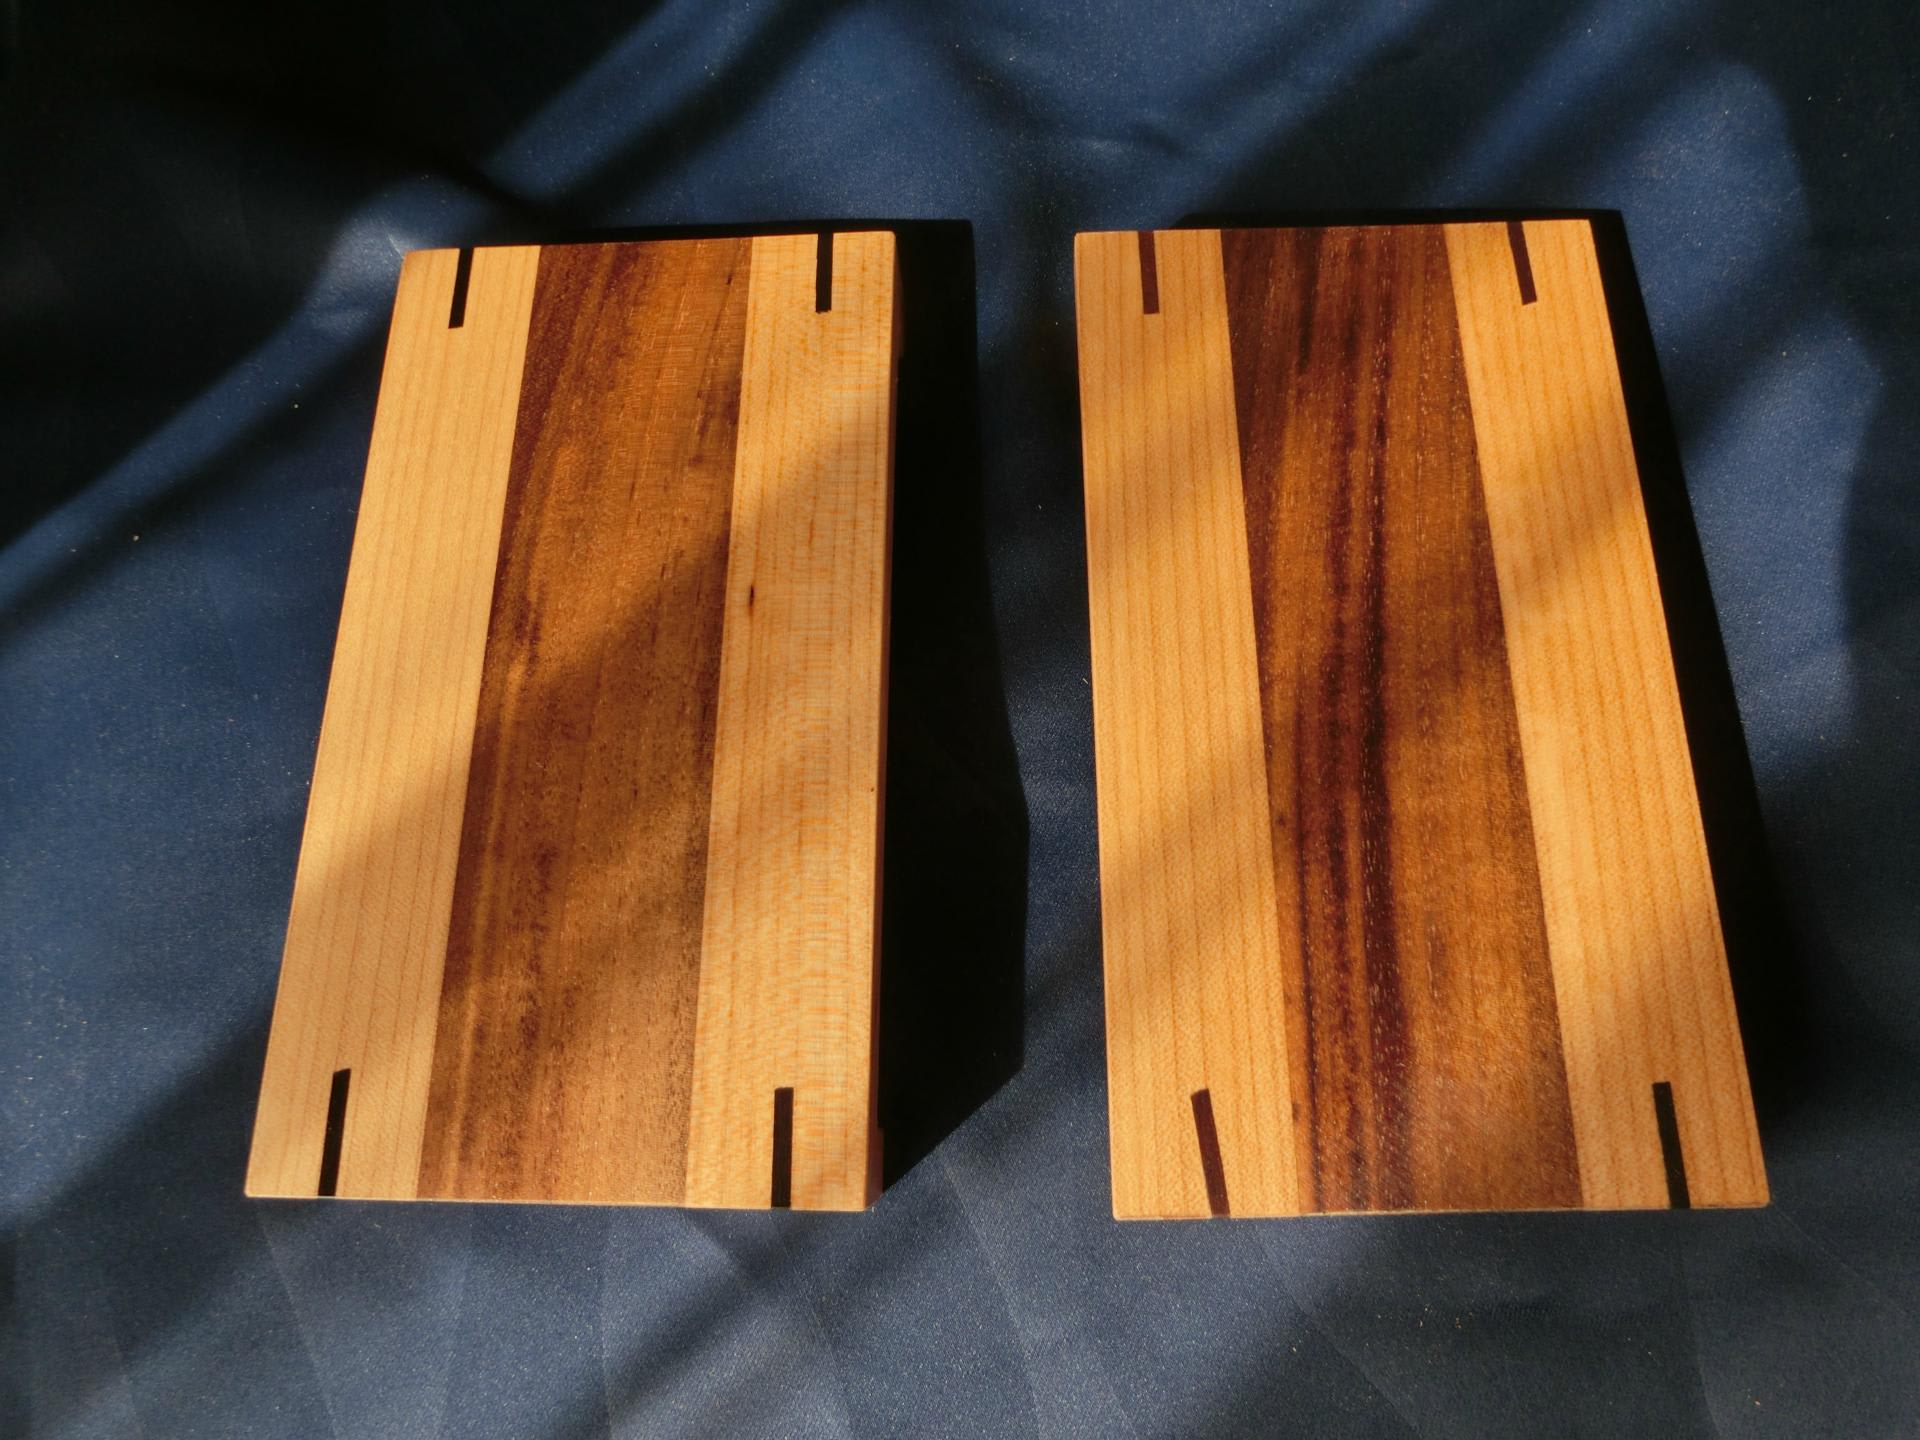
Above is showing the one coated with polyurethane on the left and the other simply oiled to the right of it. I very much like the oiled bed. The darker middle has a deeper shade to it. However, I have made a final decision.

I will go for polyurethane coating. Simplest reason is the smell from the coating agent. With polyurethane there is no odor, to speak of, anyway, but the oiled bed smells, not pungent, of course, and it is rather aromatic. However, some people are sensitive enough.


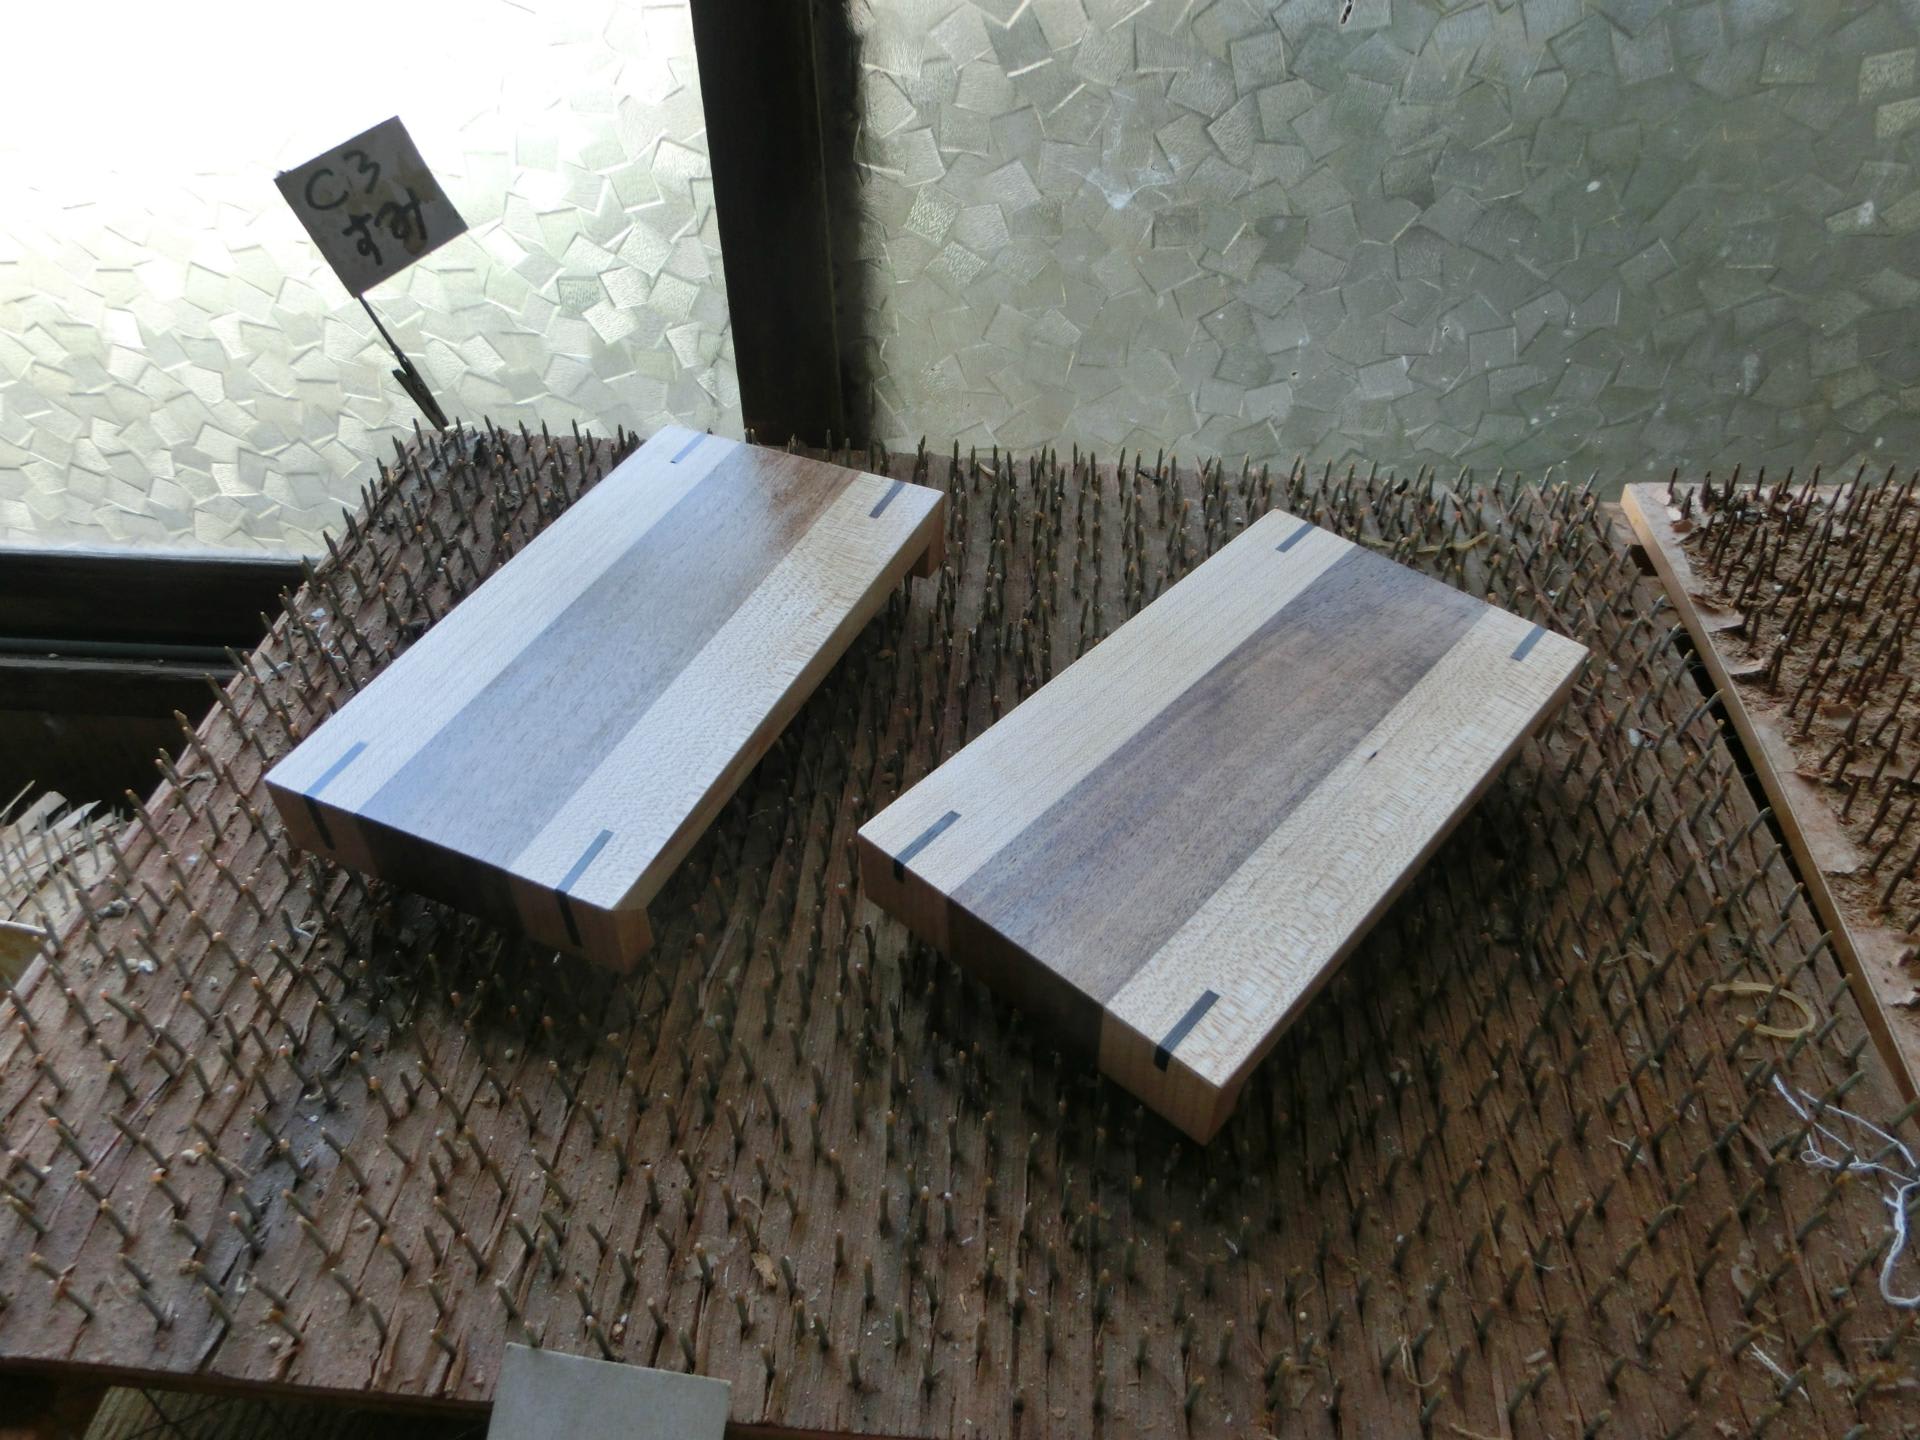
These are also polyurethane coated and expect 8 more coating sessions.

Below is the photo of a very simple square bed, no legs.


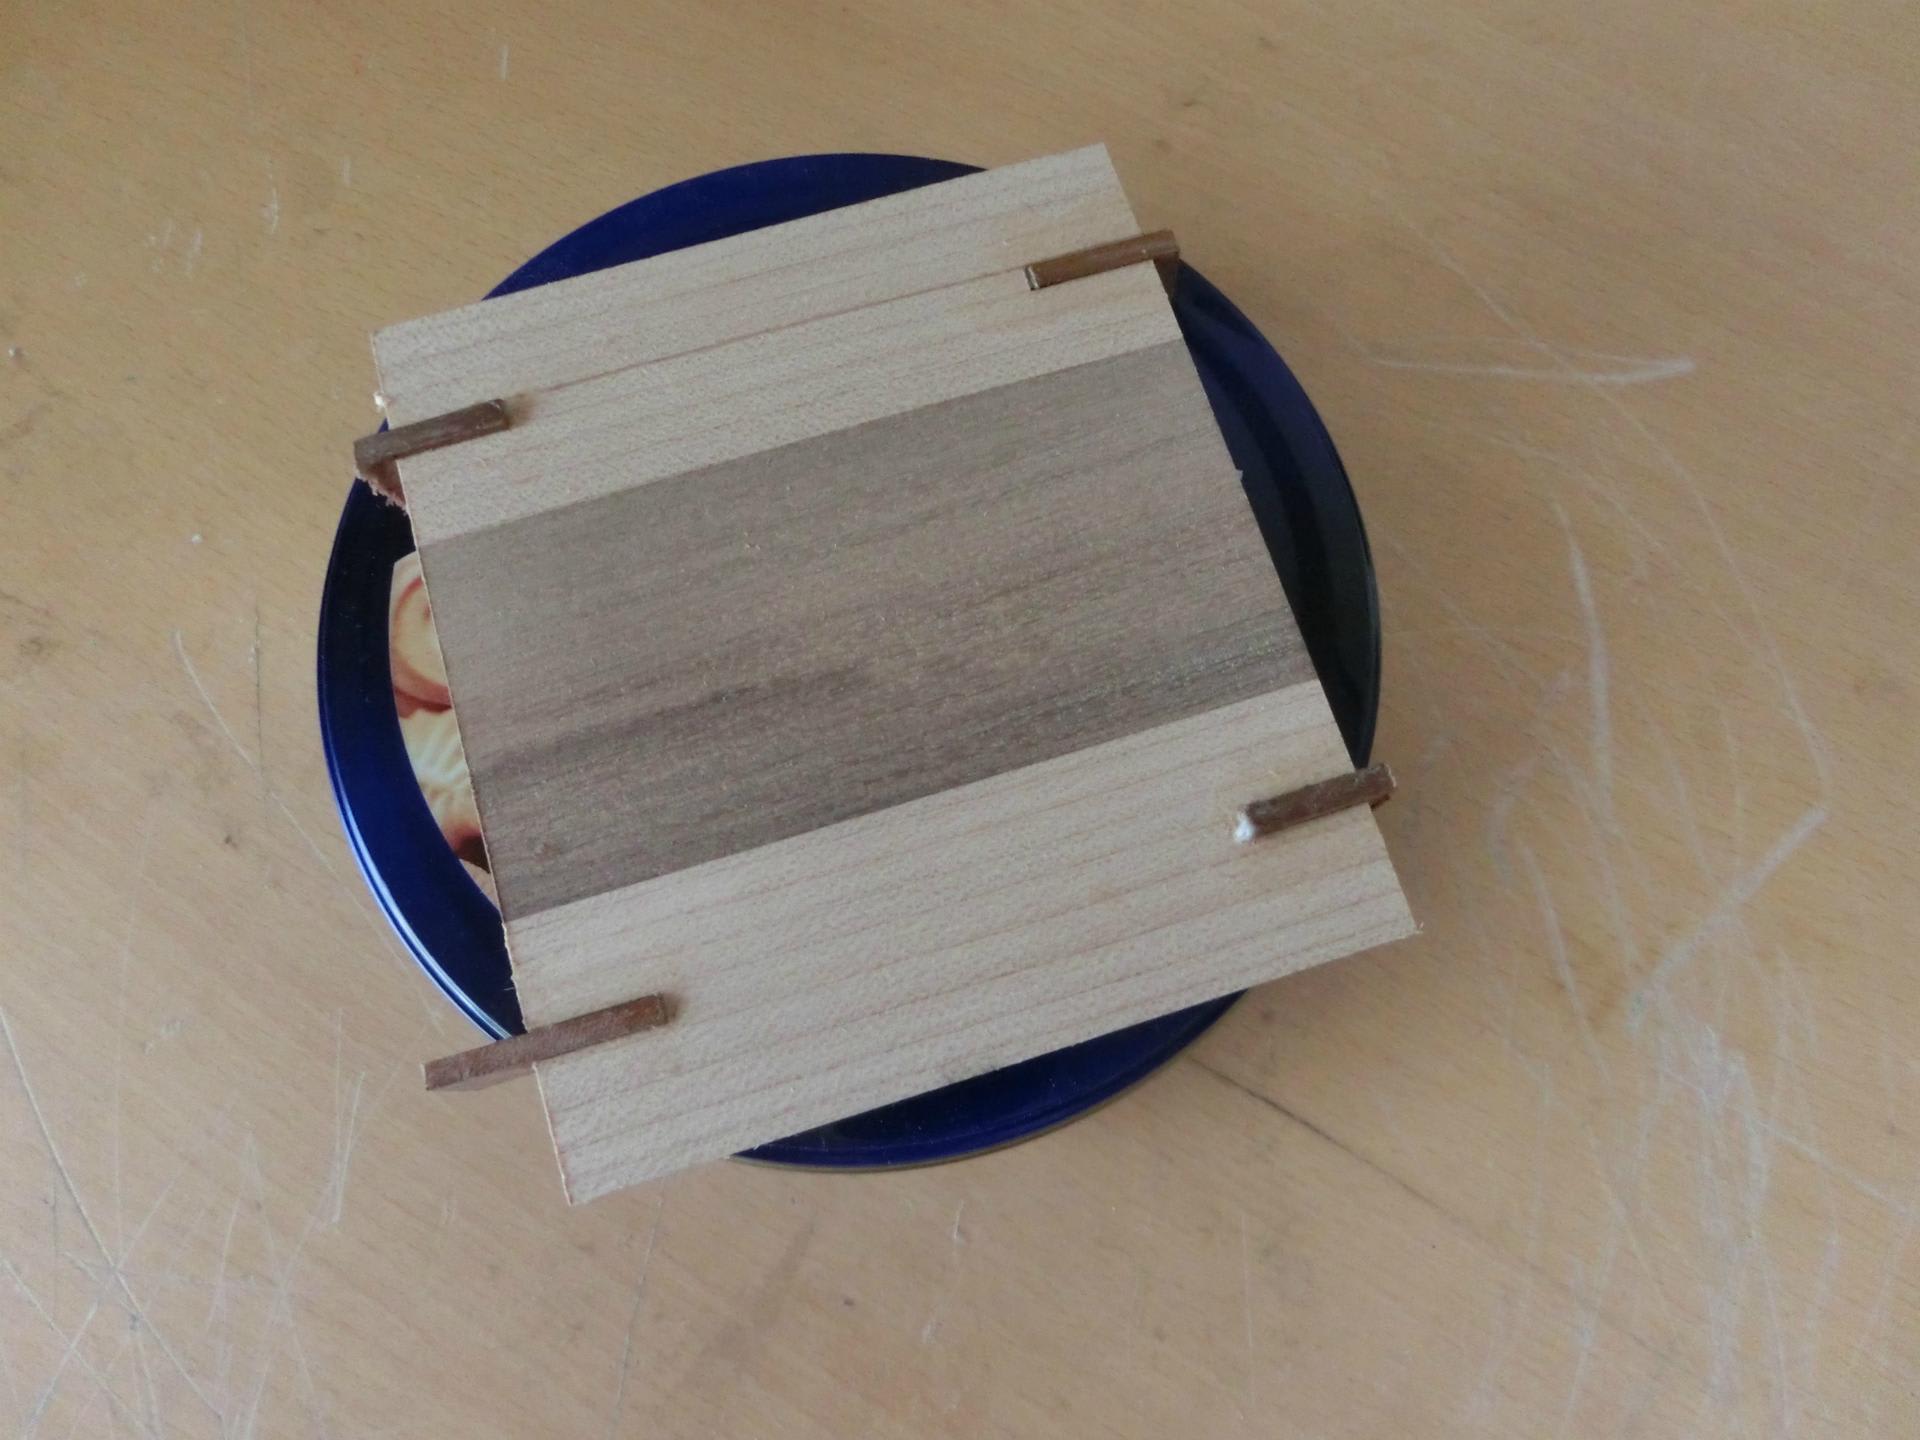
In addition, I am now forming another idea. That is, even thinner beds (or plates, rather),with or without supporting legs. They will be looking more or less like this one, except that they will be longer.

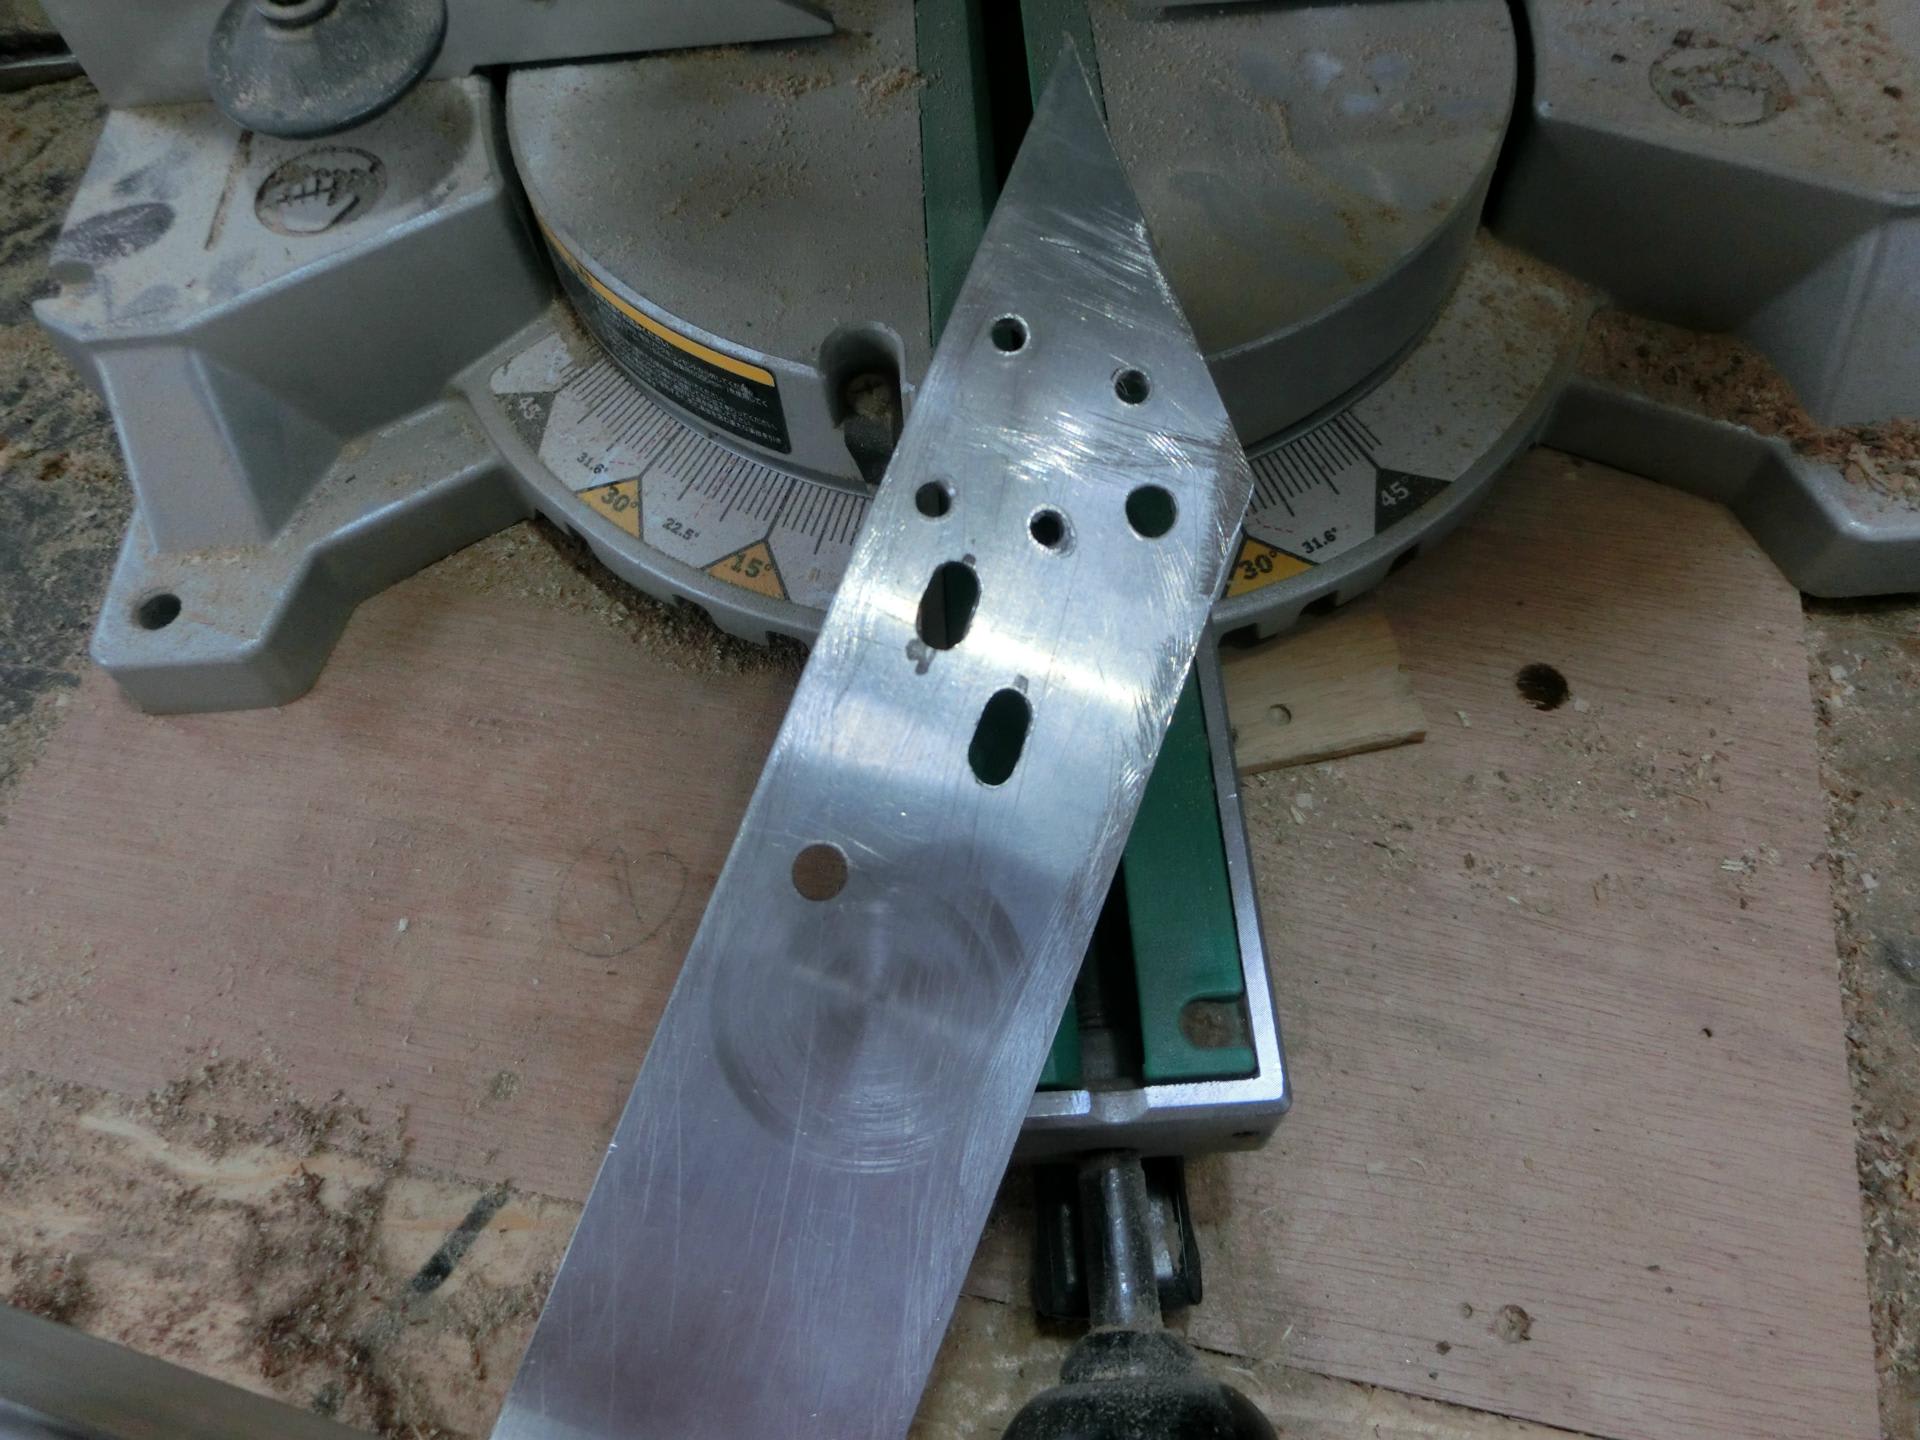
Yesterday and today, I encountered two more significant issues. The easiest to explain is the holding jig for incision making. I talked about this earlier. However, it was all bullshit. Suffice to show two photos in succession.


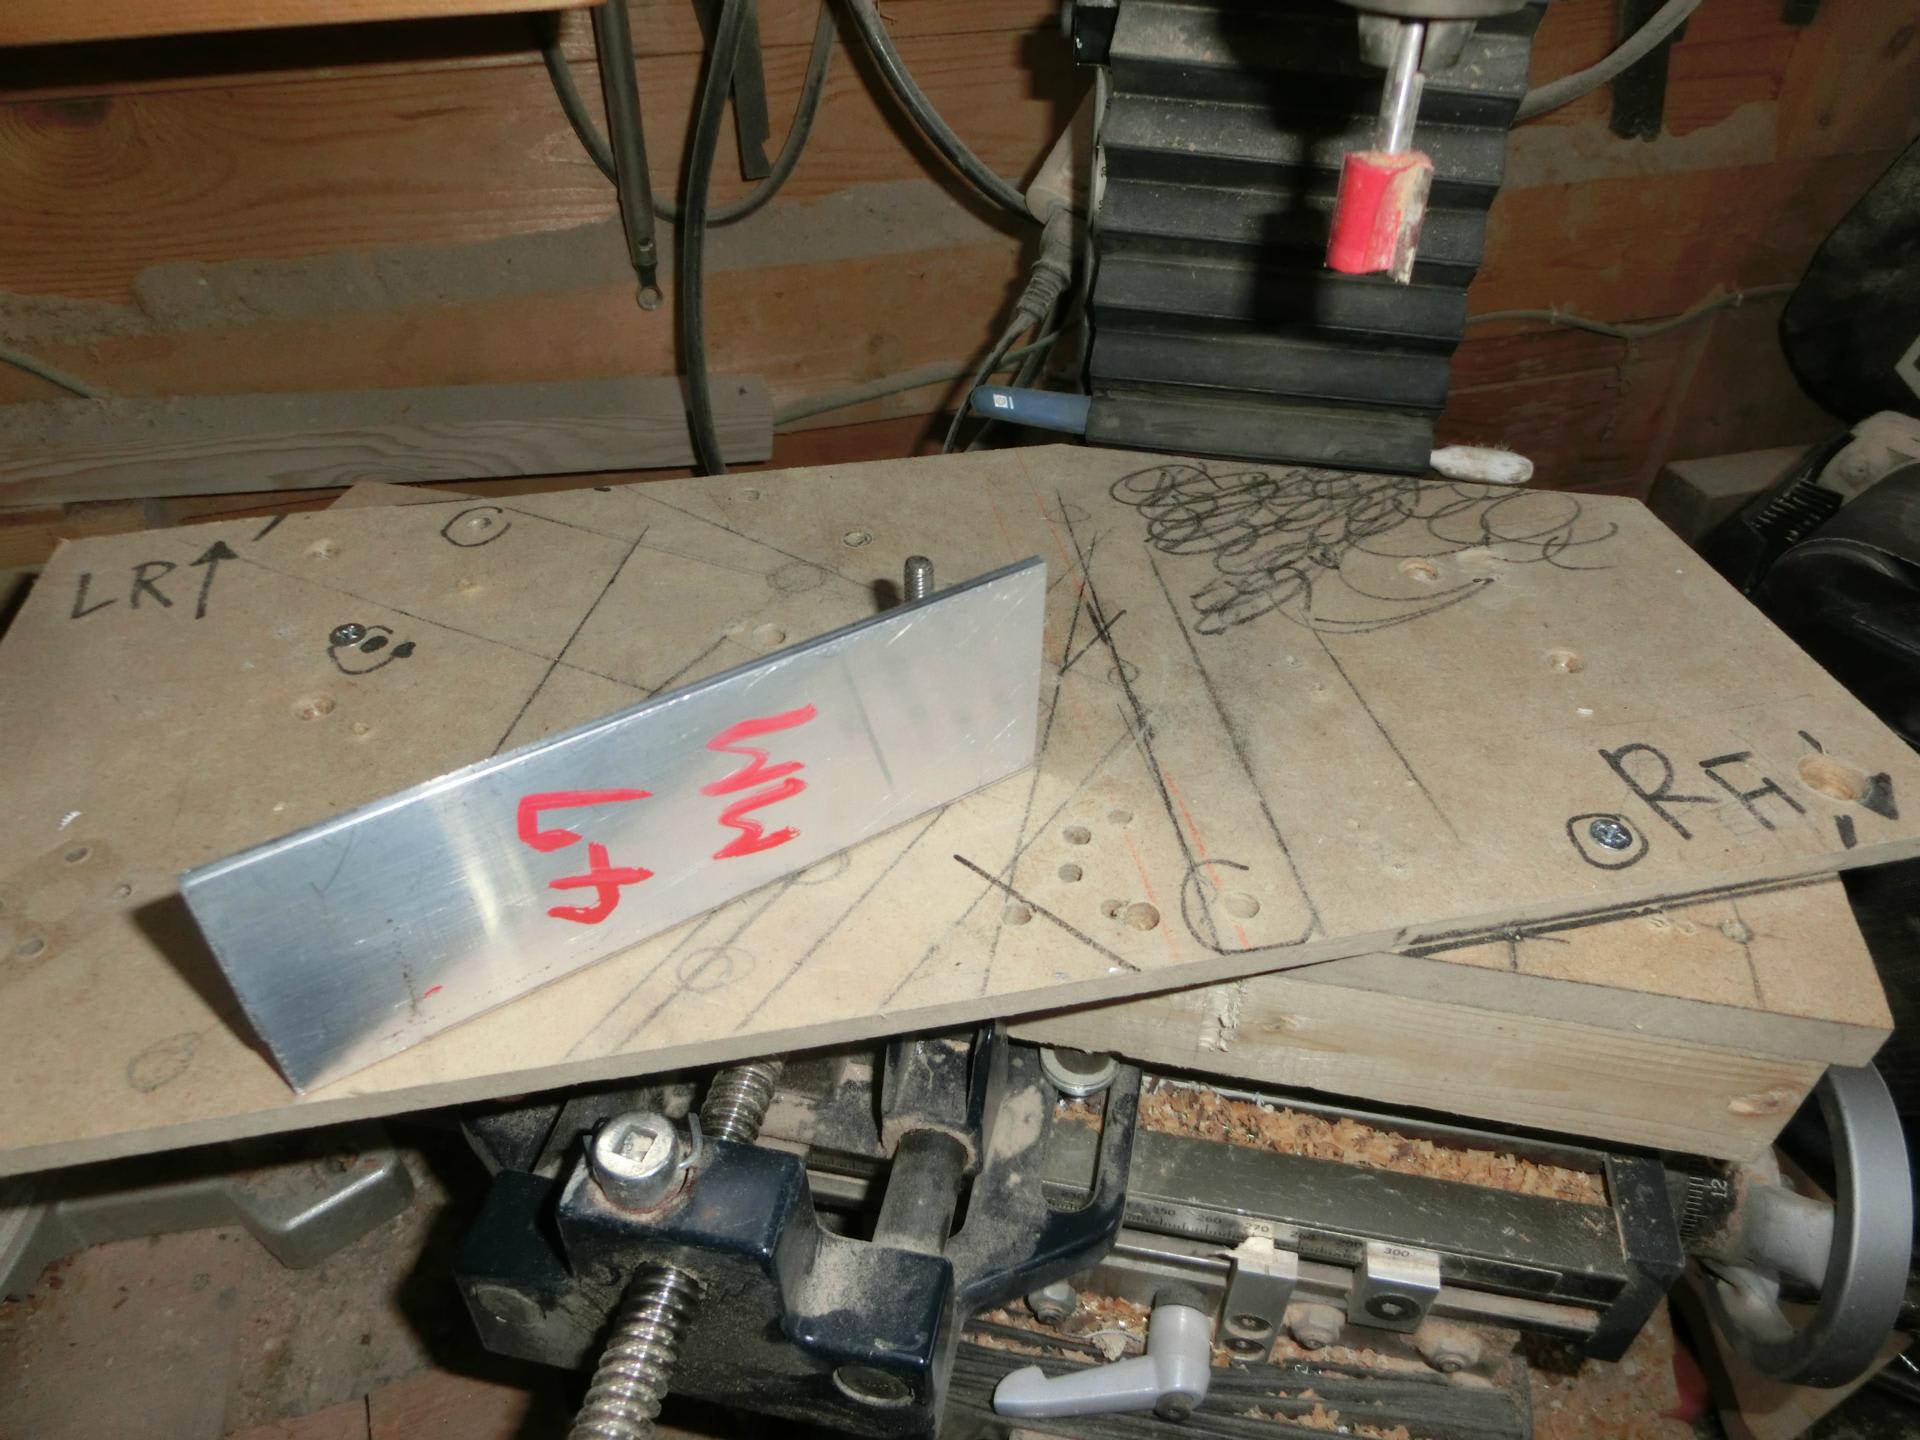
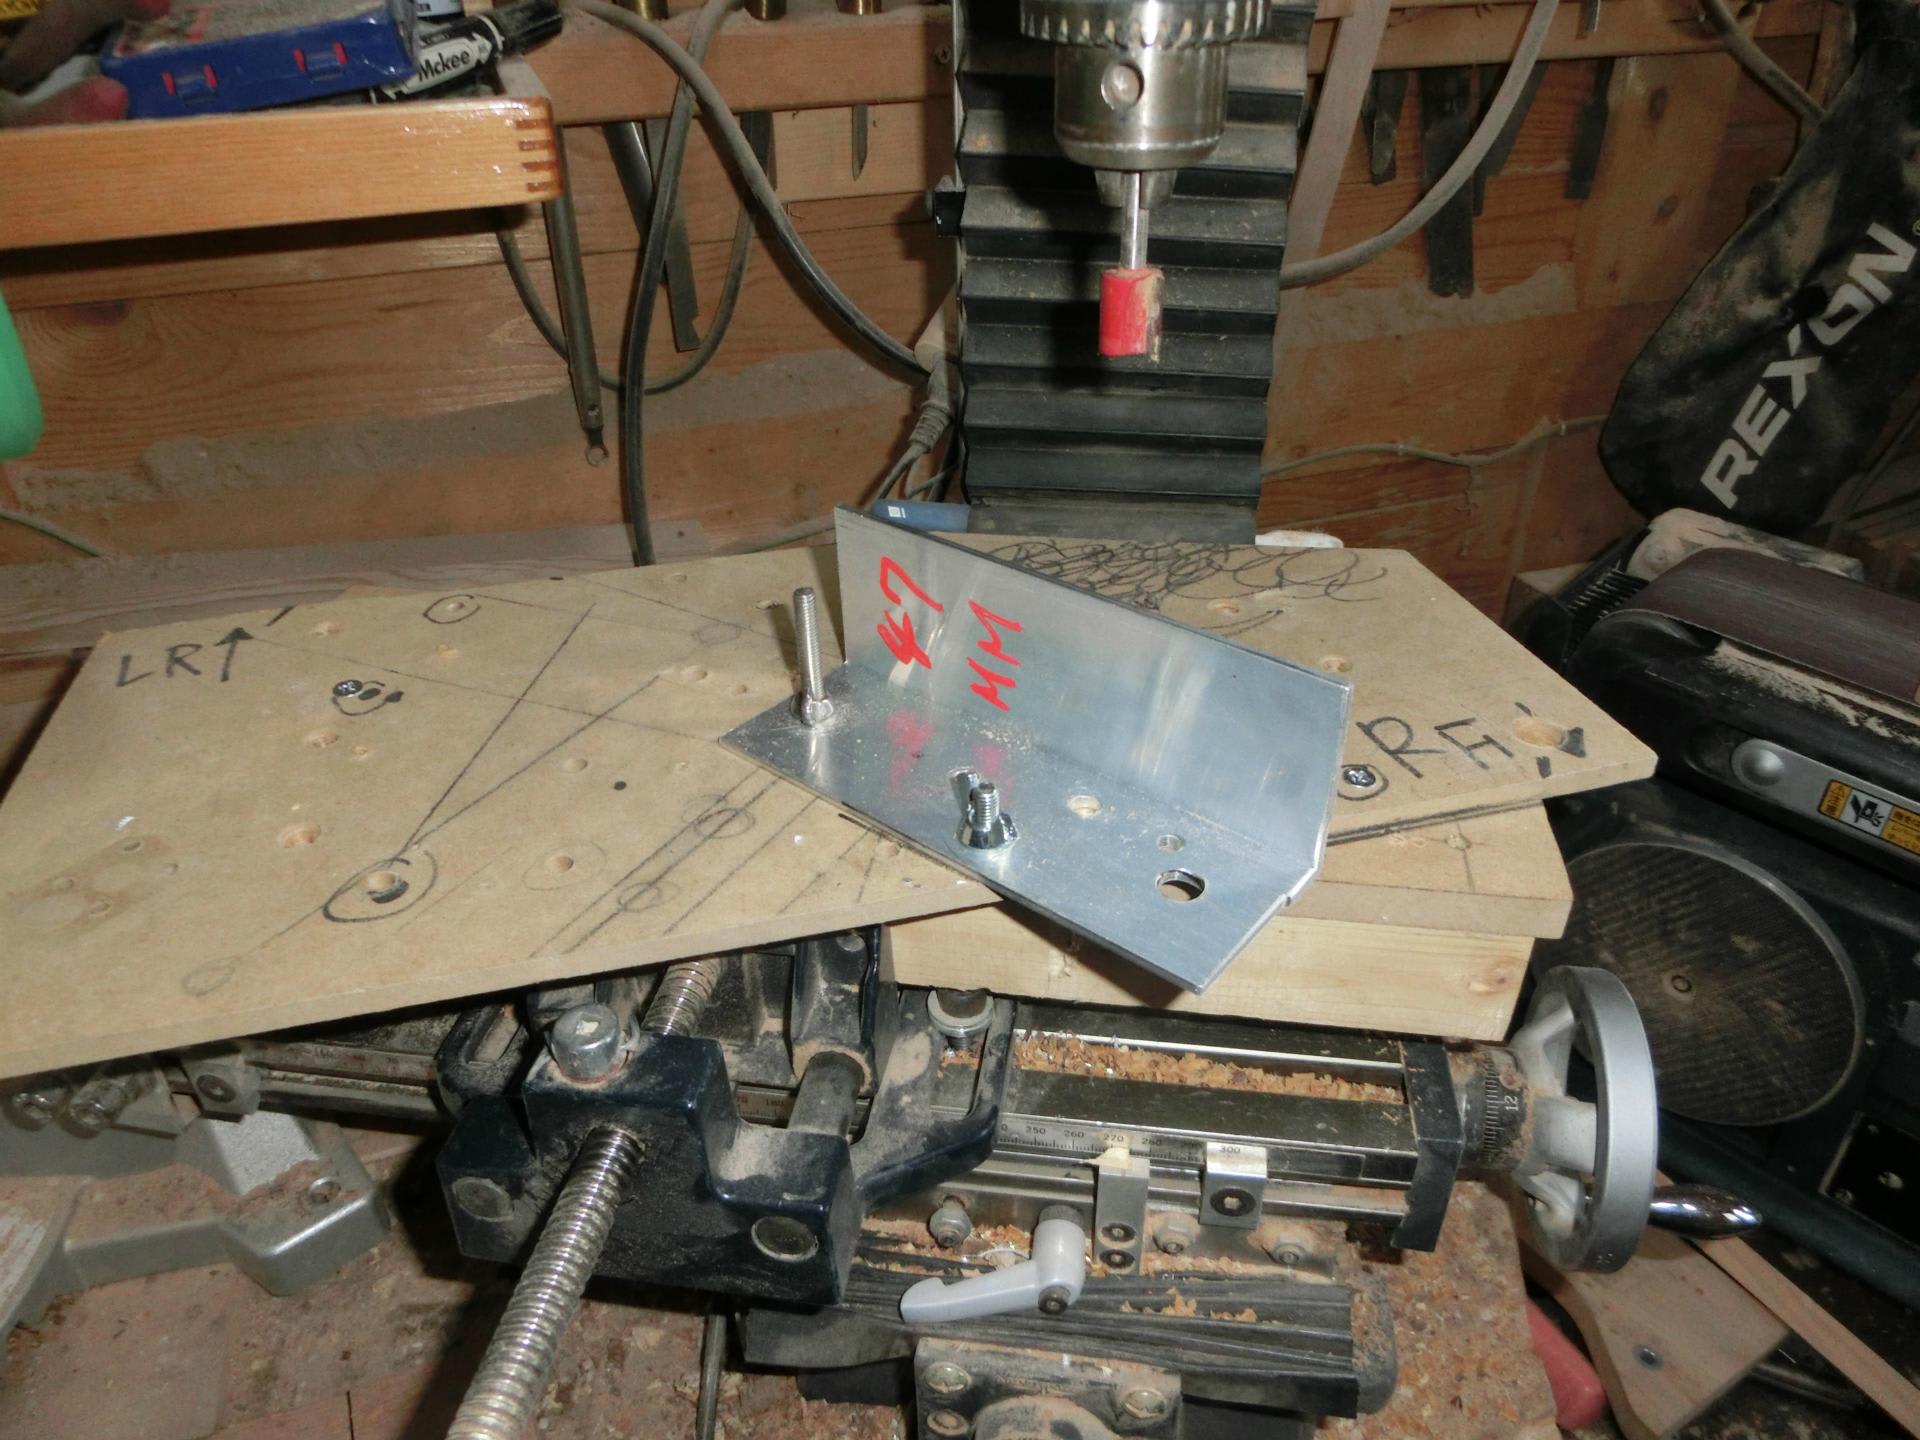
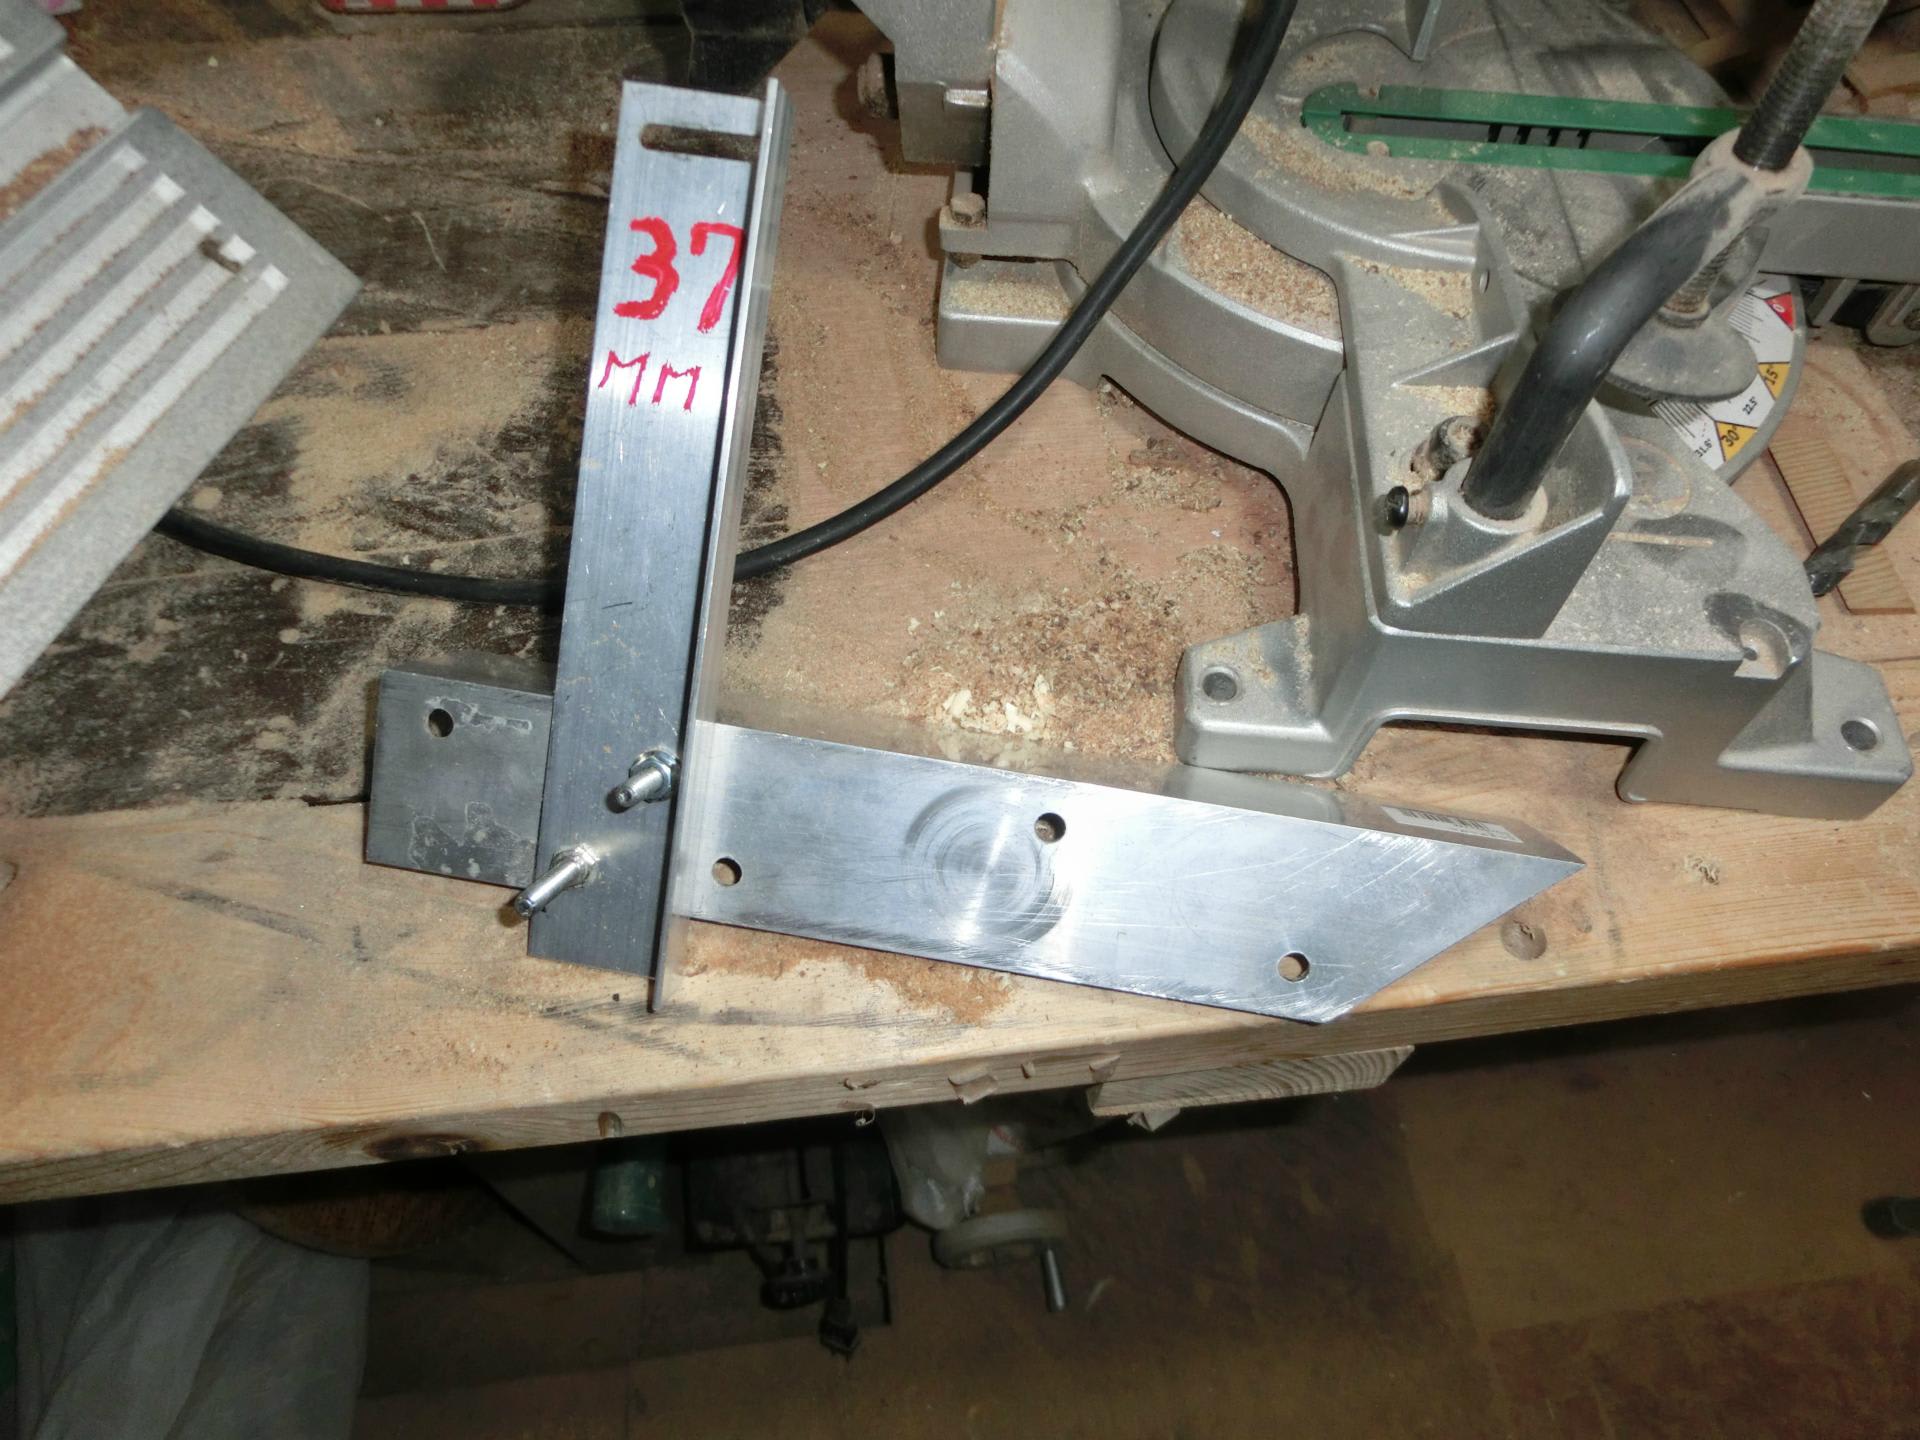
As you see here above it is a much simpler system, because same aluminum piece is rotated to cater for different incision heights. This is a delicate issue and I will not go into its details. Case closed, for ever...

Now, turning to hashi holding jig, see below.


This jig is at an angle (copying the hashi slope underneath) with respect to the horizon, with a cutout at the end where one end of the hashi-to-be plank is going to rest.

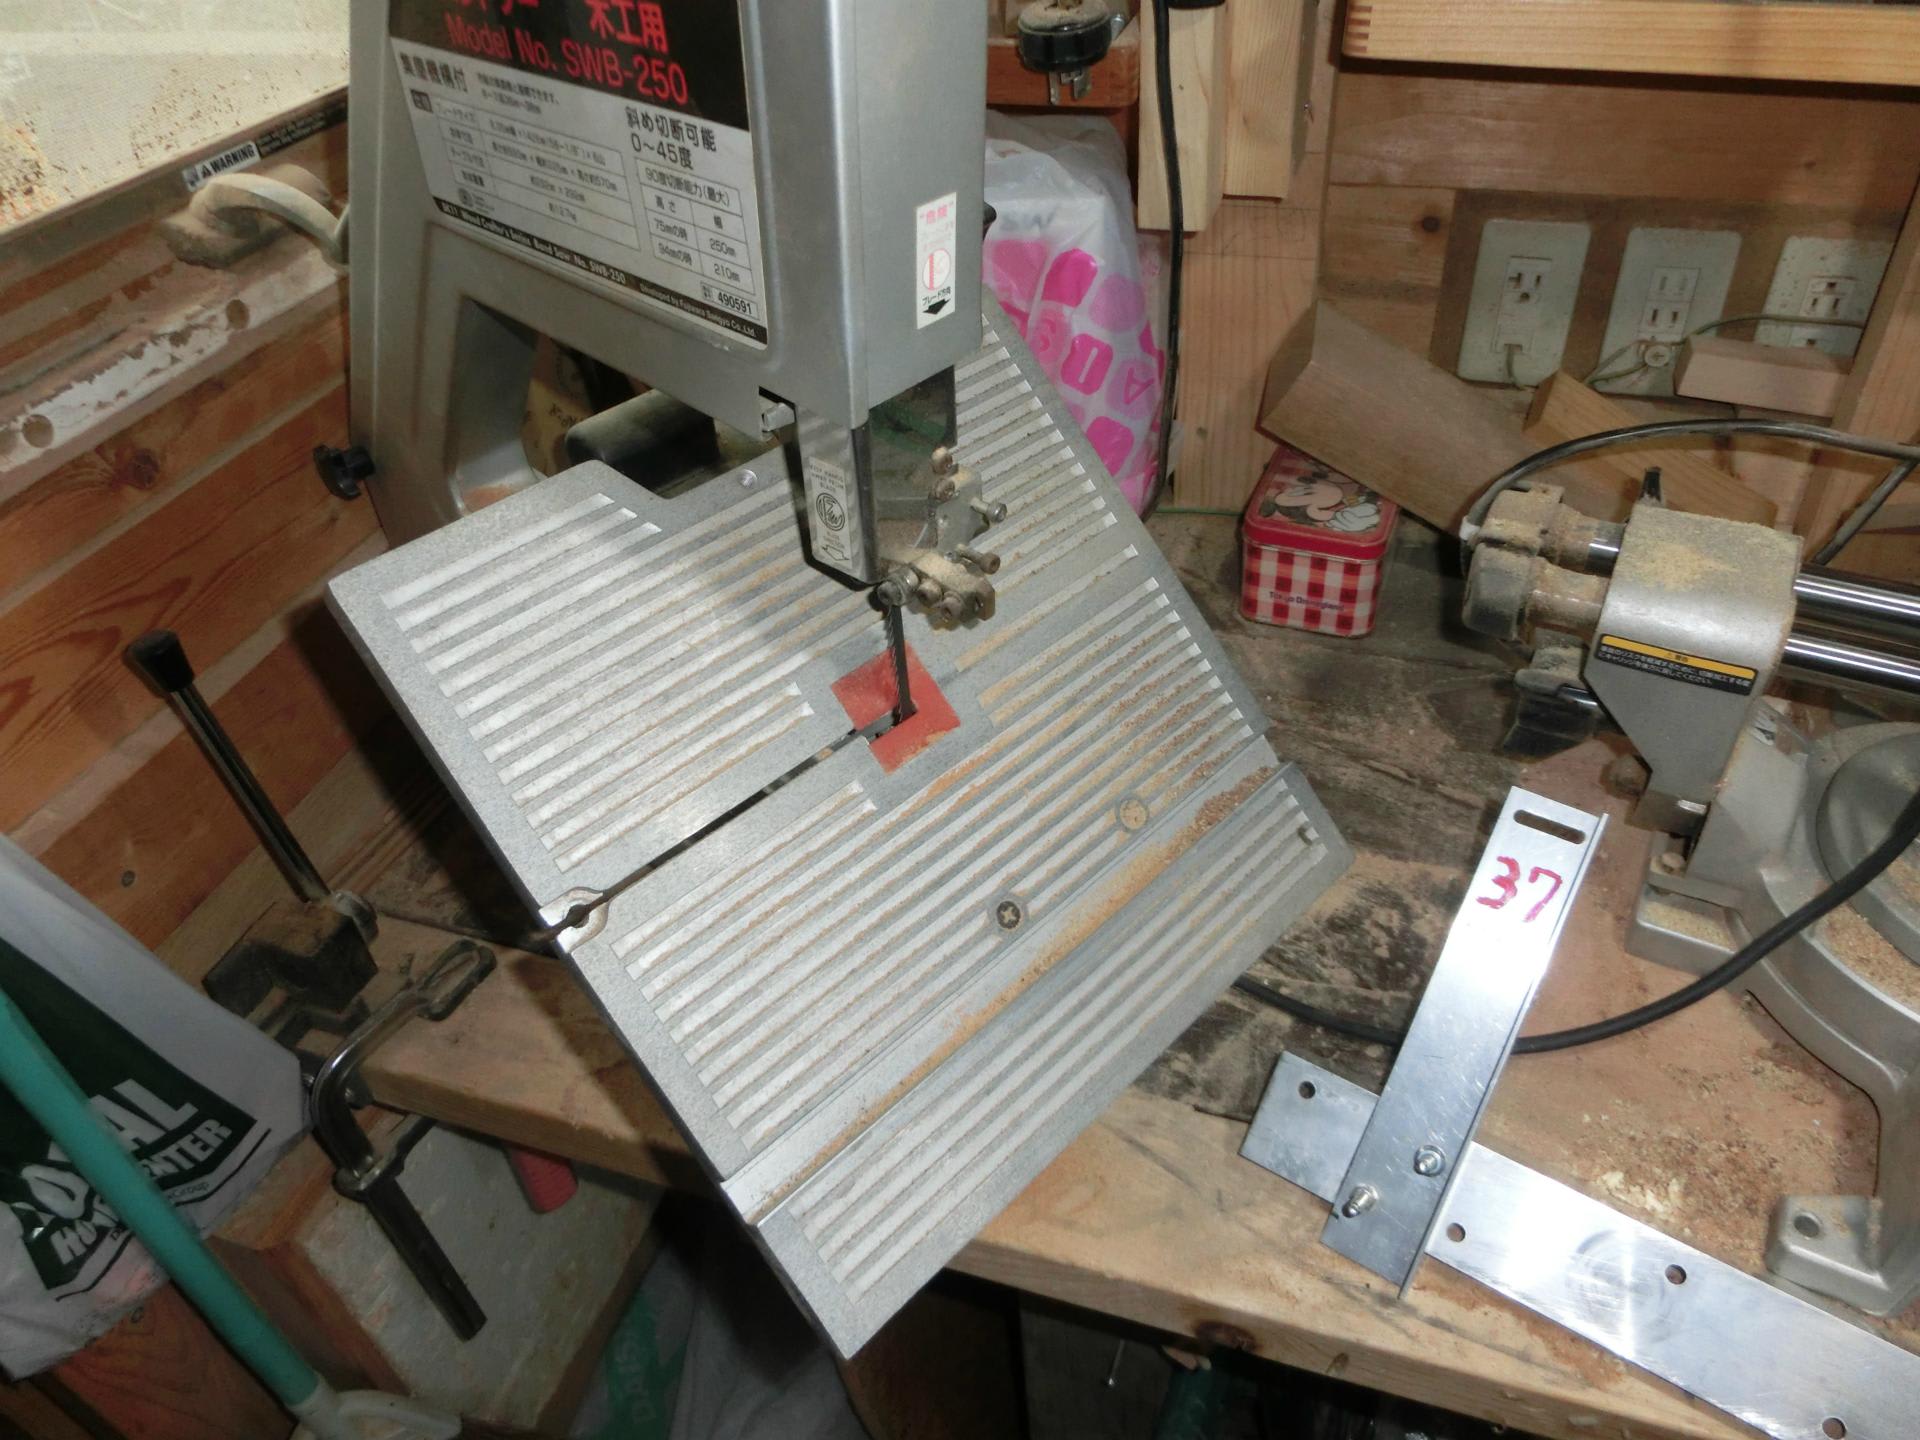
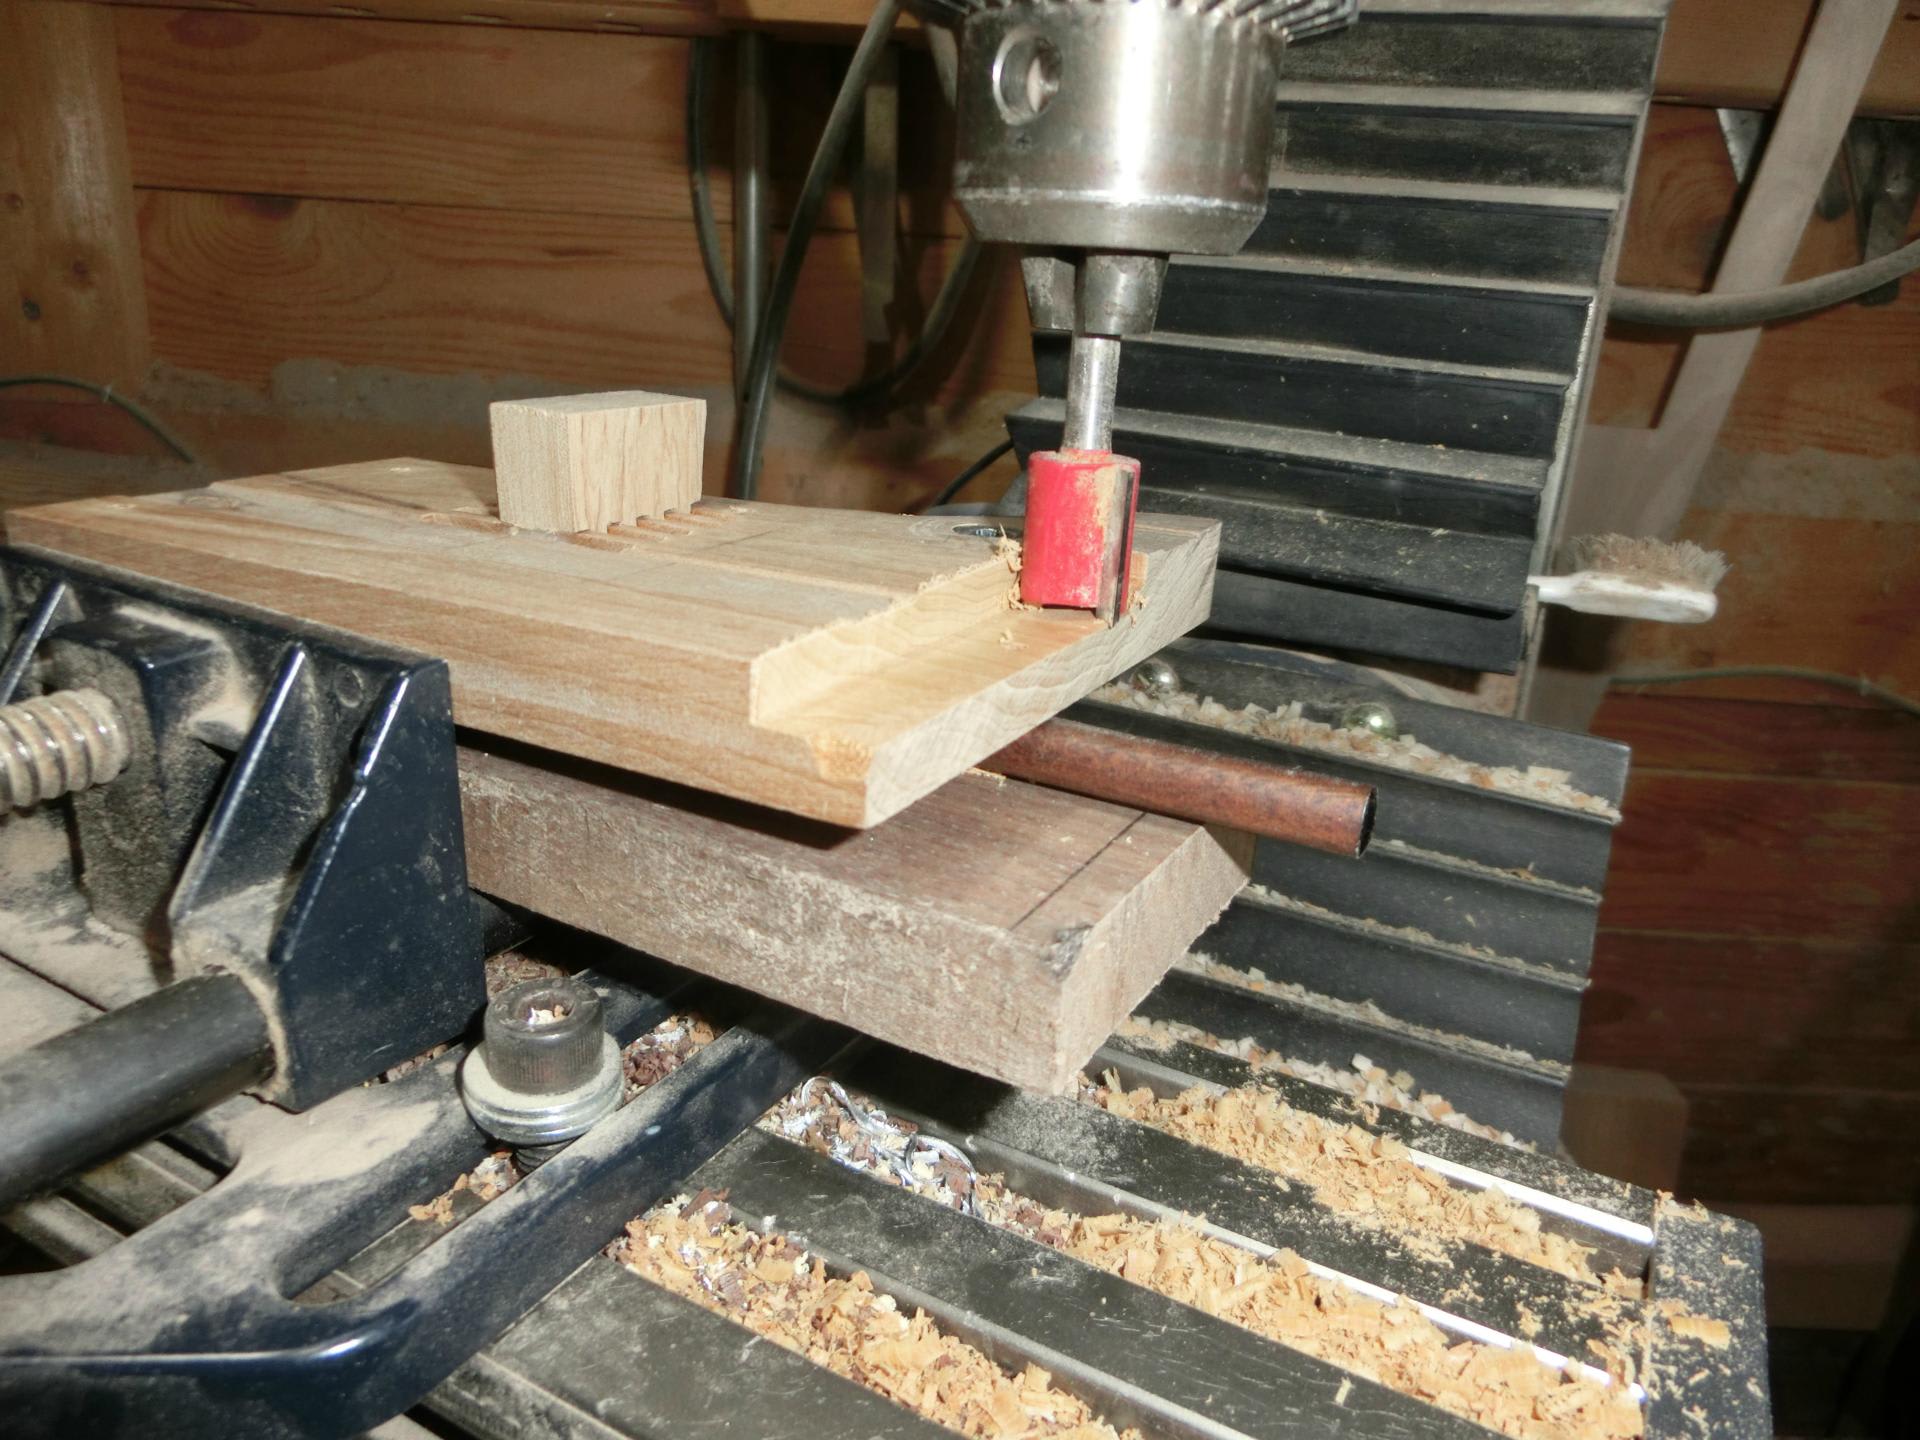
The idea was that when this jig is placed horizontally the cutout angle will inherit the original hashi tapering angle. The whole idea is murky and I want to forget about this idea.

My newer idea was as follows.

1. If I am to use metals they should nor come into contact with the plane blade.

2. Material loss should be kept to a minimal.

3. Planing need not be done down the whole length of the hashi pieces.

4. Jig configuration should be easily modifiable to cater for different lengths of the hashi.

If I am to take all these into consideration my holding jig setup will be something like:

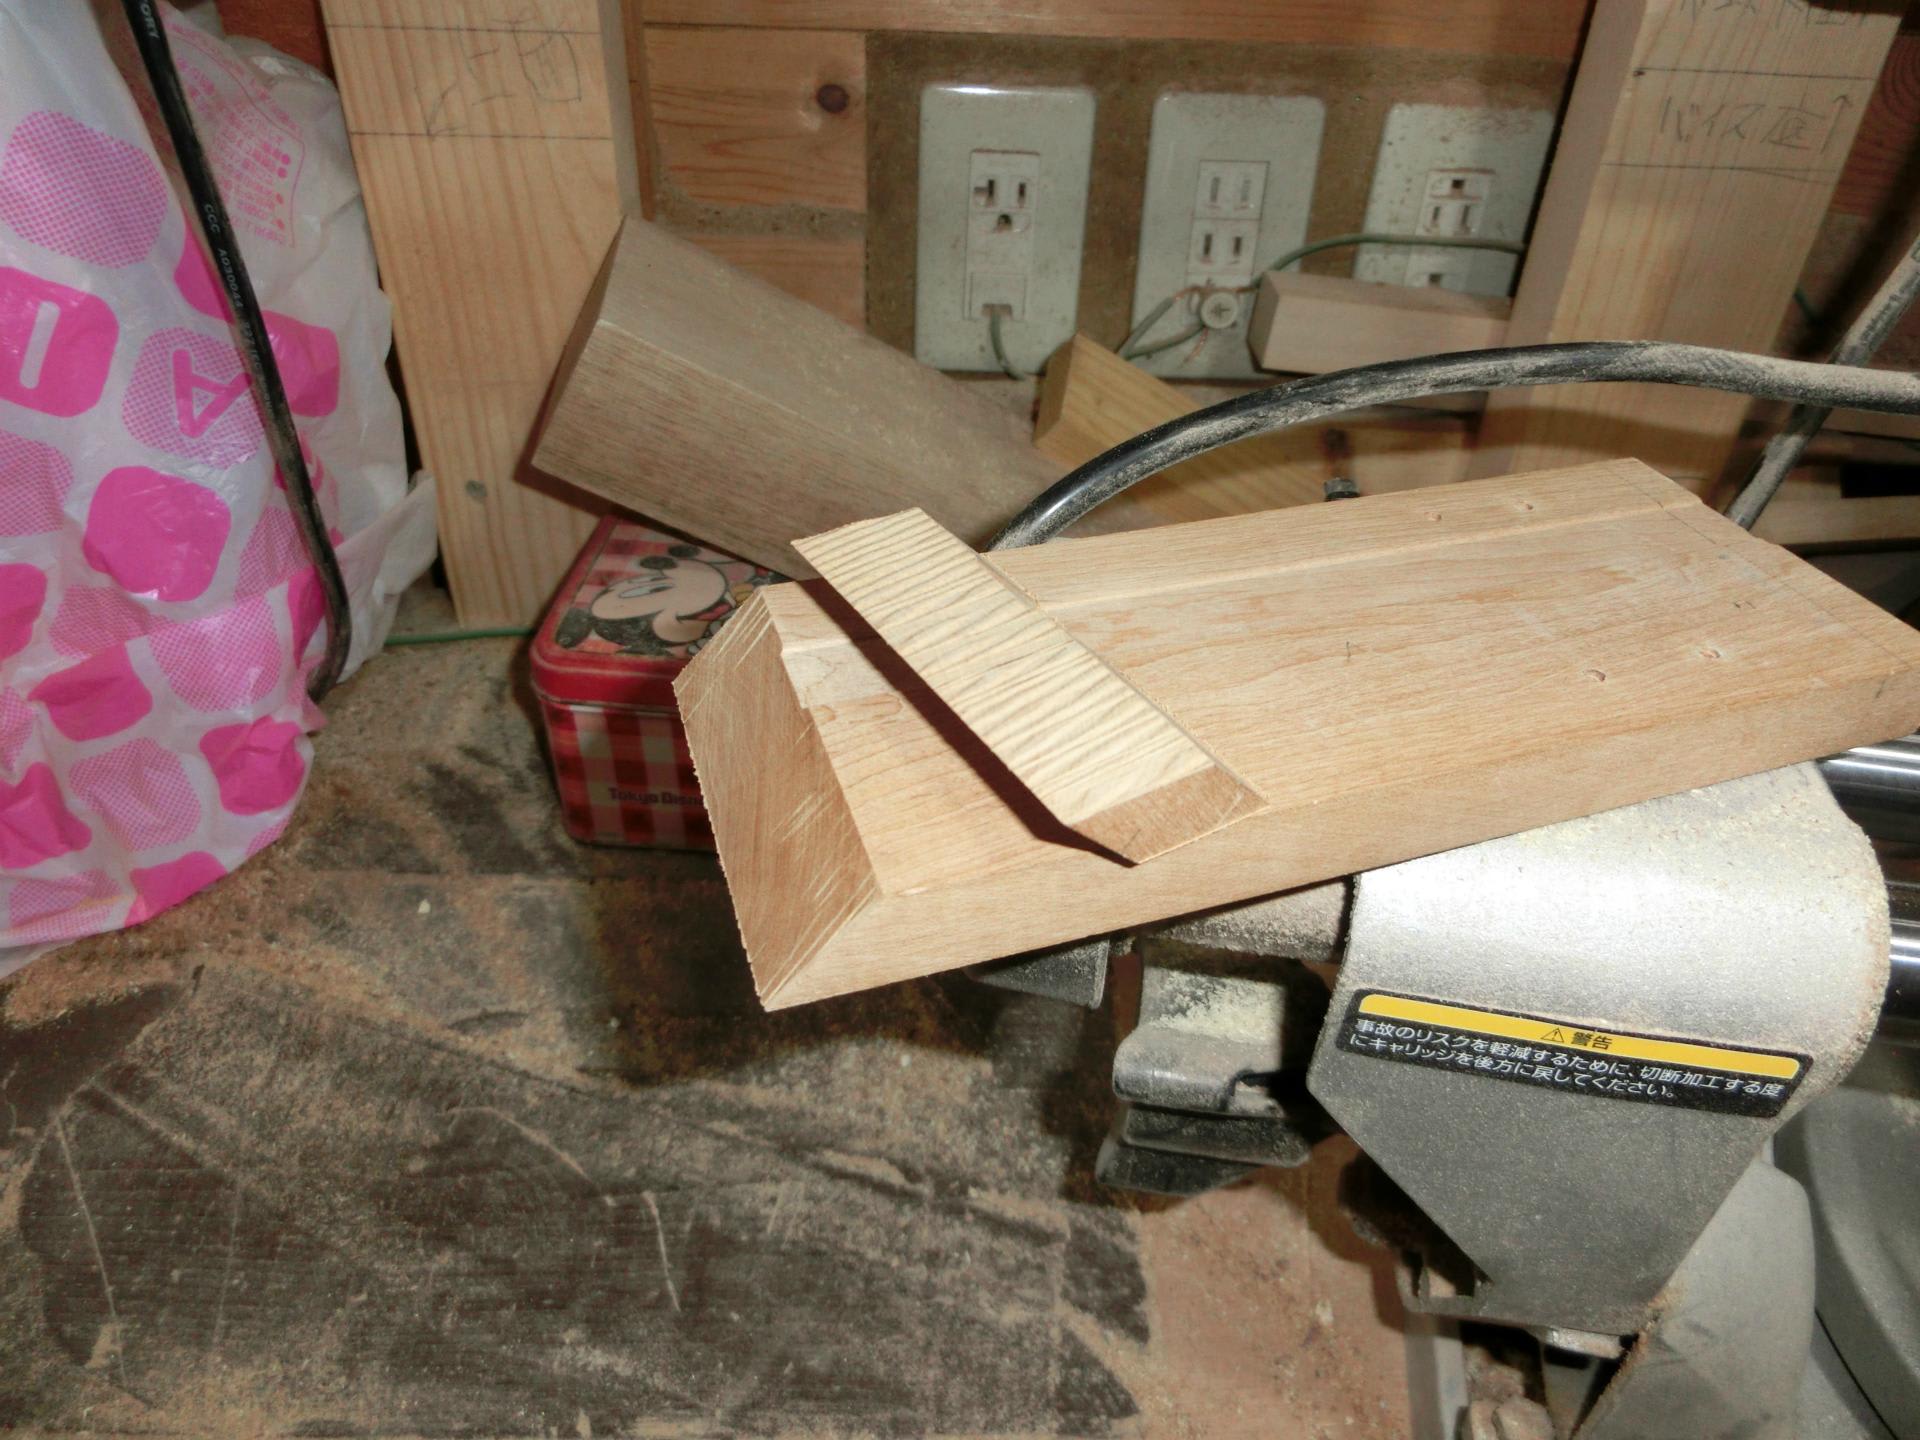
1. A piece of wood fixed at the forward end of the plane bed, with a J clump (or G clump).

2. A thin aluminum plate underneath thicker end of the plank.

3. Mid thickness line drawn at the forward end of the plank.

Yes, with the stopper at the forward end I may not require this metal plate at the thicker end. On the other hand , if the tapering continues equally and evenly down the whole length of the hashi I will be needing to plane the thicker end infinitesimally close to its final dimension.

That will be awfully tricky. However, knowing that forward motion will be stopped automatically I need not to worry about metal contact. So, in place of an infinitesimally small gap I should be able to get away with a 1 mm thick metal plate.

All I actually need is to fix an L shaped metal at the forward end of the (hashi) pusher. I will have a go at it tomorrow...


Forming ideas for hashi making

2015-02-27 08:01:35 | Weblog
It is not just making of hashi pieces, but coming up with ideas and in particular how is what I am talking about.

Some people talk about their experience in a bath tub. Others may form their ideas while riding a bus. There is perhaps no end to this kind of story. However, my own experience is that I need my physical body to be unperturbed, best in bed, in fact.

I think it is simply the matter of conscious concentration, looking at the same issue from half a dozen different angles, sometimes even trying to blow up the whole issue itself, wanting to forget about it all...

Preliminaries apart, I came up with a brilliant idea this morning while I was lying still in my bed re hashi making. Up until now, my hashi making has been one of grinding (on my belt dander) hashi-to-be pieces to their final dimension and shape.

One TV programme I saw about a year ago changed all that, well, at least potentially... I had been wondering how other people actually made their hashies. The answer, and it really was revelation, like a thunderbolt to me, was to use a planer.

If you come to think about it it makes sense. Sanding down an initial piece of wood to a tapered final hashi shape is a very time consuming business. A lot of heat is also generated and it is a slow process. Why not plane them... has been on my mind ever since.

However, I have been constrained, somehow, by a stupid thought that all four sides must be equally planed. This morning I was finally freed from that idea. I will be planing only two sides. This is important because:

1. Planing all four sides runs into the problem of holding a single piece against the planer, which is not easy and even dangerous.

2. Once two sides have been planed the remaining two sides will not produce a lof of areas to be sanded and less heat will be generated.

3. Planing initial two sides coincides with working with the two opposite faces of a single plank and therefore easily leading to cutting out half a dozen individual pieces, in one go, for further processing.

So, the remaining question is one of holding the plank an an angle, how to push it along on my planer, and when and how to stop pushing it any further.

I now have a very good idea and will be trying it out during the course of today, before popping into my gym...


Floating geta beds

2015-02-26 08:25:15 | Weblog
Title apart, provisional coating was made. Actually, I have been out most of the afternoon, so very little done today.

Compare following two photos, first.


These are test pieces, made redundant as a result of my mistakes, and I coated one of them as a trial, with WATCO, a British made coating agent. Satisfied sufficiently with this result I then coated another, which is a redundant snack bed. One of the inserts is seen to be not pararrell to all other lines.

They are shown as follows, for comparison, as before and after.


In this particular instance all inserts are walnut. I will carry an ebony embedded snack bed tomorrow. Note that these photos were taken while oiled surfaces were still wet. Whether I will be liking it tomorrow remains to be seen.

Anyway, back to the title itself. A thought occurred to me that the bed itself can be a lot thinner, say, something like half the current thickness. A plain thin bed for my snacks may well be attractive...

With that sort of thickness, however, it is no longer possible to intersect the legs at either end of the bed because inserts cannot be embedded easily. So, you are immediately faced with the issue of structural stability and rigidity.

Where would you have your legs and how would you fix them firmly to the bed, that sort of things. I do not have an immediate answer. My gut feeling is telling me that the bed will be looking like floating in mid air. Below the bed surface all is currently nebular...

not a long way to go

2015-02-25 16:57:15 | Weblog
Yesterday and this morning also I got my geometry completely wrong with my holding jig. Renewed geometry is reflected in the following picture.


When I became aware of it I tried (in vain) to get away with turning the base plate through 180 degrees and it did not work, because the bonded bed plate is simply too wide for my milling machine.

Anyway, complete setup for groove cutting is shown in the next picture.


Even with this fairly firm grasping arrangement I made two failure pieces. In general, initial failure rate is always something like 30%. This tends to improve rapidly after a few turn outs, but then it is nothing but a blow...

So, what follows looks like a good product, but it is a complete failure in minor details and I will be throwing it away after a coating experiment, with oil (WATCO) and polyurethane.


In the meantime the number of beds is increasing as you see here,


and, despite some hitches some are getting inserts embedded, as you see below, and notice that the very first insert is equidistant (in external appearance) from the corner


and another experiment is under way with ebony and walnut and one other unidentified material as the inserts. They are shown below and the idea here is to investigate into the effect of coating with these different insert pieces.


The dark triangular bit on the left is ebony, and the one to its right (reddish in colour) is something unknown. Right now, centre pieces (walnut) look dull enough, but then you will be noticing a striking difference when these are properly coated.

nearly getting there

2015-02-24 17:28:29 | Weblog
My ebony pieces arrived, shown here below. Each is 3 mm thick, 20 mm wide.


I actually spent some time this morning on making walnut pieces of my own, using the machine shown here,


and this is by far the most dangerous of all the machines I have in my workshop. End result is shown in the following two pictures.


This was cut out from the block on which they are resting in the photos. To do that this "dangerous" machine was used to make two grooves, on either face of the block. The grooved line was then subjected to the bandsaw.

The reason for this two hold process is that the dangerous machine can only cut to the depth of about 20 mm. Even that 20 mm slits must be cut in several steps so as not to overload the motor in the machine.

My bandsaw, on the other hand, is quite capable of cutting to the thickness of up to 100 mm (if I proceed slowly), but then slits will help as the line guide as well as helping to reduce the burden on the blade.

Yes, I use my machines with due care and consideration...

Anyway, I am very pleased about the walnut piece I was able to make. I was not too sure if I could produce 3 mm piece without spending too much time on it. However, having cut a piece into an initial 5 mm thickness it was fairly easy to reduce it down to 3 mm with my belt sander, by inserting the piece occasionally into the waiting corner grooves.

Oh, one other thing I am now pleased about is the bonding of bed members. A photo is shown below.


If you place a piece of wood underneath the cemented members and strike them along the borders with a hammer the whole thing will easily stabilise for resting. The whole process does not take longer than 5 minutes, I think, and I am very pleased about it.

Rested bed assemblies are then planed and fine sanded as shown below,


before inserts are placed in the corner grooves as shown below,


Now, all this brings me to the issue of cutting more precisely and comfortably to 45 degrees. So, I spent a lot of this morning (I do not work in the afternoons as I go to my gym), trying to come up with a better holding jig.

The idea here is to hold the material fixed both horizontally and vertically with respect to the saw blade. Fixing mechanism needs some room for positional displacement across, and the first step is to make holes in the metal jig, as shown here.


However, a simple drill bit can only produce a circular hole and I need to use an endmill as shown below,


eventually to make the holes oblong, as agains shown below.


The net result is shown below, but this is only good for one degree of freedom, and I will cater for that tomorrow. Anyway, the setup is shown here.


Let me add this. I am showing all these, merely for posterity and posterity only...

Work continues

2015-02-23 17:13:28 | Weblog
One striking feature of my snack beds is the inserts. This morning I made an order for 3mm ebony planks. They should be arriving in a few days time.

So, incisions were made today as you can see in the following two pictures. The first one is the cutting process with a 3 mm disk blade and the bed is waiting for the inserts as shown in the second picture.


I had to make modifications to the jig that I showed you earlier and the simpler holding jig is shown next.


Actually, I will need to modify this jig still further, because today's cut lengths are equidistant from the corners. This is not too clear from the pictures I am carrying, but closer look at them compels me to go for non equidistant incisions.

I will look into this complication tomorrow, and in the meantime I will show you two more pictures as follows.


This one, above is my Delta planer. I am hoping to use this for my "hashi" making. I will go into that separately, soon.


Above is my milling machine. It is meant for working with metals, but who cares?

Having said and shown all these above I am now inclined to use walnut for my inserts, too. This is because ebony pieces may turn out to be too dark or even too black against the light coloured material I am currently using.

Also, I might be able to use one of my other cutting machines to do the work. If I am able to make 3 mm pieces from walnut then that will expand the scope for all other exotic materials. Red against white may well become reality.

It is not that I particularly fancy that sort of colour contrast. It is merely a thought...

It is taking shape!

2015-02-22 17:51:42 | Weblog
Today's work, well, it has been solid enough, I think. Oh, yes, there was one hitch, big one at that.

As of yesterday, I was optimistic that smoothing out boundary steps between the bonded members would be fairly easy on my belt sander. As it turned out it was not. I would not go into the details. Suffice to say that it was time consuming, initially, at least.

All in all, I had to reorganise the layout of my workshop machines, including my Delta planer and I am pleased to say that my efforts payed off, as you are about to see.

The first of the five photos is as follows, and


what is intended here is to stop inserted legs from moving out of position. To that end two pieces of stopper were clamped at either end of the inverted bed (not yet in place), and the white piece of paper is there for eventual easy removal of the bonding agent.

Then, the bed is inverted and placed between the stoppers, as you see in the following picture.


Legs are then inserted as follows.


and a clamping aid is placed over the legs, striding across them,


and the whole assembly is firmly clamped, as the final picture indicates, here.


Today's most demanding task was to come up with an easy way to fix those 45 degree legs to the main bed. Geometrically speaking they are at right angles and you would expect to use commercial clamps as shown below,


However, these are bulky and rather expensive and above all not exactly appropriate for the short legs for my snack beds. Typically, these commercial jigs are meant to clamp 5 cm or longer. So, I had to devise my own way of fixing my members.

Cutting materials to 45 degrees is one thing, but bonding them at the right place at the right angle without recognisable gaps is completely another. In fact, any gap at all will completely destroy the whole beauty and elegance of the snack beds.

I am keeping my fingers crossed for tomorrow...

Creating snack beds

2015-02-21 17:35:23 | Weblog
Most of today's work was spent on cutting out members of my eventual products, which I started calling, as shown in the title field, snack beds. They are shown in the next photograph.


White pieces on the left are the side members, which will sandwich the browny centre pieces in the right hand stack, and the bonding simulation is shown in the following picture.


I expect them to be planed tomorrow, cut out, and hopefully bonded again into their final shape, which is not shown here.

I also spent some time on improving on existing jigs. This one here,


now has a small flap on it in order to stabilise the holding process. This jig will be used as it is shown here, with the member pointing to the right coming to the bottom of the assembly, and I may even add another small part to the bottom of it so that the work piece will not slip down the whole assembly while being cut.

The final picture for today is another cutting jig. Bonded pieces before incisions are made into the corners will be held by the toggle stopper. The whole assembly will be firmly held in turn by the vise, which is part of my milling machine. It is shown here.


Now, you may say that these look primitive and I stand to be challenged on that. The simpler the better is my experience to date. I have created more sophisticated jigs, but that is now more or less my philosophy in action.

Also, these changes tend to be rather minor and incremental. I accept that, but again as elsewhere in our industrial world today most of end products which appear to be epic are the result of constant incremental changes.

I have been proudly walking in the path...

Cutting to 45 degrees

2015-02-20 17:05:53 | Weblog
It has been my dream and it had been that way when I finally, when was it?, gave up the idea of cutting my materials to 45 degrees. That must have been 5,6 years ago by now, at least.

At that time I did make some 45 degree pieces after a fashion, of course, but then most of them were experimental and sadly defective in microscopic sense, not to my liking, anyway.

In the small world that I live in it is well known that it is impossibly difficult to cut wooden pieces, particularly planks, precisely to 45 degrees. And yet, I am here today, perhaps, to announce, with some trepidation, that I may be succeeding after all and after all those years.

Anyway, take a look at the following three pictures.


The last picture shows the resultant and there is nothing new about the whole setup. Even the material holding jig is a plain idea that anybody can come up with. It is the precision that I am yapping about. Naturally, saw traces will remain over the cut faces, but then they can be smoothed out by my belt sander, which is not shown here.

I am very, very satisfied with my trial today. I should be able to fine tune the current setup and aim for even more precise 45 degrees. You may wonder what I have in mind as an eventual product. Well, it is a tiny, table like bed for putting my snacks on.

I cannot go into more details at this stage, but I should be ale to start working on them quickly enough and come up with an interim product with appropriate photos to show. I must stress that this is potentially something very big simply because it opens up the way forward to a whole range and variety of 45 degree objects...

何処に行こうか?

2015-02-19 18:03:25 | Weblog
特定の目的地に旅行する理由を考えなければ旅に出られないと言うのも情けない話だが、実感的に考えるべき問題として存在するし、更にはその理由が応用問題にも発展するのだから、自分に言い聞かせるためにも整理したくなってしまう。

"These, as you know, are all sinusoidal waves and we are not interested in them"

これが私の母校 Imperial College, London での信号理論の講義の際に講師が冒頭で語った内容だ。

"We are not interested, because they are all predictable. On the other hand take a look at these..."

そこに写し出されたのはノイズだらけの信号だった...

旅も多分同じことだろう。日常とは異なる体験をしたい、予測できない物事に出会いたい。それが原点だと思う。例えば、自分が住む街の近郊の、普段は通りそうにない所を車で通りかかっただけでも感じる何かがある、決して強いものではないが...

異国に行けば、尚更強く、心を揺す振る何かが、ある...、だろう、あるいは、ないのだろうか?

多くは好みの問題だと片付けられるが、例えば東南アジアのリゾ-トビ-チだ。日本人の多くがあんなものに関心を持っているとはとても思えない。欧米人が砂浜で亀になるのは勝手だが、日本人が長時間亀になっているのを見た事はない。

日本人が海辺のリゾ-ト地を訪れるのは、幻想によるものだと思う、いわば旅行パンフレットに踊らされて...

ビ-チの何処がよいのだろう?、砂浜が白かろうが黒かろうが、延々と続くビ-チは結局のところ、正弦曲線みたいなものだ。だから、それでも尚、人々が押し掛ける大きな理由はビ-チなど実際にはどうでも良くて、リゾ-トホテル自体の持つ非日常性なのだと思う。

問題は、それだけで満足出来るか、だ。私にはとても出来ない...

大量の旅行パンフを見て、すぐに気が付くのは、それがどの国のものであれ、砂浜の写真とリゾ-トホテルの内外観で構成されているので、ベトナムも含めて東南アジアのどの国のリゾ-ト地も同一に見える事だ。ベトナムのリゾ-トも、インドネシアのリゾ-トも見分けがつかない。

それらは、現地の人々の普通の生活から地理的に孤立しているために、固有のノイズがないし、あったとしても、美しく飾られた、予測可能な人工的なノイズでしかない。

然も、どのツア-会社のパンフを見ても、同一リゾ-トの写真は、ほぼ同じアングルで、砂浜以外には同じ対象を撮っている。その同じ対象は往々にして砂浜に至る階段か、通路でしかない。その位のノイズでしかないのだ。と言うか、到底ノイズとは言えないものだ。階段がどうしたと言うのだ...

だから、東南アジアのリゾ-ト地に旅行する限り、どの国に行っても、結局後になって考えれば、同じ様な印象しか形成されていない事に気が付くだろう。場所の名前が違うだけで何処に行っても、同じ様な人種が同じ様に入り混じっているので、尚更区別がつかない。

だから、東南アジアの海辺のリゾ-ト地への旅行は、日常性からの脱出は出来ても、今一物足りない気がするのは私だけだろうか?

ここで、海からは遠い台北の街を考えてみよう。あそこには普通の生活の匂いや騒音がある。確かに今風の高層ビルやブティック、スタバだ、なんだは沢山あるが、大通りにすらペンキ屋もあれば、電動工具を売る店、総菜屋、その他訳の分からない物を商う店がある。

私の異国での印象には、是非ともそれらを含む必要がある。だから、海がある事は必要条件ではないが、現実の東南アジアの旅行先は海を含むものがほとんど全てなので、そのために悩んでしまう。

で、私が目の敵にしているのは実は、恐らく海の付属品としての砂浜そのものかも知れない。何故、高い金を払って銚子の砂浜みたいな場所に行かねばならないのか?私だって陸と海との接点は是非とも見て見たいし、触ってみたいし、歩いてみたい。でも、延々と続く砂浜には絶対に興味がない。本物の亀でもいれば話は別だが...

信号理論の講義の話をした理由がそれだ。

然も、果たして、その様な砂浜で、例えば釣りが出来るだろうか?

私も少しは心を惹かれたオプショナル・ツア-に岸壁釣りの写真があった。でも、実際にそのツア-に参加した人のコメントは、失望以外の何物でもなかった。お金を払ったのに砂浜に連れて行かれて、単なる投げ釣りに終わったからだ。多くの人にとって、釣りは郷愁と共に岸壁でするものだ。例へ、何も釣れなくとも...

コタキナバル...、 でも、あそこは違う。絶対に違う。海との接点ぎりぎりの所に生活の匂いがあるし、騒音も、あるいは10年前の秋葉原デパ-トの猥雑さも確かに存在する。砂浜が延々とある訳でもないし、然も活気のある岸壁と港、岸壁で釣りをする子供たちもいる。

でも、そのコタキナバルでさえ、町中から数キロも離れたリゾ-トホテルに行ってしまえば、それで魅力は消失してしまうだろう...

以上はグ-グルマップを見たり、パンフを見たり、ネットで調べたりしただけで形成されたものだ。だから、兎に角、実際にバリ島に行って様子を見て来るつもりだ。何故、タイや、その他の有名なリゾ-トでなくてバリ島なのかは、比較的簡単に答えられる。

インドネシアは行ったことがないし、何よりも海だけでなくジャングルや山にも関心があるからだ。私は、ジャングルがなければ東南アジアではないと思っている。