


My ebony pieces arrived, shown here below. Each is 3 mm thick, 20 mm wide.

I actually spent some time this morning on making walnut pieces of my own, using the machine shown here,

and this is by far the most dangerous of all the machines I have in my workshop. End result is shown in the following two pictures.


This was cut out from the block on which they are resting in the photos. To do that this "dangerous" machine was used to make two grooves, on either face of the block. The grooved line was then subjected to the bandsaw.
The reason for this two hold process is that the dangerous machine can only cut to the depth of about 20 mm. Even that 20 mm slits must be cut in several steps so as not to overload the motor in the machine.
My bandsaw, on the other hand, is quite capable of cutting to the thickness of up to 100 mm (if I proceed slowly), but then slits will help as the line guide as well as helping to reduce the burden on the blade.
Yes, I use my machines with due care and consideration...
Anyway, I am very pleased about the walnut piece I was able to make. I was not too sure if I could produce 3 mm piece without spending too much time on it. However, having cut a piece into an initial 5 mm thickness it was fairly easy to reduce it down to 3 mm with my belt sander, by inserting the piece occasionally into the waiting corner grooves.
Oh, one other thing I am now pleased about is the bonding of bed members. A photo is shown below.

If you place a piece of wood underneath the cemented members and strike them along the borders with a hammer the whole thing will easily stabilise for resting. The whole process does not take longer than 5 minutes, I think, and I am very pleased about it.
Rested bed assemblies are then planed and fine sanded as shown below,

before inserts are placed in the corner grooves as shown below,

Now, all this brings me to the issue of cutting more precisely and comfortably to 45 degrees. So, I spent a lot of this morning (I do not work in the afternoons as I go to my gym), trying to come up with a better holding jig.
The idea here is to hold the material fixed both horizontally and vertically with respect to the saw blade. Fixing mechanism needs some room for positional displacement across, and the first step is to make holes in the metal jig, as shown here.

However, a simple drill bit can only produce a circular hole and I need to use an endmill as shown below,

eventually to make the holes oblong, as agains shown below.
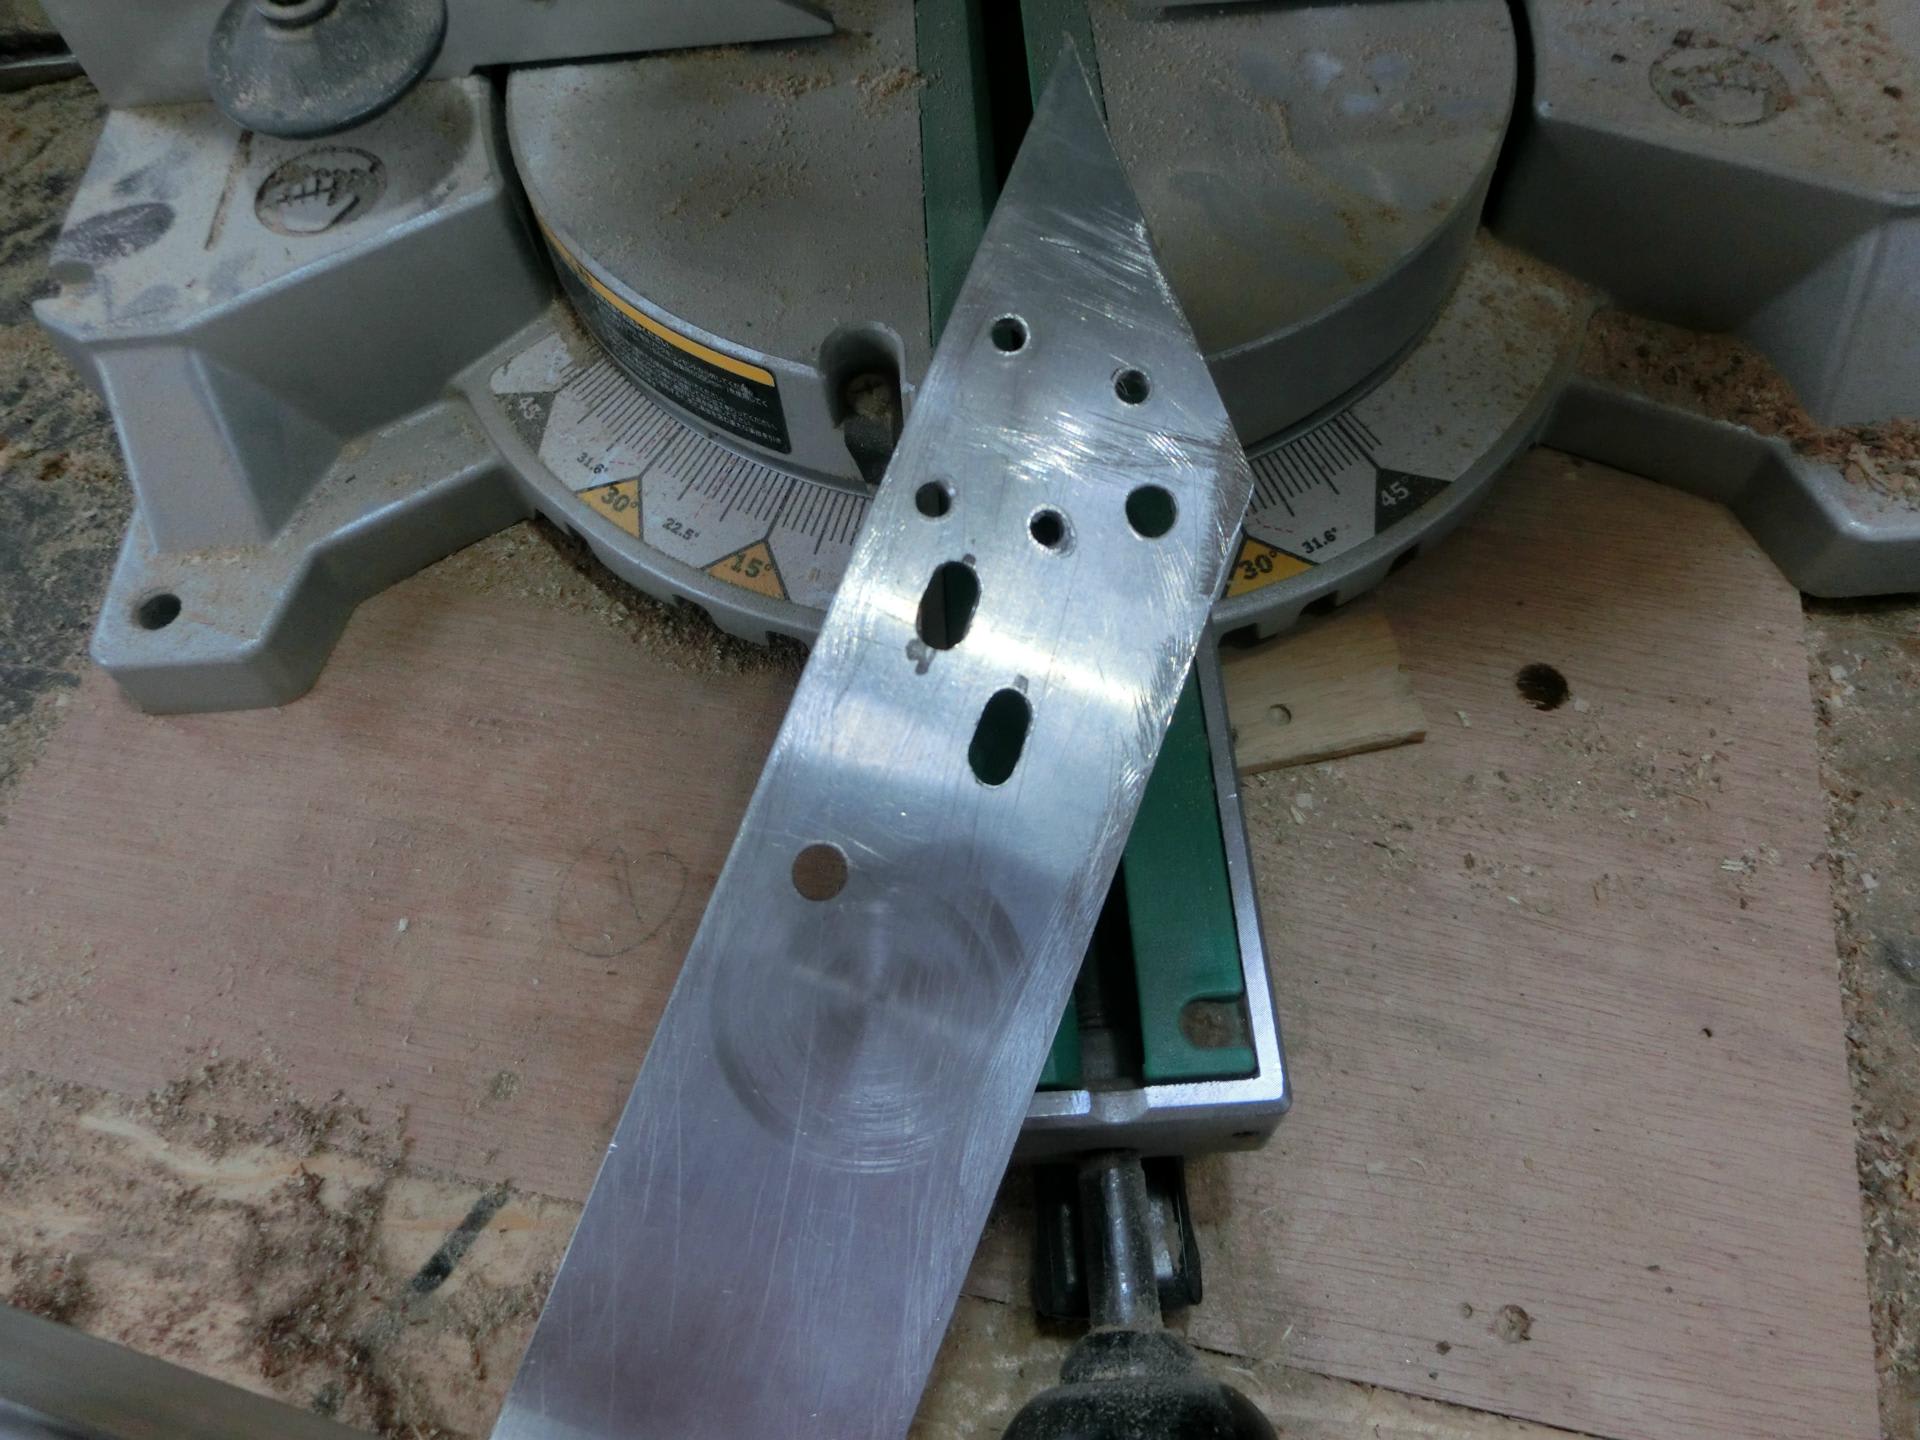
The net result is shown below, but this is only good for one degree of freedom, and I will cater for that tomorrow. Anyway, the setup is shown here.

Let me add this. I am showing all these, merely for posterity and posterity only...
I actually spent some time this morning on making walnut pieces of my own, using the machine shown here,
and this is by far the most dangerous of all the machines I have in my workshop. End result is shown in the following two pictures.
This was cut out from the block on which they are resting in the photos. To do that this "dangerous" machine was used to make two grooves, on either face of the block. The grooved line was then subjected to the bandsaw.
The reason for this two hold process is that the dangerous machine can only cut to the depth of about 20 mm. Even that 20 mm slits must be cut in several steps so as not to overload the motor in the machine.
My bandsaw, on the other hand, is quite capable of cutting to the thickness of up to 100 mm (if I proceed slowly), but then slits will help as the line guide as well as helping to reduce the burden on the blade.
Yes, I use my machines with due care and consideration...
Anyway, I am very pleased about the walnut piece I was able to make. I was not too sure if I could produce 3 mm piece without spending too much time on it. However, having cut a piece into an initial 5 mm thickness it was fairly easy to reduce it down to 3 mm with my belt sander, by inserting the piece occasionally into the waiting corner grooves.
Oh, one other thing I am now pleased about is the bonding of bed members. A photo is shown below.
If you place a piece of wood underneath the cemented members and strike them along the borders with a hammer the whole thing will easily stabilise for resting. The whole process does not take longer than 5 minutes, I think, and I am very pleased about it.
Rested bed assemblies are then planed and fine sanded as shown below,
before inserts are placed in the corner grooves as shown below,
Now, all this brings me to the issue of cutting more precisely and comfortably to 45 degrees. So, I spent a lot of this morning (I do not work in the afternoons as I go to my gym), trying to come up with a better holding jig.
The idea here is to hold the material fixed both horizontally and vertically with respect to the saw blade. Fixing mechanism needs some room for positional displacement across, and the first step is to make holes in the metal jig, as shown here.
However, a simple drill bit can only produce a circular hole and I need to use an endmill as shown below,
eventually to make the holes oblong, as agains shown below.
The net result is shown below, but this is only good for one degree of freedom, and I will cater for that tomorrow. Anyway, the setup is shown here.
Let me add this. I am showing all these, merely for posterity and posterity only...