


The orignal pantographs have functional and cosmetic issues. The biggest issue is the collector head that cannot be kept its horizontal position. DC kits supplies the replacement parts for EM1/EM2.
製品に付いていたパンタの見栄えが??で、動きも渋く、舟体がすぐに傾いてしまうため、ガレージメーカの交換用パンタをネットで探して購入。Pacerは、このパンタのついでにポチった。


The original pantographs are glued onto the roof tightly together with the insulator bases. Detach the original parts carefully by digging the glue from inside using a pin vice and a drill bit. Cut the insulators at the bottom using a saw and reuse the insulator bases.
元のパンタは碍子、パンタ台共々、屋根にしっかり接着されており、屋根裏から取付足をドリルで掘って接着剤を削り、何とか取り外した。パンタ台は再利用することにし、碍子を切り離した。

Drill the 2mm dia installation holes of the new pantographs at the centre position of the 4 holes for the original insulator bases. It's better to locate the centre position by using the template.
交換用パンタは中心でネジ止めなので、テンプレートで四隅の碍子取付穴の中心に穴あけ。テンプレートに裸電球が写り込んでしまったが気にしないでください。

The pitch of the insulators of new pantograph is a little smalle than that of original one, and the insulators of new pantograph don't sit on the insulator bases. So the insulator bases must be expanded by gluing small pieces of stylene rods.
パンタ台のピッチと新パンタの足ピッチが合わないため、パンタ台をプラ材で拡張。


File the top surface of the base, and paint in similar colour.
上面を平らに仕上げて、類似色のHambrolエナメルで塗装。英国ではまだHambrolを普通に売っている。

Install new pantographs by screws. Fixed it!
交換用パンタをネジ止めして、完成。

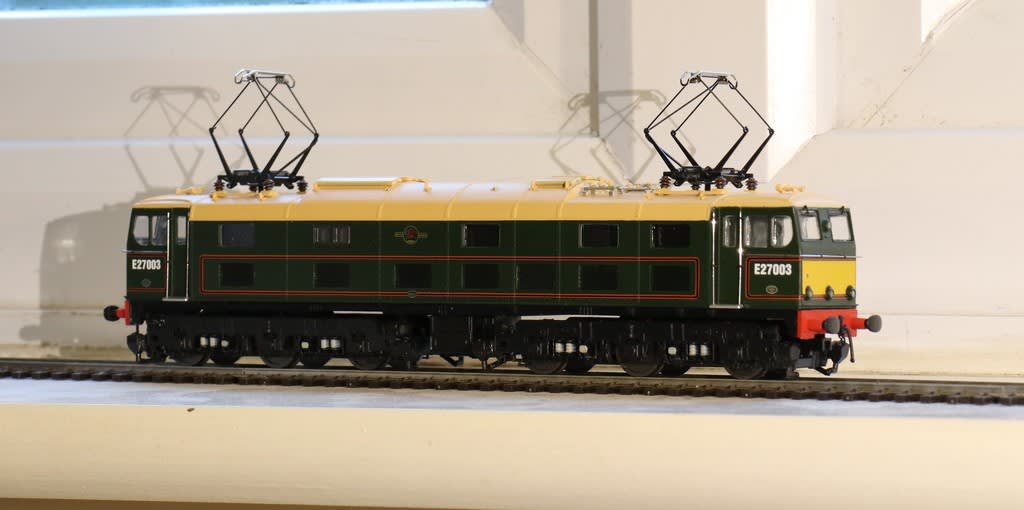
The exchange works were complicated, but I'm happy with the results.


