


昨日、穴開け&各パーツの縫い込みまででギブアップした今回のシリーズですが、

まずはバッグの前側の革にポケットとベルトの受け側を縫い付け、

マチを縫って、

裏側にフタパーツを縫い付けてから、前側と合体!。
・・・で、
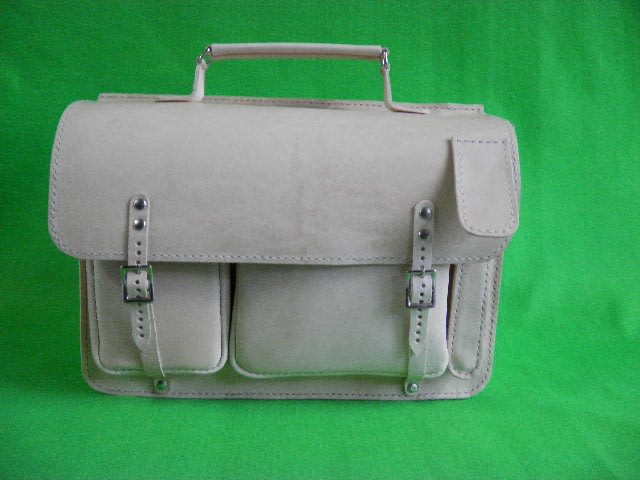


完成~♪。
フタを開けると、
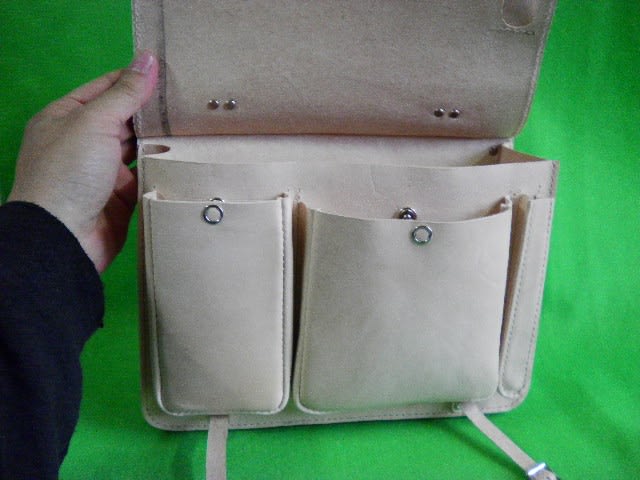

こんな感じ♪。

専用ベルトに取り付け、

こんな感じに装着♪。
さらに、

肩掛けベルトを着けてもウォークマンホルダーなんかを吊せるダブルフック(ダブルループ?)仕様です♪
完っ璧です♪。
もちろん自画自賛です♪。
まずはバッグの前側の革にポケットとベルトの受け側を縫い付け、
マチを縫って、
裏側にフタパーツを縫い付けてから、前側と合体!。
・・・で、
完成~♪。
フタを開けると、
こんな感じ♪。
専用ベルトに取り付け、
こんな感じに装着♪。
さらに、
肩掛けベルトを着けてもウォークマンホルダーなんかを吊せるダブルフック(ダブルループ?)仕様です♪
完っ璧です♪。
もちろん自画自賛です♪。