


壁式コンクリート造の外断熱住宅の工事中です。
2010年1月13日 の続きです。
▼耐圧版コンクリートを打設し終わりました。

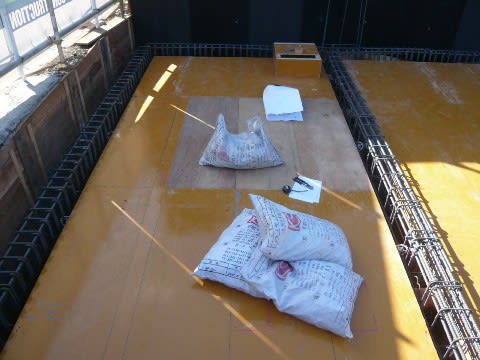
▲ベニヤがある水平部分が地下の床になる部分です。
今まではこの下のピット部分の工事でした。
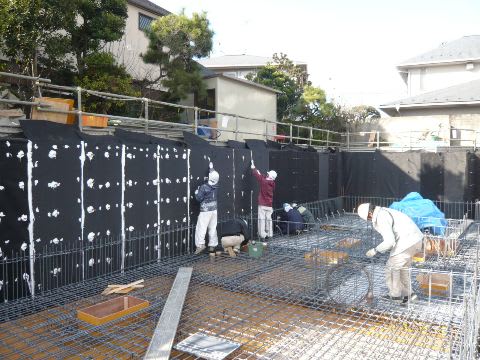
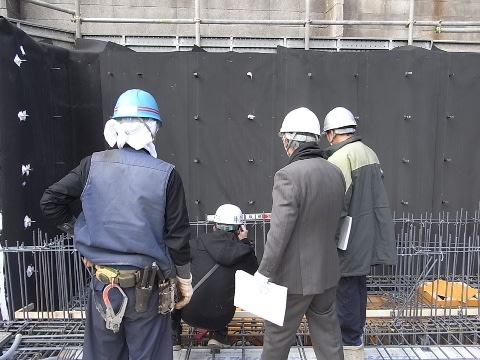
▲この床部分に配筋を行い、地下の壁部分には外側に防水処理をしています。
黒いシートがその防水です。私は地下は必ず外も内も2重に防水を行います。
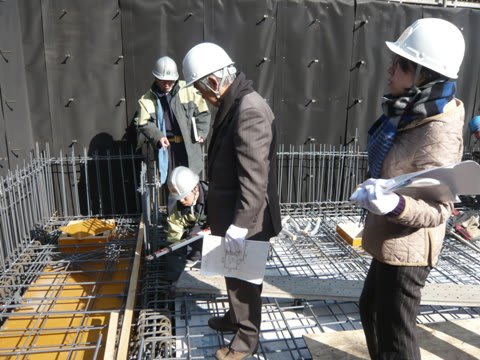
▲▼そして配筋検査を行い…(私は海外出張中で、ここにはいません。)
スタッフ3名が対応しています。

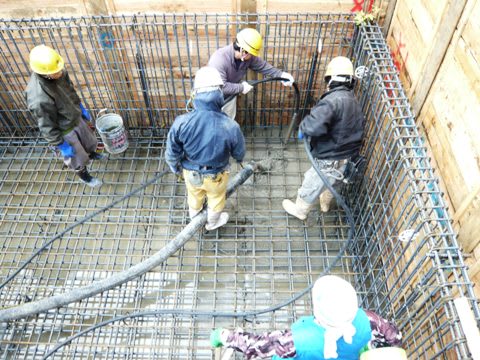
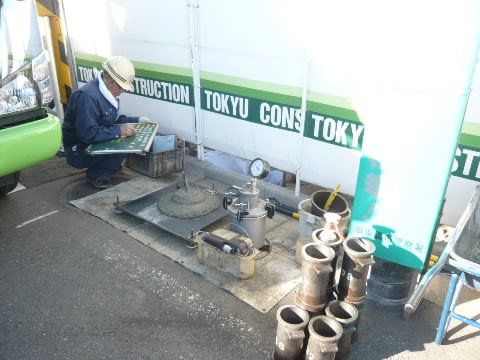
▲▼そして、地下室の床のコンクリート打設
テストピースを現場で採取します。コンクリートの所定の強度が出ているかどうかを
これを実際に壊して確認するのです。
ここまでは、前回から2010年1月26日までの工事でした。
これ以降の工事は、また次回にお知らせします。
……………………………………………………………………………
注文住宅 一級建築士事務所
ALL contentsCopyright R 2010 mitasu

~15日(日)の3連休と
7月20日、21日の土日に行います。
たまプ...")


