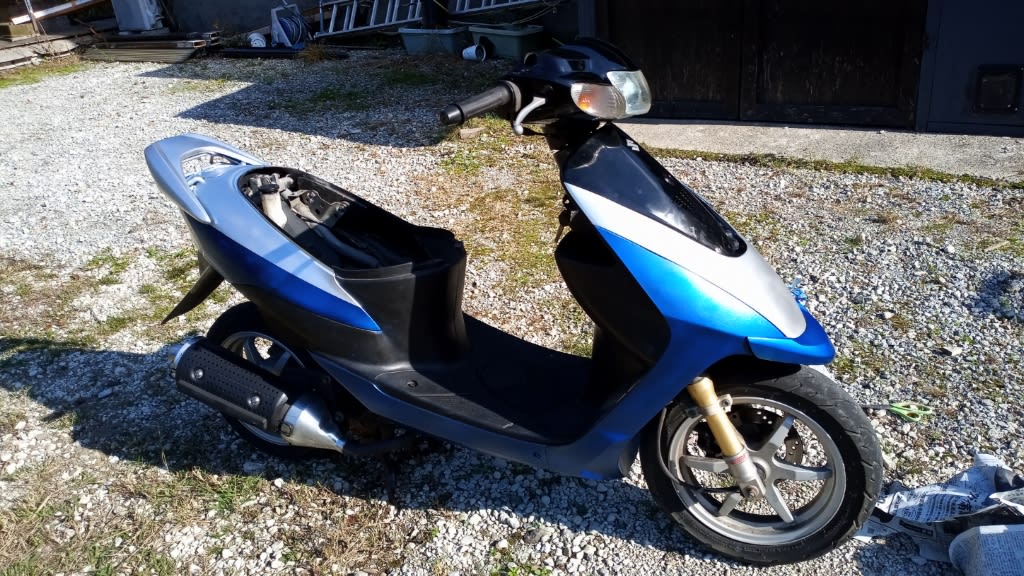
スズキZZ塗装
一応、エンジンはOKなので、見た目(外装)を格好良くして行きます。元々、美術部とかも居ましたし、デザインとか好きなんです。(^o^)
スズキZZのメーカーのスペシャル塗装とか、全部見ましたが、何処かもう一歩なデザインでしたので、完璧に格好良いデザインにします。
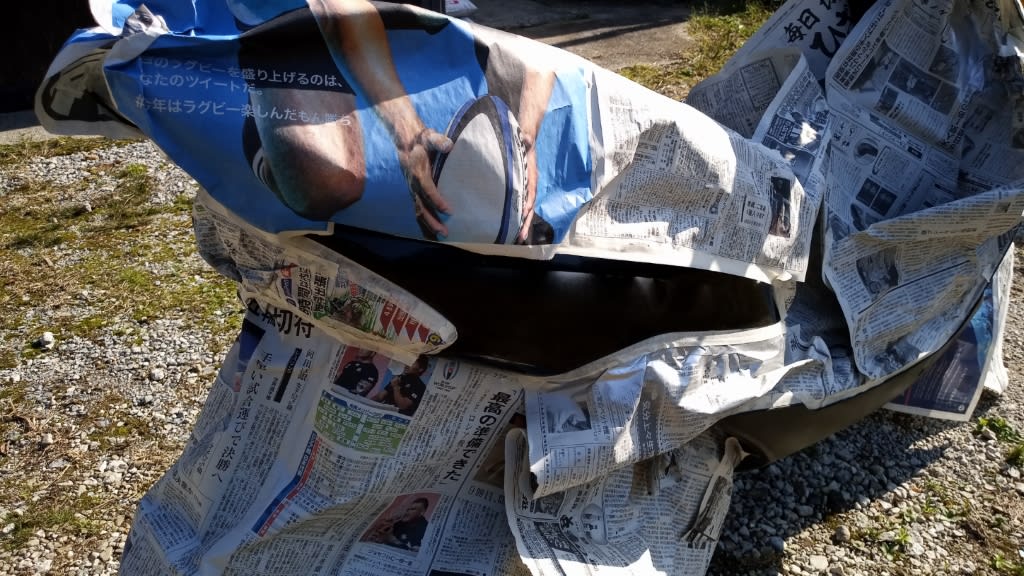
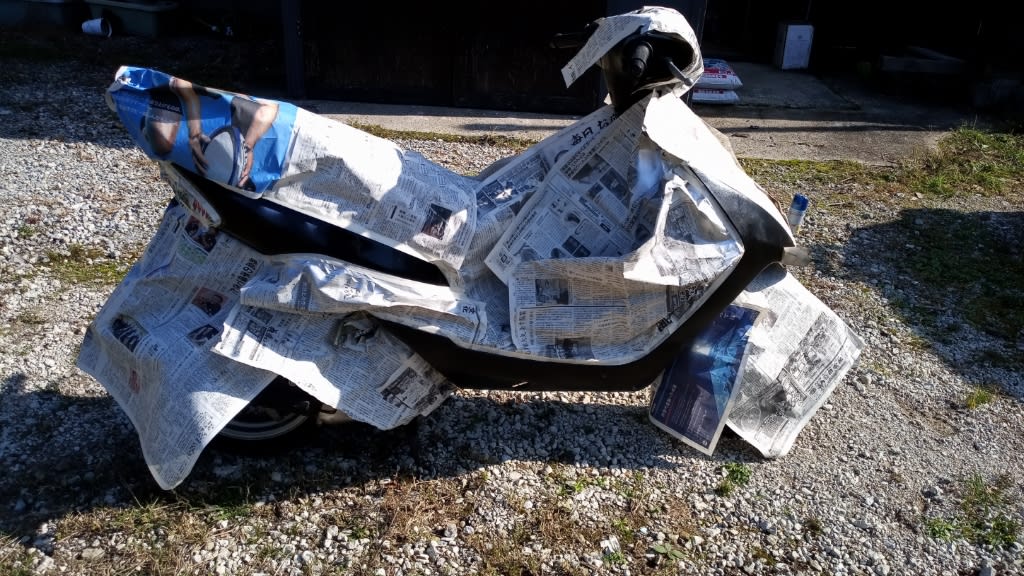
先ず、マスキング
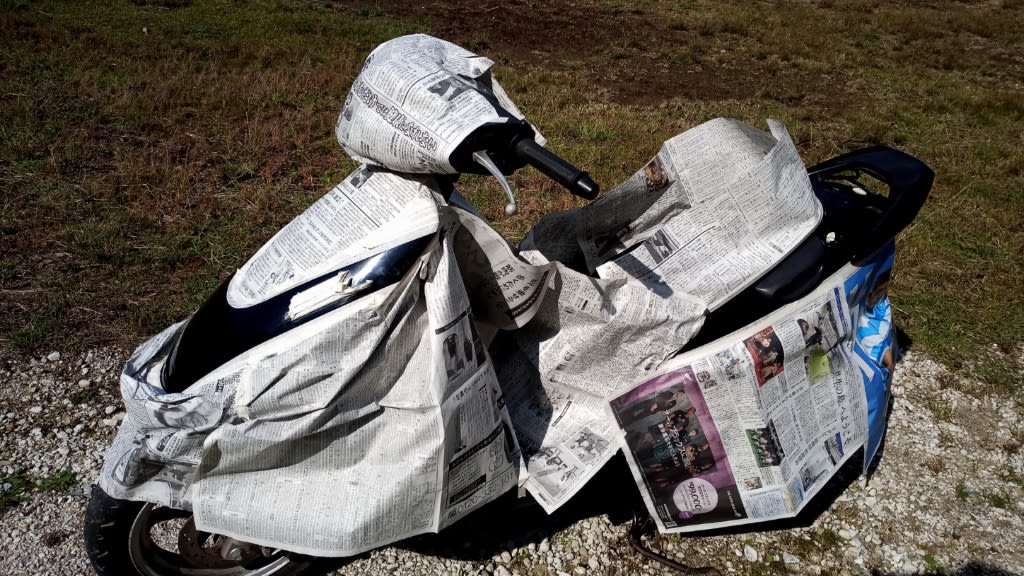


しました。
何色も塗るので、1色塗ったら、完全乾燥を待って、またマスキングをやり直して次の色の塗装となりますので、乾燥を待つ間が暇です。
なので、1色塗ったら、乾燥を待つ間に、道路の舗装工事をやって、塗装が乾いたら次の色を塗って、乾く間に土木工事と言うパターンで進めました。
最初は、白色ですが、黒の上には色が乗りにくいと思うので、ミッチャクロンを吹いた後に、プラサフ代わりにお安い185円のシルバーを吹きました。
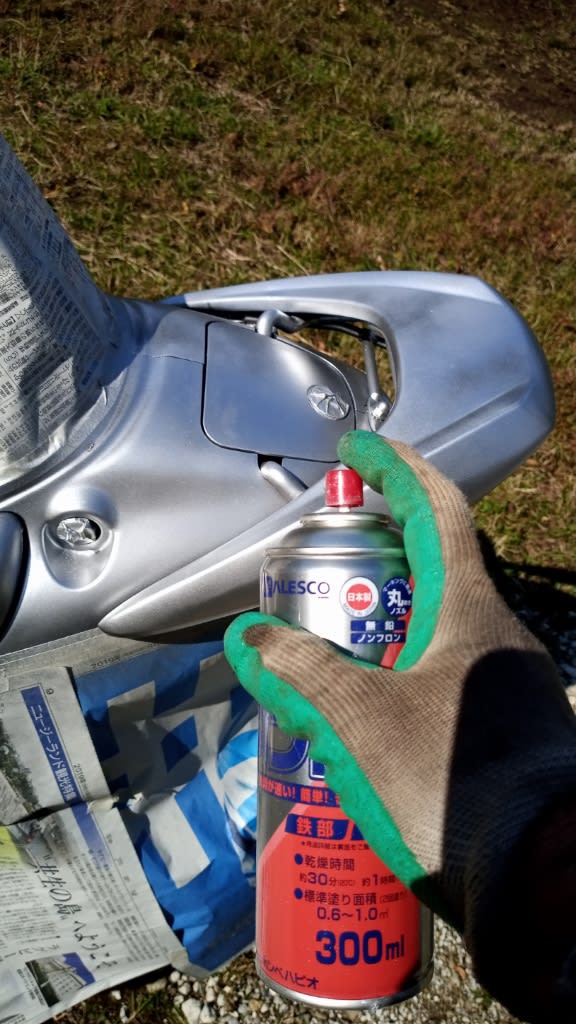


で、最初は土木工事を少しして、ボディペンのホワイト吹こうと思っていましたが、吹いた感じでシルバーが意外に感じが良かったので、シルバーに変更しました。
ここで、シルバーの完全乾燥を待つ間の30分ほど土木工事です。
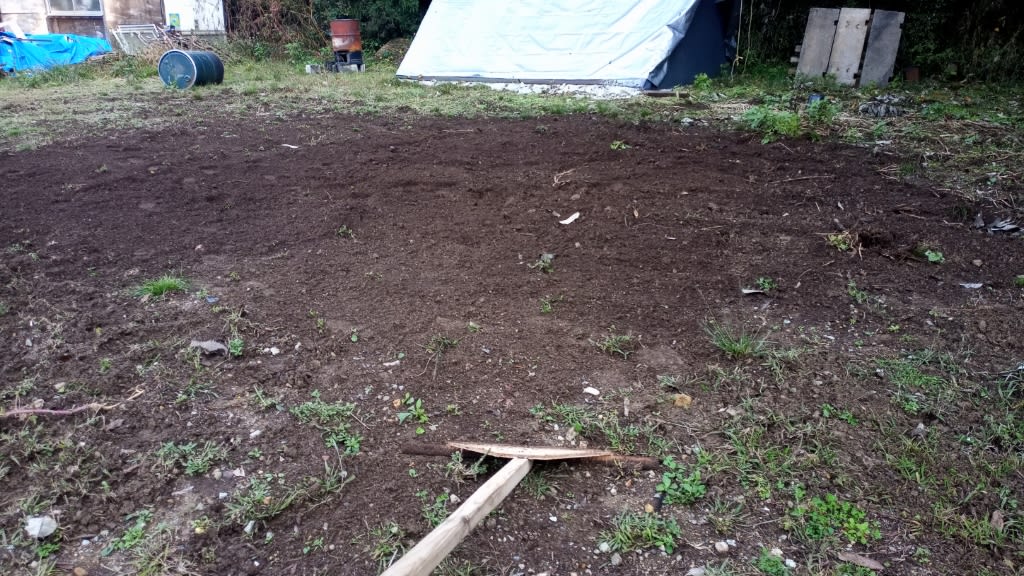
土木工事へ
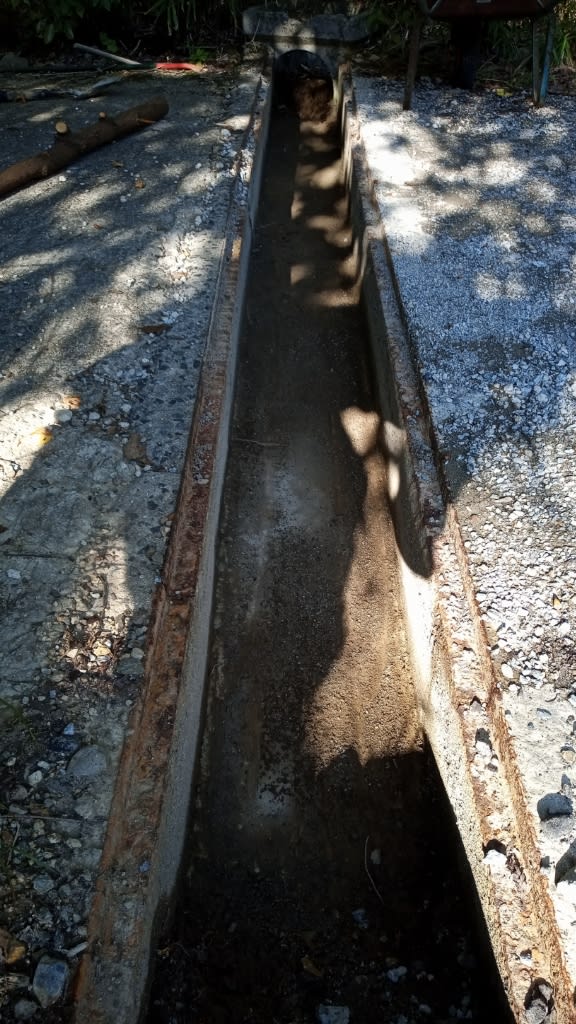
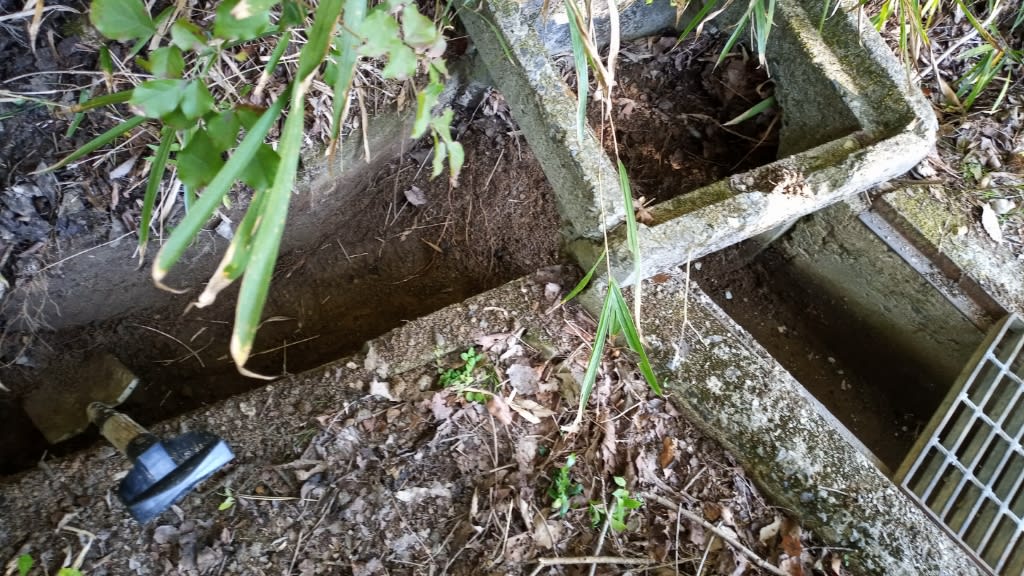
溝の蓋を上げて、
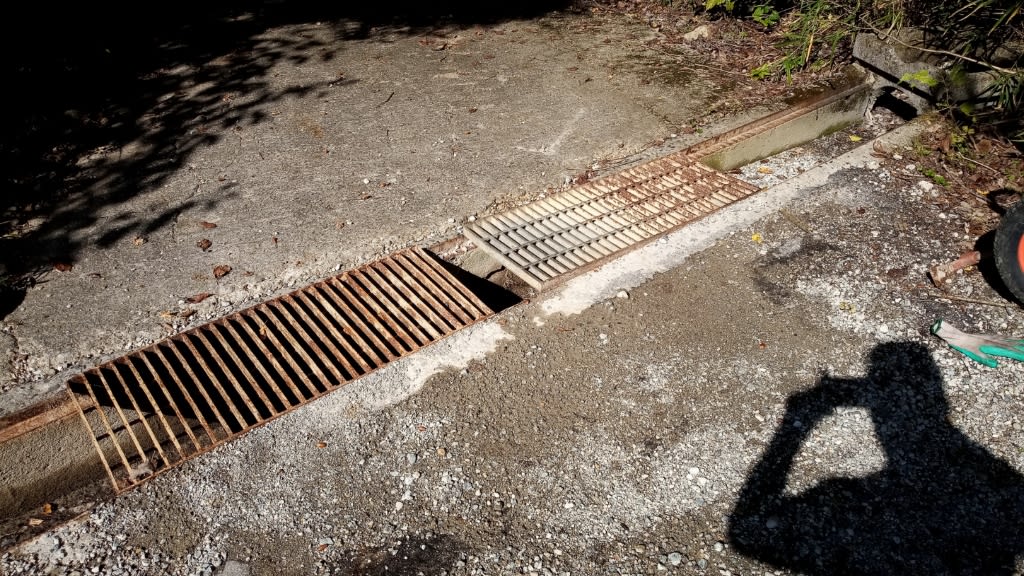
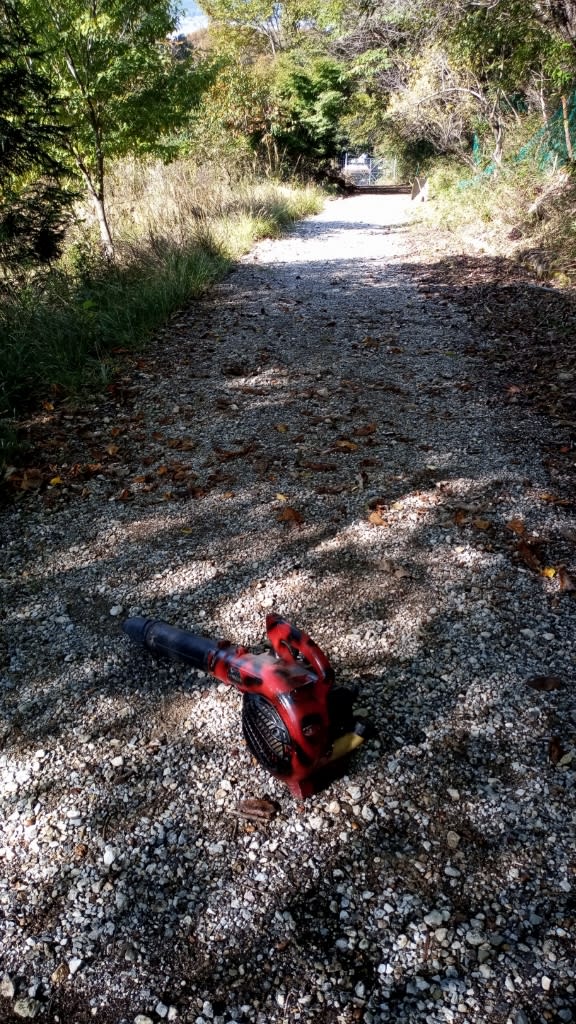
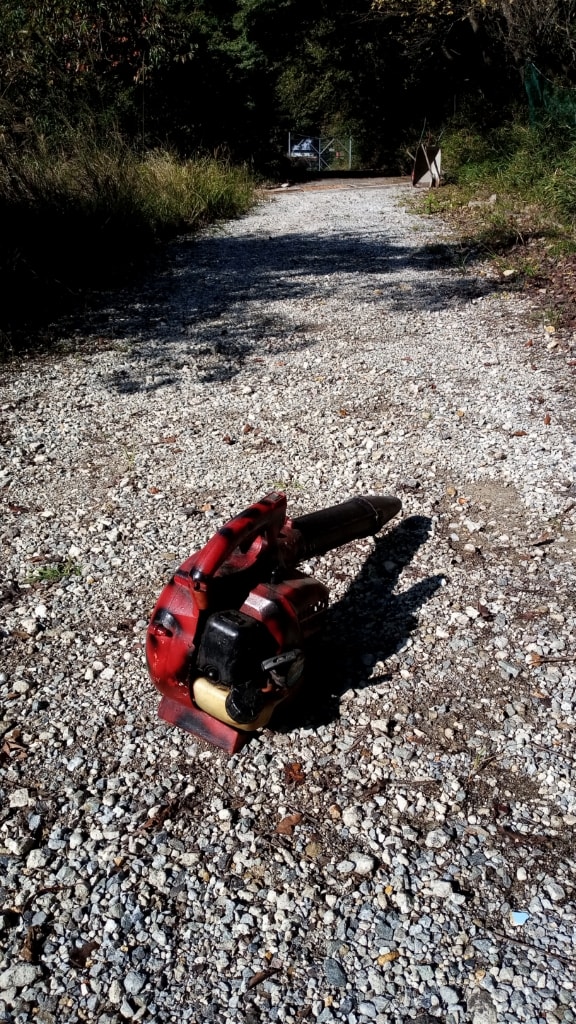
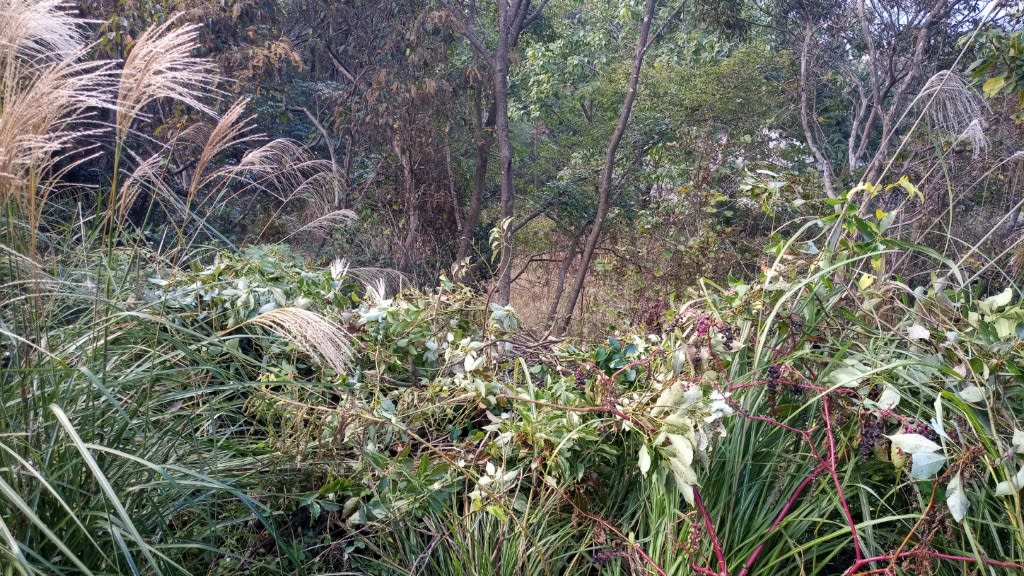
エンジンブロワーで落ち葉を飛ばし
再び塗装へ
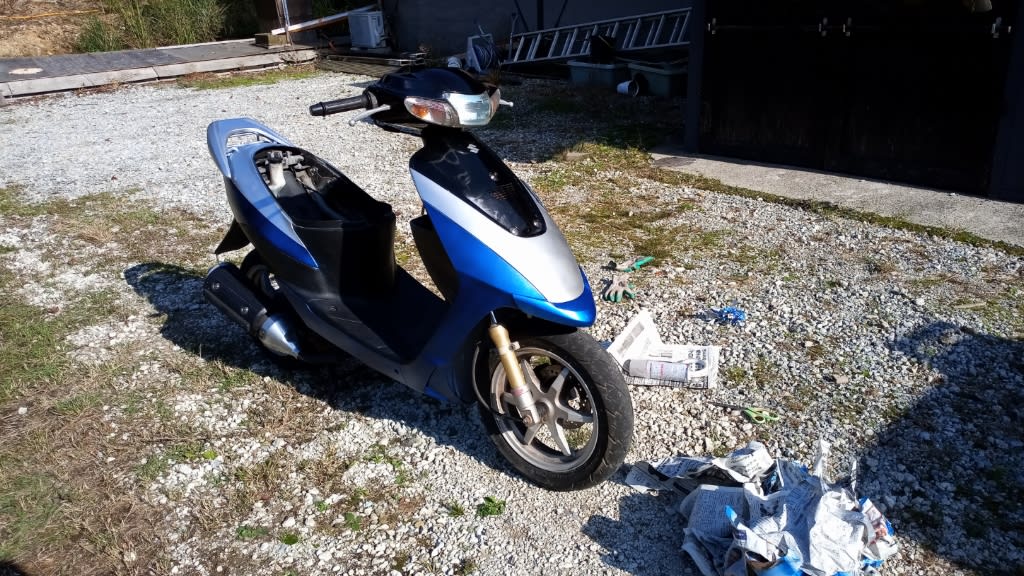
砂利を全て上げる途中でタイマーが鳴ったので、塗装に戻って、ブルーマイカ色
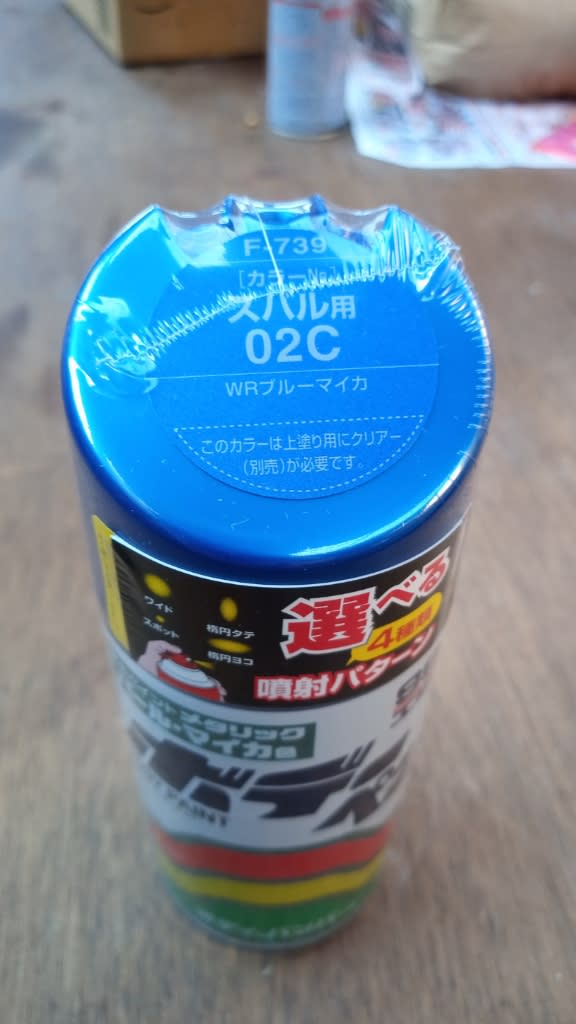
を吹くためにマスキングをやり直しました。
塗料は、スプレー缶なので、誰でも綺麗に吹けます。
なので、マスキング作業が塗装作業の95%位の比率で、綺麗にマスキング出来るかが、塗装の成否の鍵です。

まだ、色々とラインやロゴを入れたりしますが、取り敢えず、マスキングを外してみました。
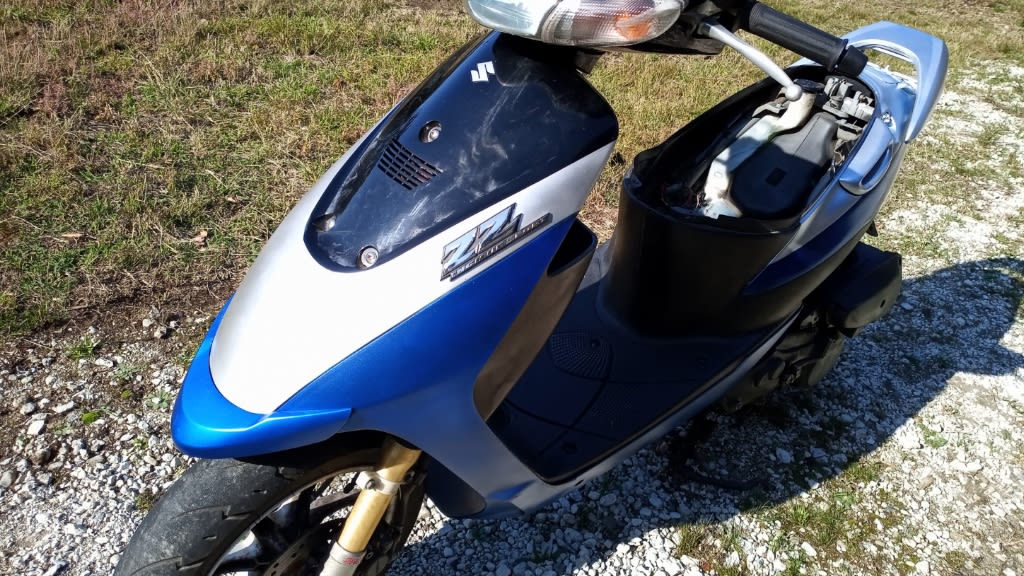
ベースとしては、いい感じです。
(^o^)/
でも、品は良いけど地味な感じなので、ここから、レーサーチックに仕上げて行きます。(≧∇≦)b
再び、土木工事
そして、また、道路工事に戻って、砂利を溝から全て出し終わって
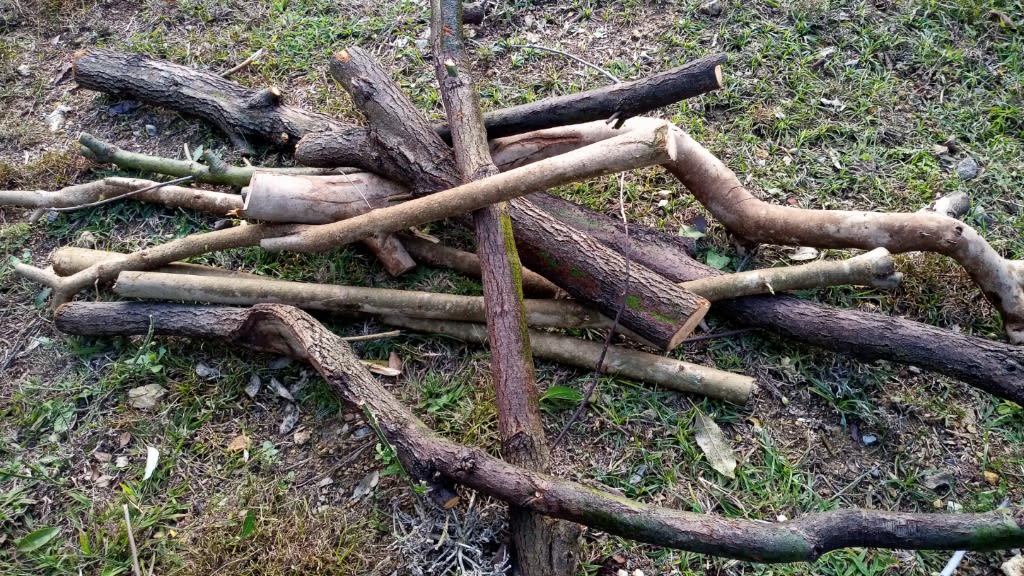
溝ブタをはめましたが、受け側が錆びてるせいか、踏んでも入らないので、
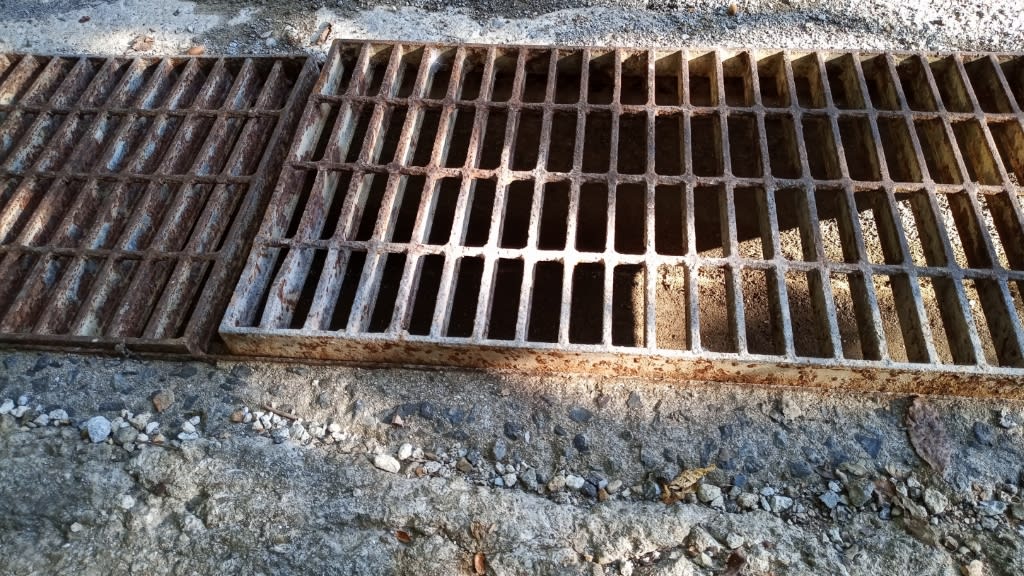
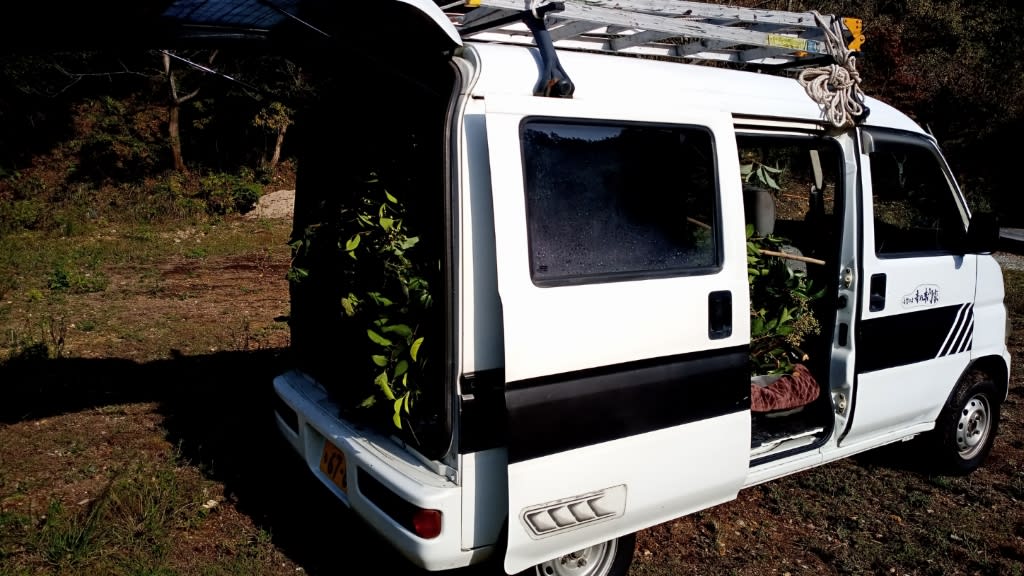
剪定した太い幹を持って来て、叩き込みました。

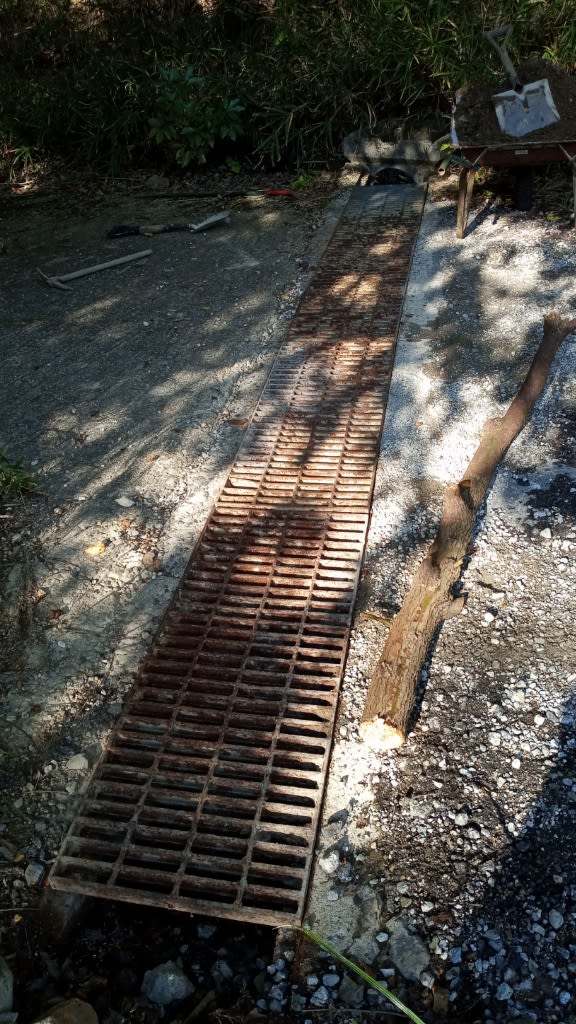
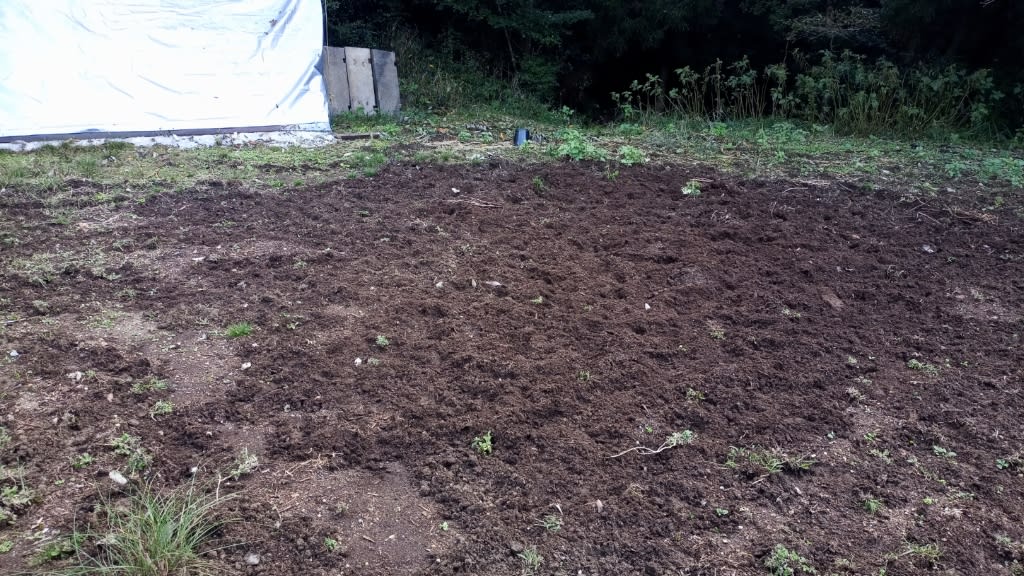
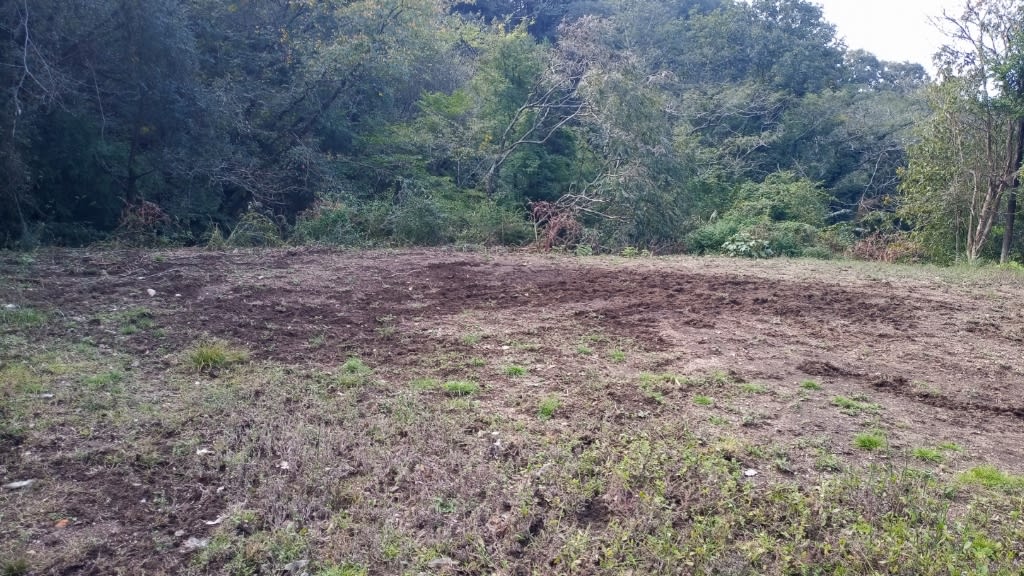
更に、ここ迄で終ると、溝が水溜りになるので、排水枡や下りの溝の一部も砂利をあげて、
道路に撒き直しました。

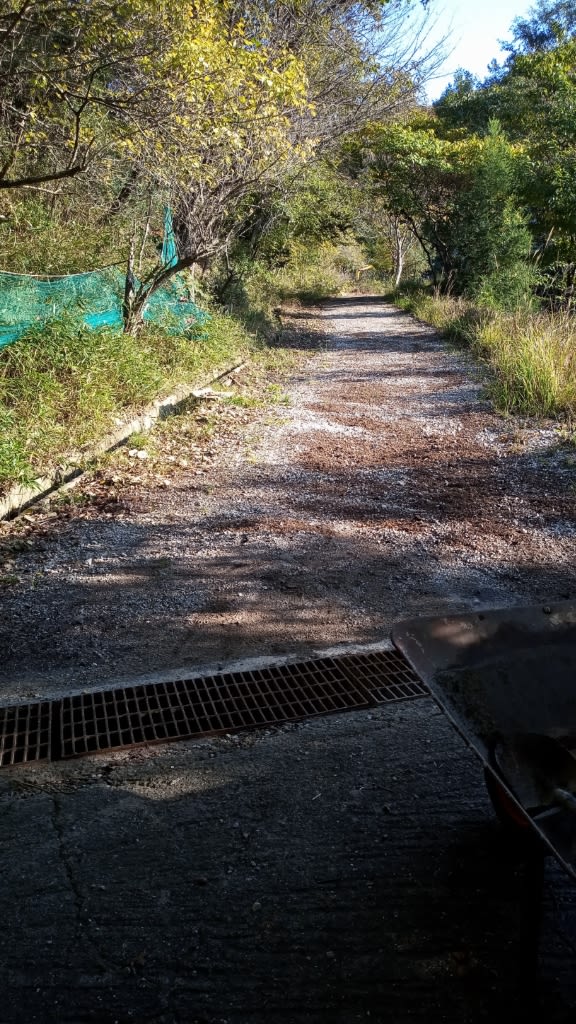 多分、明日も晴れですので、プレートコンパクターで転圧して、モルタル塗りを始めたいと思っています。
(*^^)v


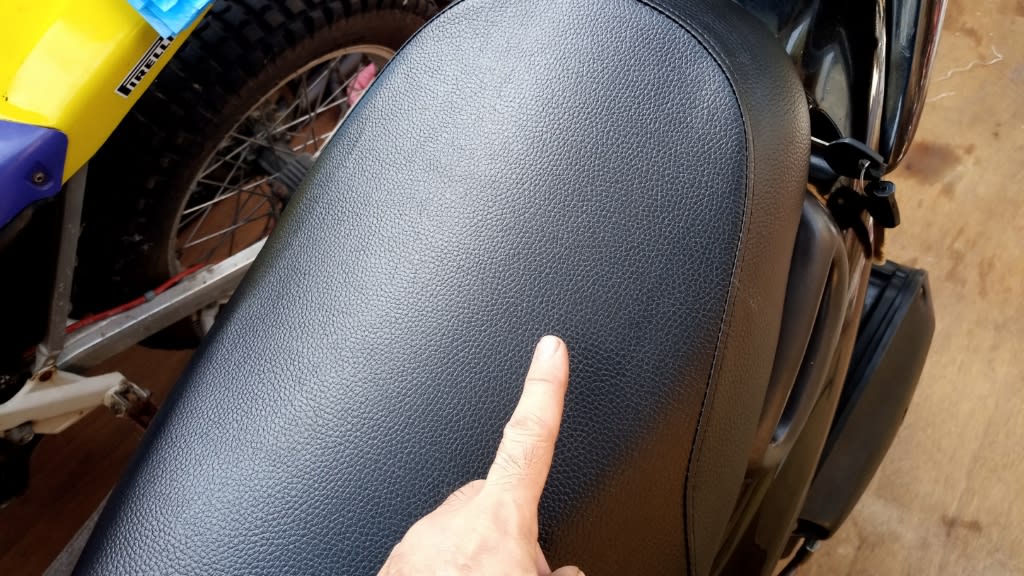
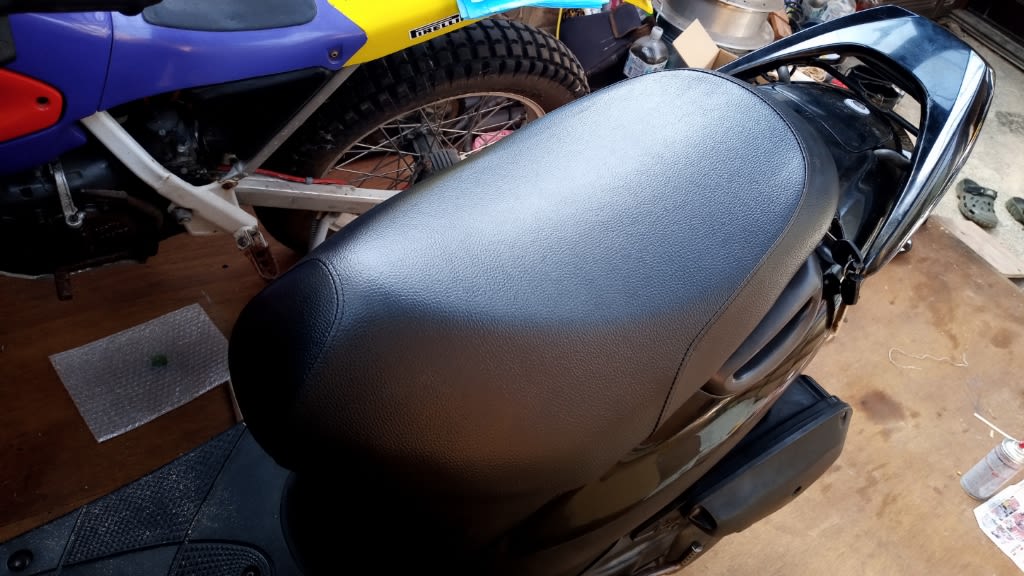
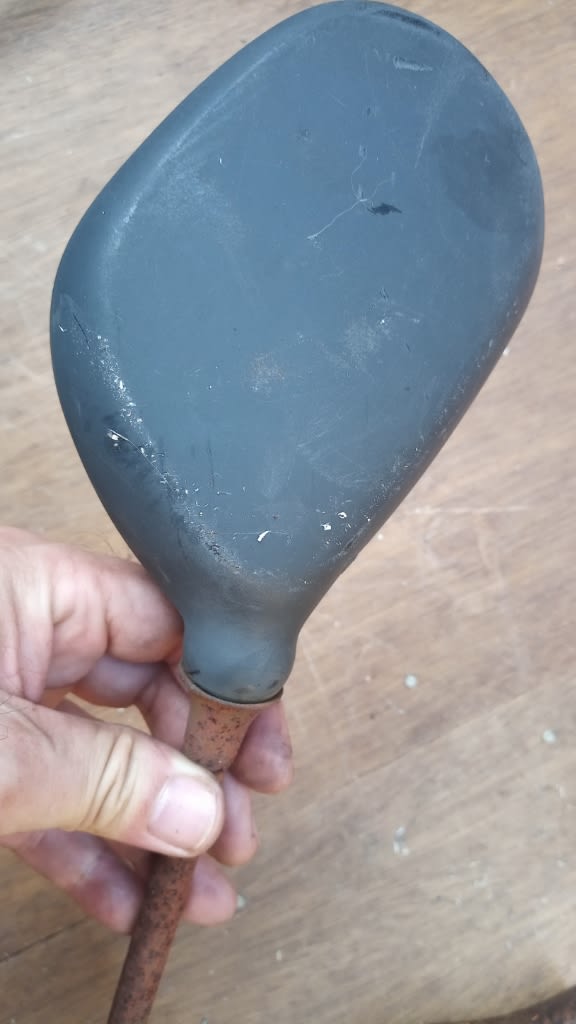
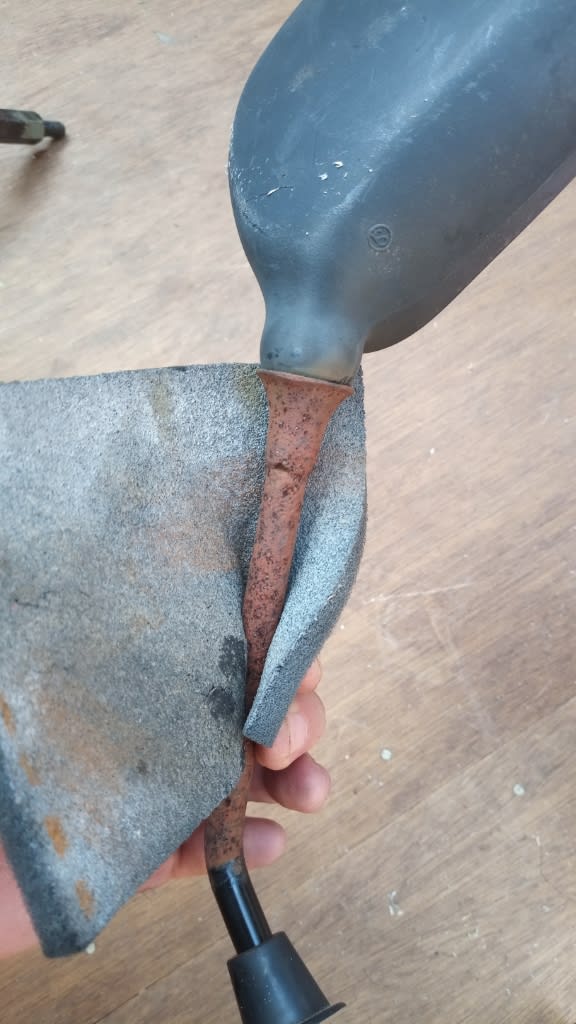
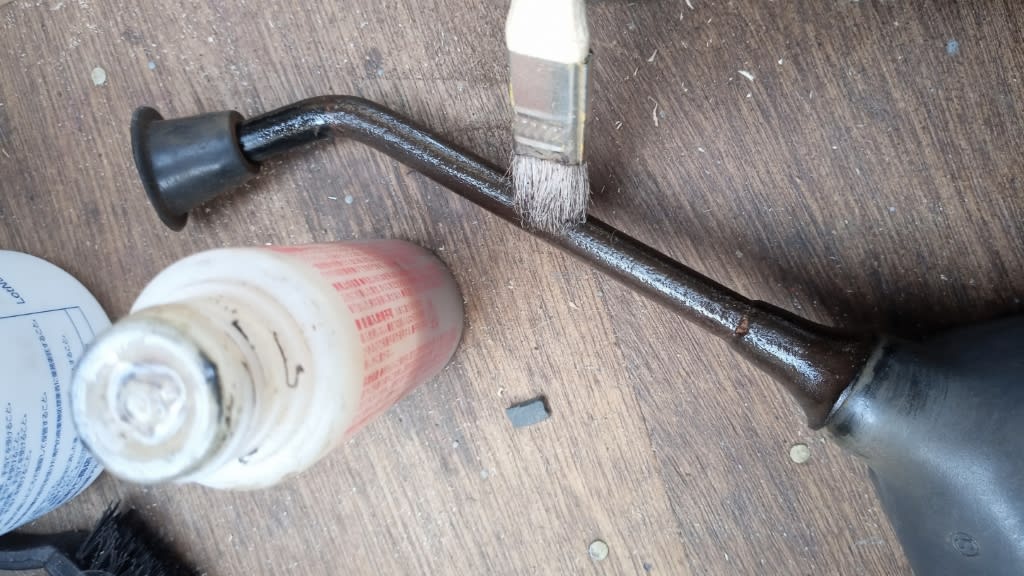
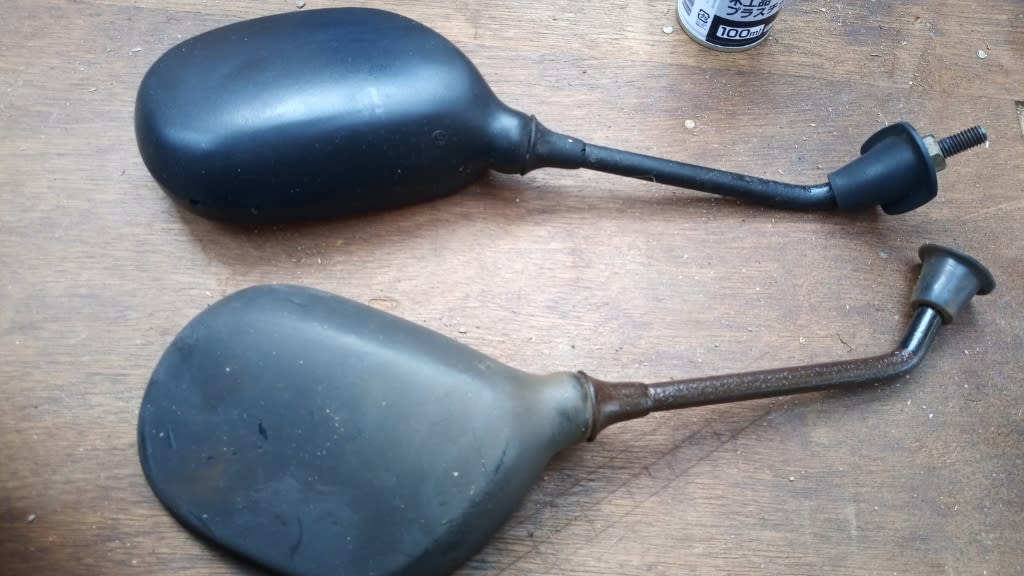
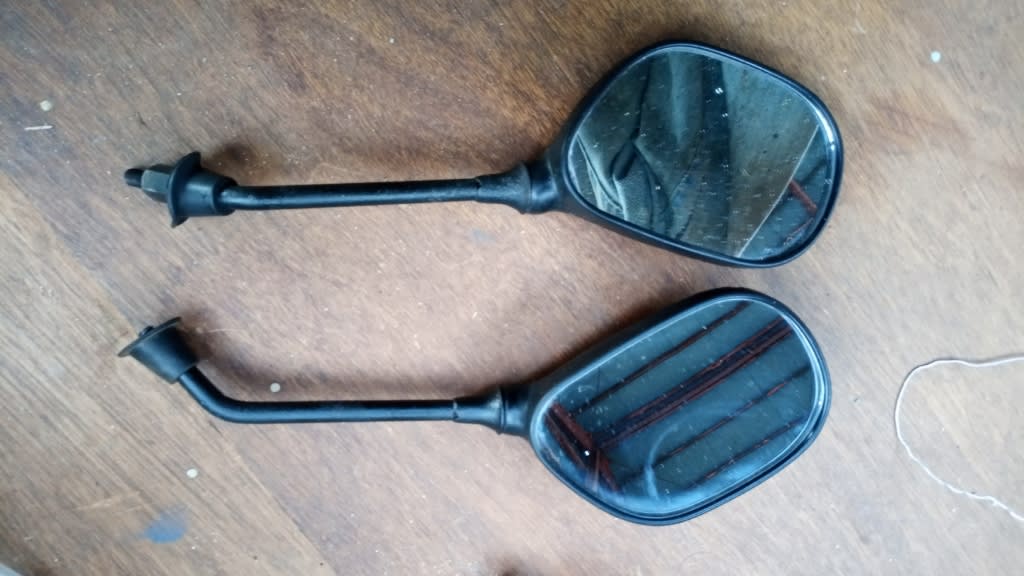
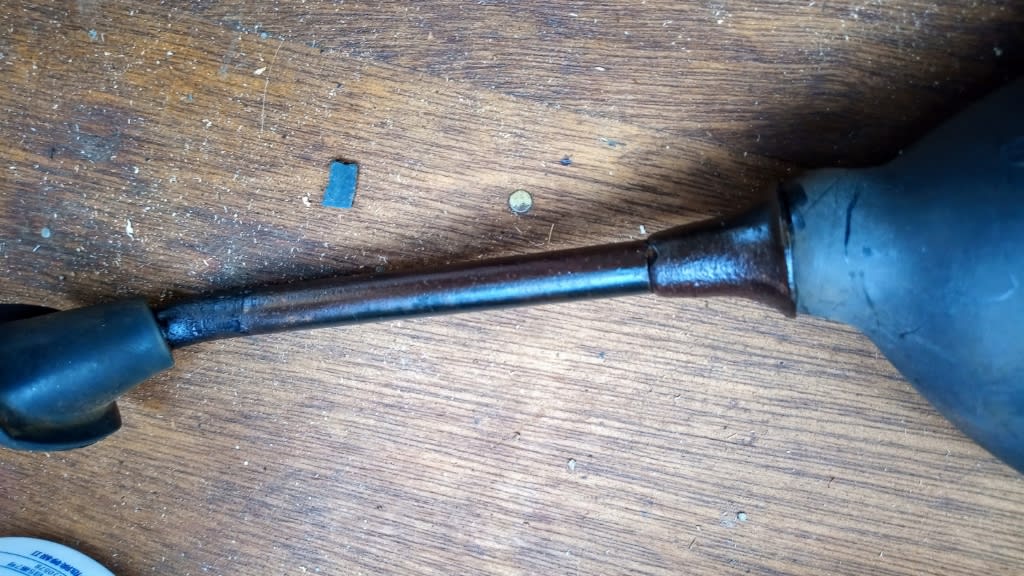 黒色に塗装して、なんちゃって焼き付け塗装です。