


色々センサー類やパーツなど交換して最初の頃よりだいぶマシになったが最高潮とは言い難い
症状としては
・アイドリングの回転数が落ちて600pm前後になりエンストしやすくなる
・上まで回した後、時々バックファイヤーを起こす
・調子がいいと思って長く乗っていると徐々に調子が悪くなりいったんエンジンをかけ直すと調子が戻る場合がある
色々原因を探っていると
・カムポジションセンサー
故障のときは、走行中、スーっと前ぶれも無くエンストする
・クランクポジションセンサー
故障のときは、ボトボトボトと徐々にエンジンの調子が悪くなりエンストする
という症状が出るらしいと見つけた
CL1はデスビ内にカム角・クランク角センサーが組み込まれている
デスビの内部内構成品
・イグニッションコイル
・イグナイター
・ローター
上記は2回交換
・デスビキャップ
上記は1回交換
イグニッションコイル、イグナイターは電子部品で熱害で劣化したもので外観では異常はなかった
ここから推察と出ている症状を合わせると一度も交換していないカム角・クランク角センサーが劣化してECUに正確なデータを送らず調子悪いのでわ?15万㎞まで一度も交換していないのだから壊れてなくても予防的に交換しておこうとリビルト品のデスビを買った(純正6万ちょっとは治ったらストックで買う予定)。
ECU用水温センサーが壊れていたので一緒にサーモFAN用水温センサーとメーター内用水温センサーを予防的に交換しクーラントエア抜きをすることと
試しに戻していたO²センサーは異常がなかったので新しいO²センサーに戻すことにした。

サーモFAN用水温センサー

外した水温センサークーラントに染められている

新品取付終了

メーター用水温センサー

外したメーター用水温センサー

新品取付

右が外したO²センサー、やはり煤けている

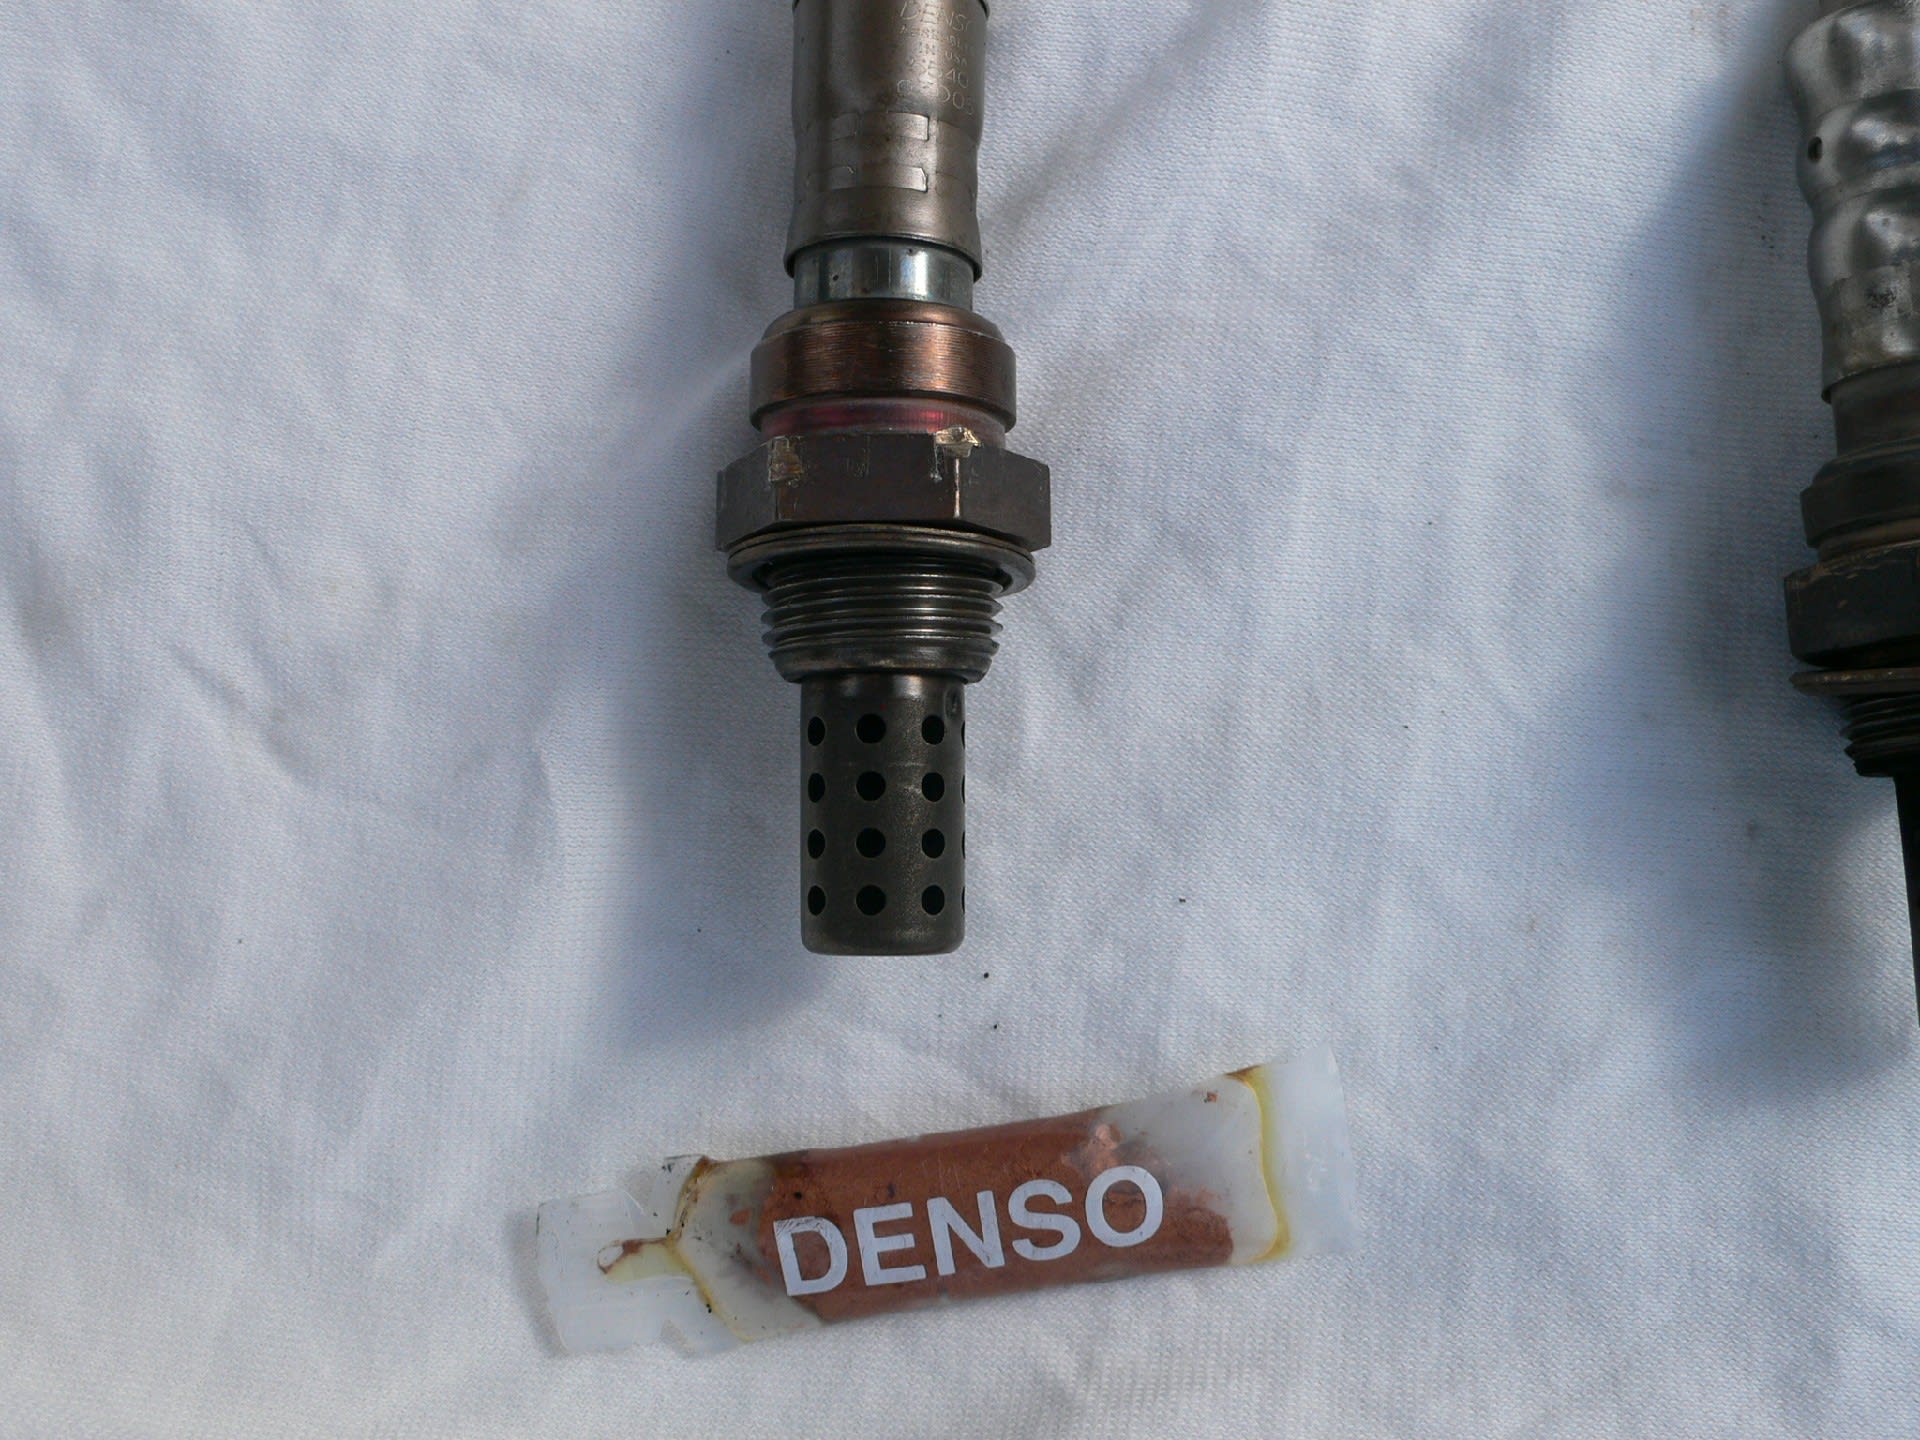
新しいほうのO²センサーに耐熱グリースを塗って取り付けた
ここからデスビ交換

交換前のデスビ

外したデスビ

届いたリビルト品のデスビ


新旧比較

エンジン部の拡大、シャフトの切り欠きが見える

リビルト品取付、デスビキャップを外してローターを回してシャフトの切り欠きに合わせないとなかなか合わなかった

Amazonで買ったタイミングライト

内容物

タイミング調整用窓
拡大

タイミングライトが光った状態
タイミングライトは1番シリンダーのプラグコードをクランプで挟み信号を拾い、車のバッテリーからライト用電気を供給して使った
説明書は英語で詳しいことは分からなかったがイラストで十分理解できた。
値がおかしかった中華製MAPセンサーは交換前の純正に戻した
疲れた、これで暫く様子を見たい。
症状としては
・アイドリングの回転数が落ちて600pm前後になりエンストしやすくなる
・上まで回した後、時々バックファイヤーを起こす
・調子がいいと思って長く乗っていると徐々に調子が悪くなりいったんエンジンをかけ直すと調子が戻る場合がある
色々原因を探っていると
・カムポジションセンサー
故障のときは、走行中、スーっと前ぶれも無くエンストする
・クランクポジションセンサー
故障のときは、ボトボトボトと徐々にエンジンの調子が悪くなりエンストする
という症状が出るらしいと見つけた
CL1はデスビ内にカム角・クランク角センサーが組み込まれている
デスビの内部内構成品
・イグニッションコイル
・イグナイター
・ローター
上記は2回交換
・デスビキャップ
上記は1回交換
イグニッションコイル、イグナイターは電子部品で熱害で劣化したもので外観では異常はなかった
ここから推察と出ている症状を合わせると一度も交換していないカム角・クランク角センサーが劣化してECUに正確なデータを送らず調子悪いのでわ?15万㎞まで一度も交換していないのだから壊れてなくても予防的に交換しておこうとリビルト品のデスビを買った(純正6万ちょっとは治ったらストックで買う予定)。
ECU用水温センサーが壊れていたので一緒にサーモFAN用水温センサーとメーター内用水温センサーを予防的に交換しクーラントエア抜きをすることと
試しに戻していたO²センサーは異常がなかったので新しいO²センサーに戻すことにした。
サーモFAN用水温センサー
外した水温センサークーラントに染められている
新品取付終了
メーター用水温センサー
外したメーター用水温センサー
新品取付
右が外したO²センサー、やはり煤けている
新しいほうのO²センサーに耐熱グリースを塗って取り付けた
ここからデスビ交換
交換前のデスビ
外したデスビ
届いたリビルト品のデスビ
新旧比較
エンジン部の拡大、シャフトの切り欠きが見える
リビルト品取付、デスビキャップを外してローターを回してシャフトの切り欠きに合わせないとなかなか合わなかった
Amazonで買ったタイミングライト
内容物
タイミング調整用窓
拡大
タイミングライトが光った状態
タイミングライトは1番シリンダーのプラグコードをクランプで挟み信号を拾い、車のバッテリーからライト用電気を供給して使った
説明書は英語で詳しいことは分からなかったがイラストで十分理解できた。
値がおかしかった中華製MAPセンサーは交換前の純正に戻した
疲れた、これで暫く様子を見たい。


※コメント投稿者のブログIDはブログ作成者のみに通知されます