いよいよMaker Faire Taipei の1日目です。
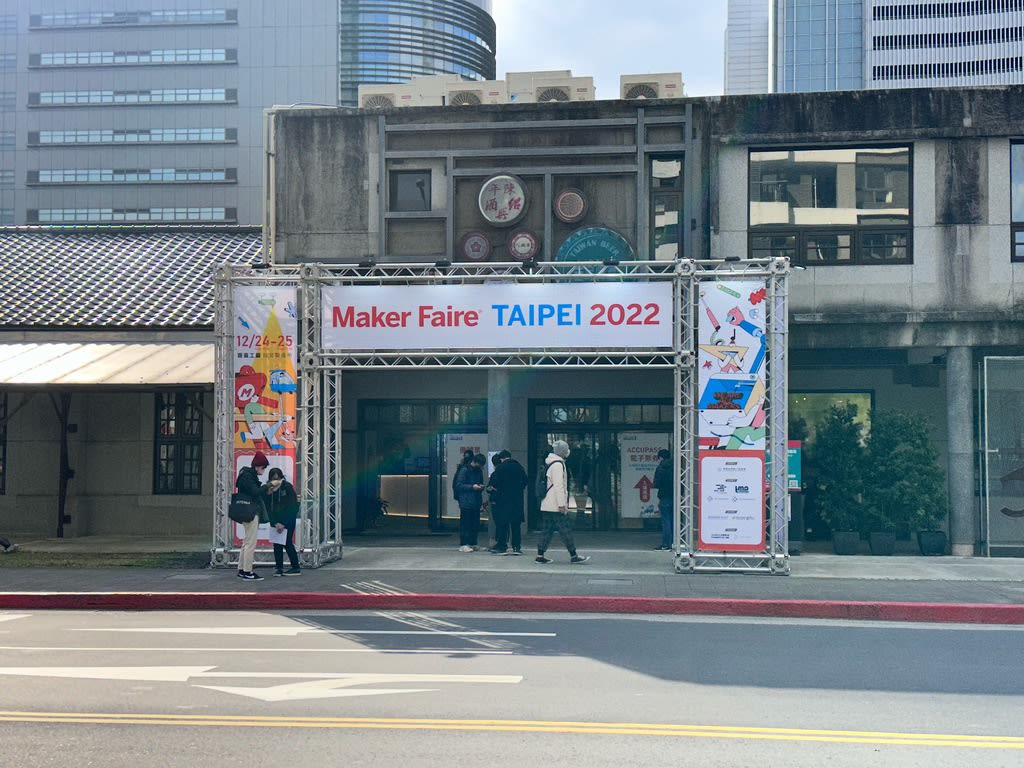
初日の開場は12時なのですが、準備には9時から入れます。
9時過ぎに行ってみると会場はまだほとんど来ていません。
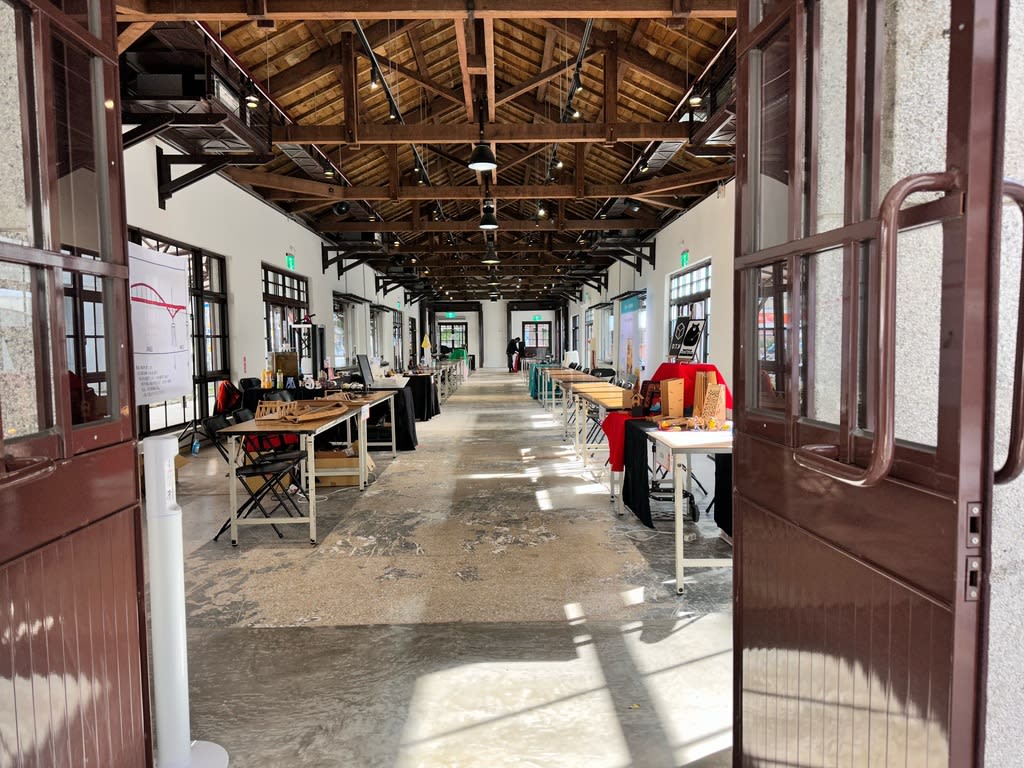
隣の勝田さんのブースはもう始めています。
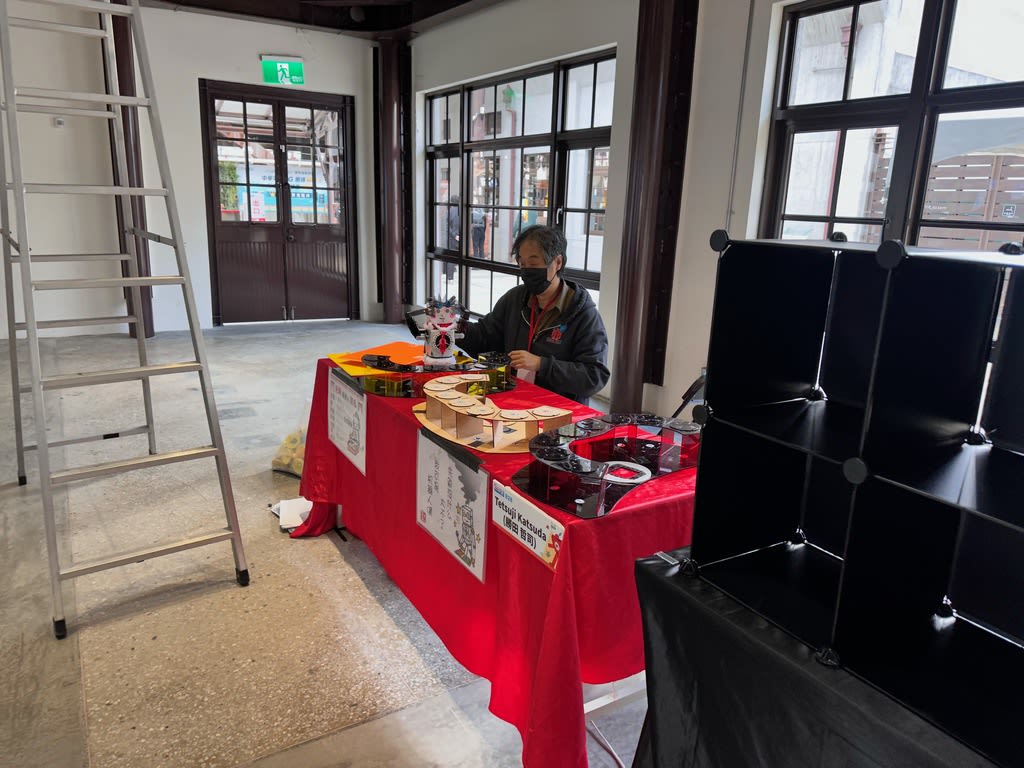
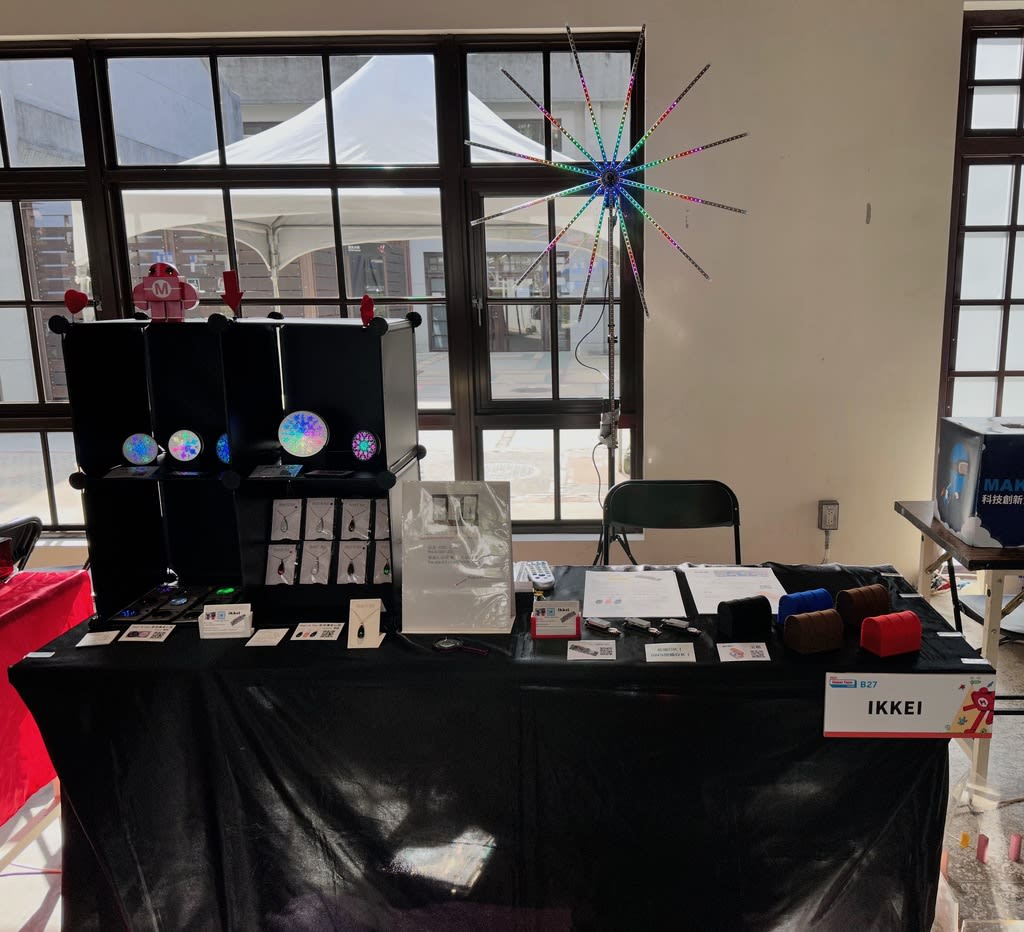
私のブースもセッテイングをします。出来上がったのがこれです。
朝日に負けて花火がほとんど見えませんね。
こちらも出来上がったようです。

開場までにはまだ時間があるので、他のブースを見て回ることにしましょう。
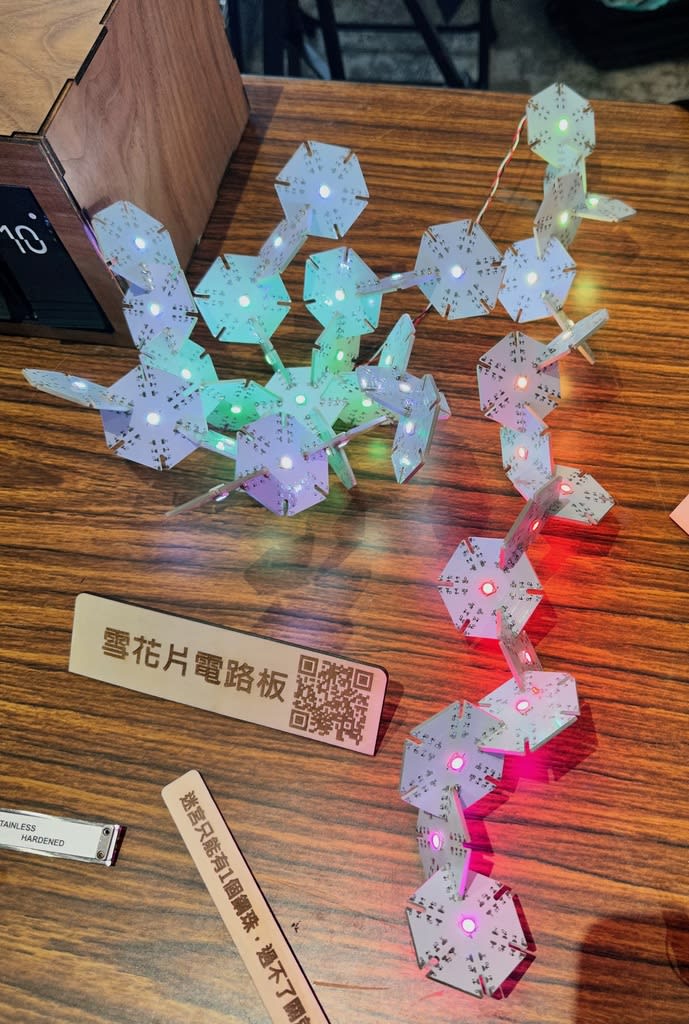
まずはこちら、NeopixelのLEDを六角形の基板で自在につないで形が作れます。
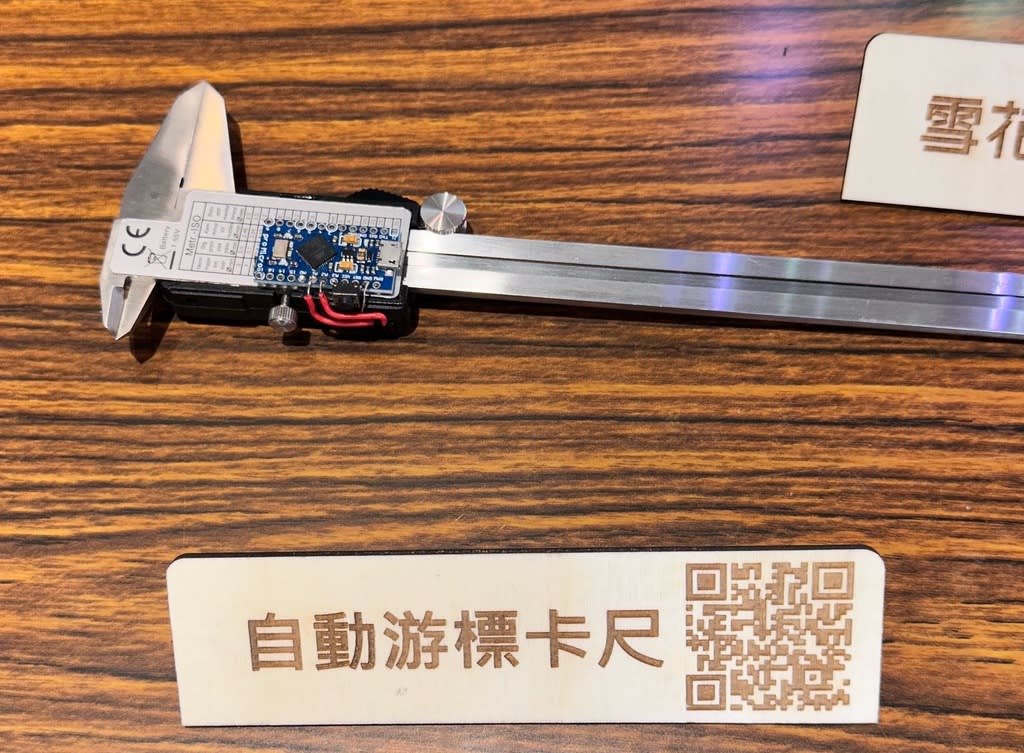
で、こちらはノギスの数値をUSBでつないでPCに送るものです。
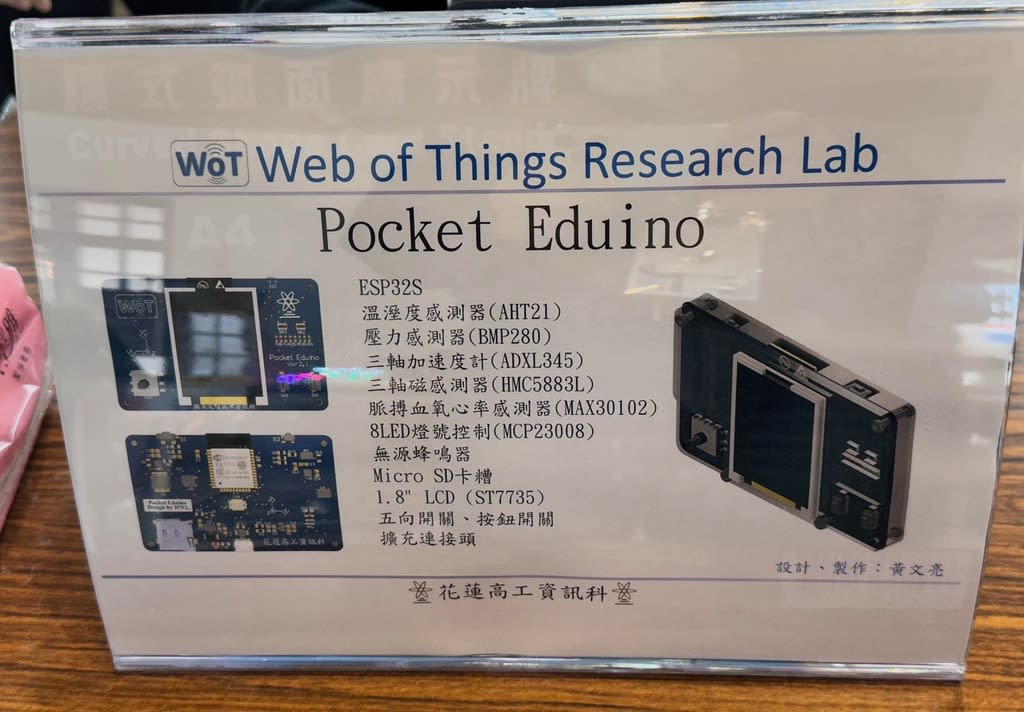
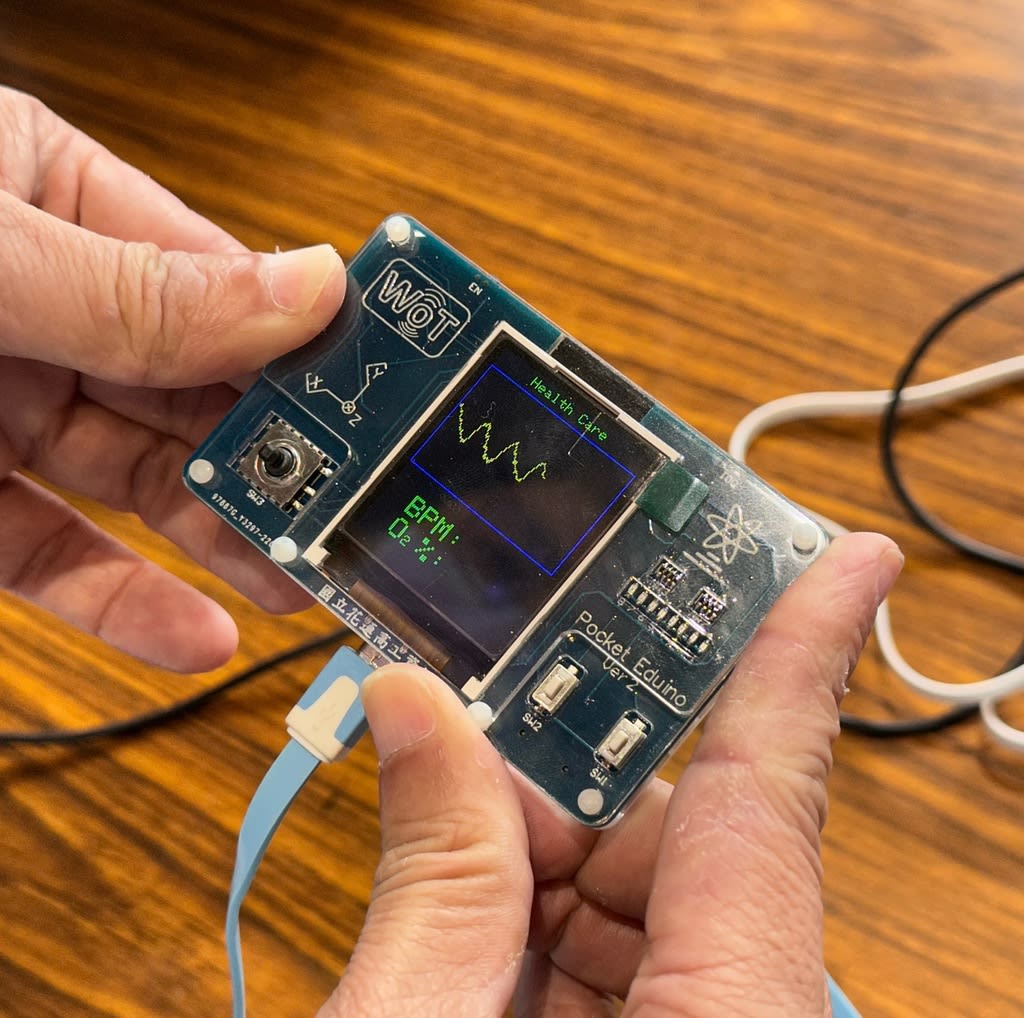
こちらはゲーム機のような見た目ですが、ESP32Sにセンサなどがてんこ盛りです。
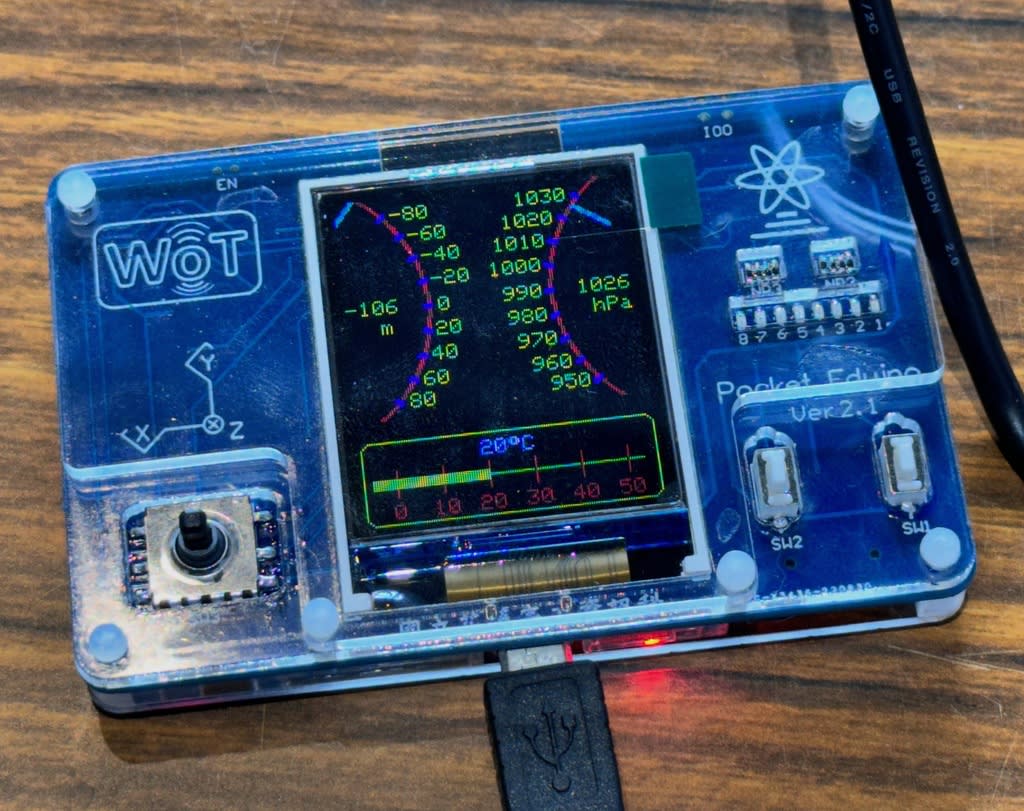
裏側には脈拍センサなどもあって、
このように表示できます。
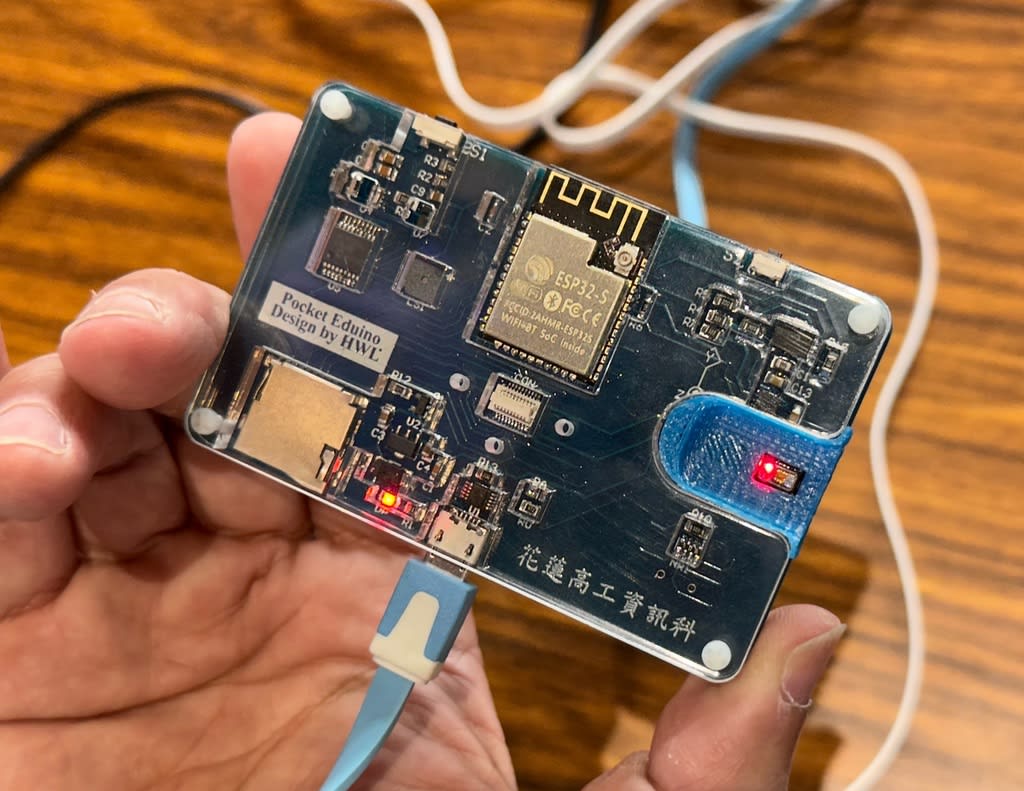
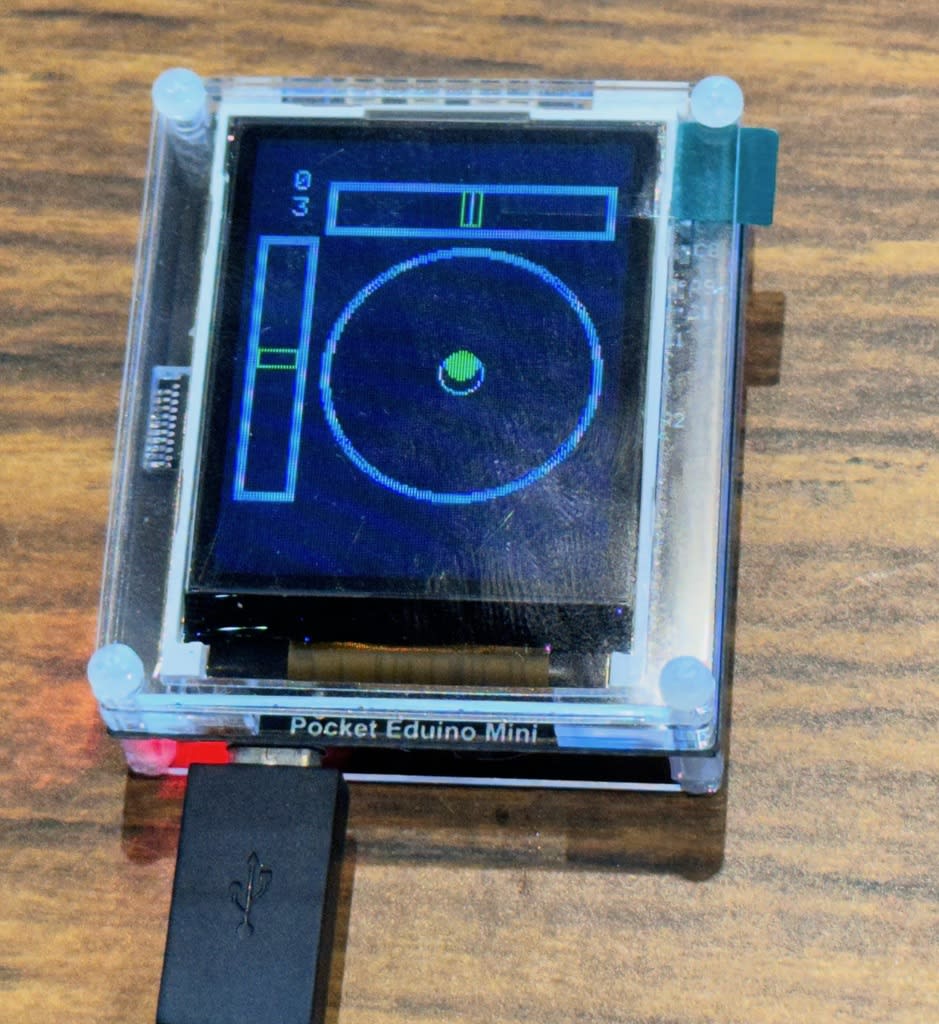
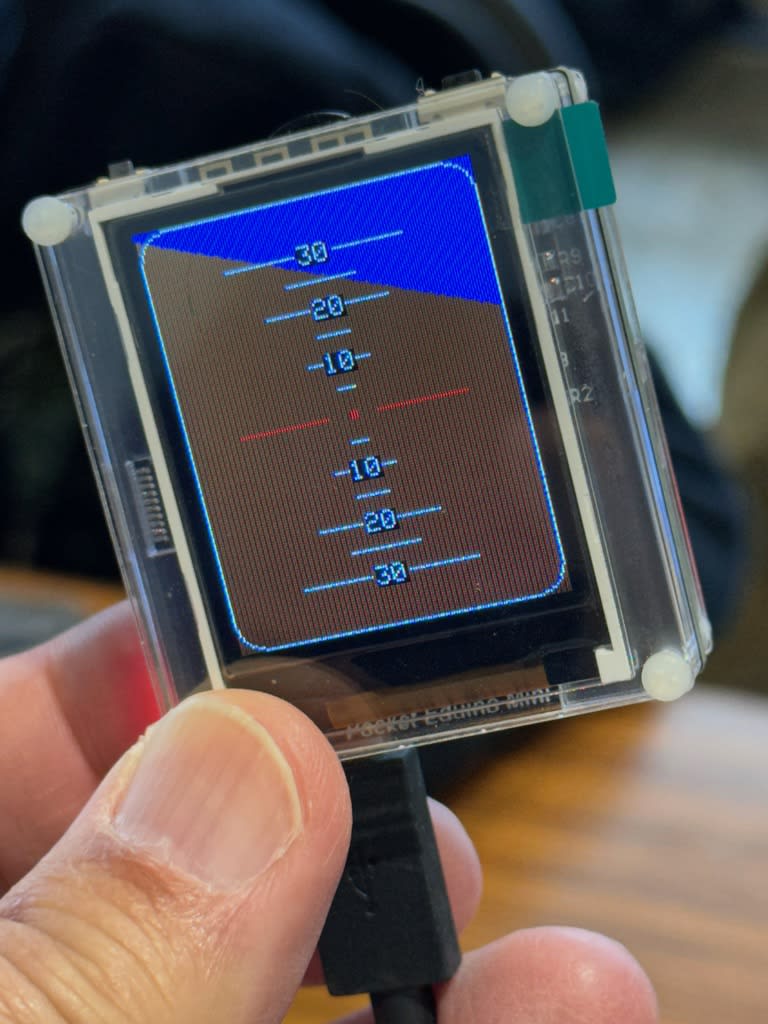
で、こちらはそのミニ版です。

もちろん、センサてんこ盛りなので、メニューから選びます。

水平に置くと水準器に。
立てると水平器になったりします。
裏はこんな感じ。
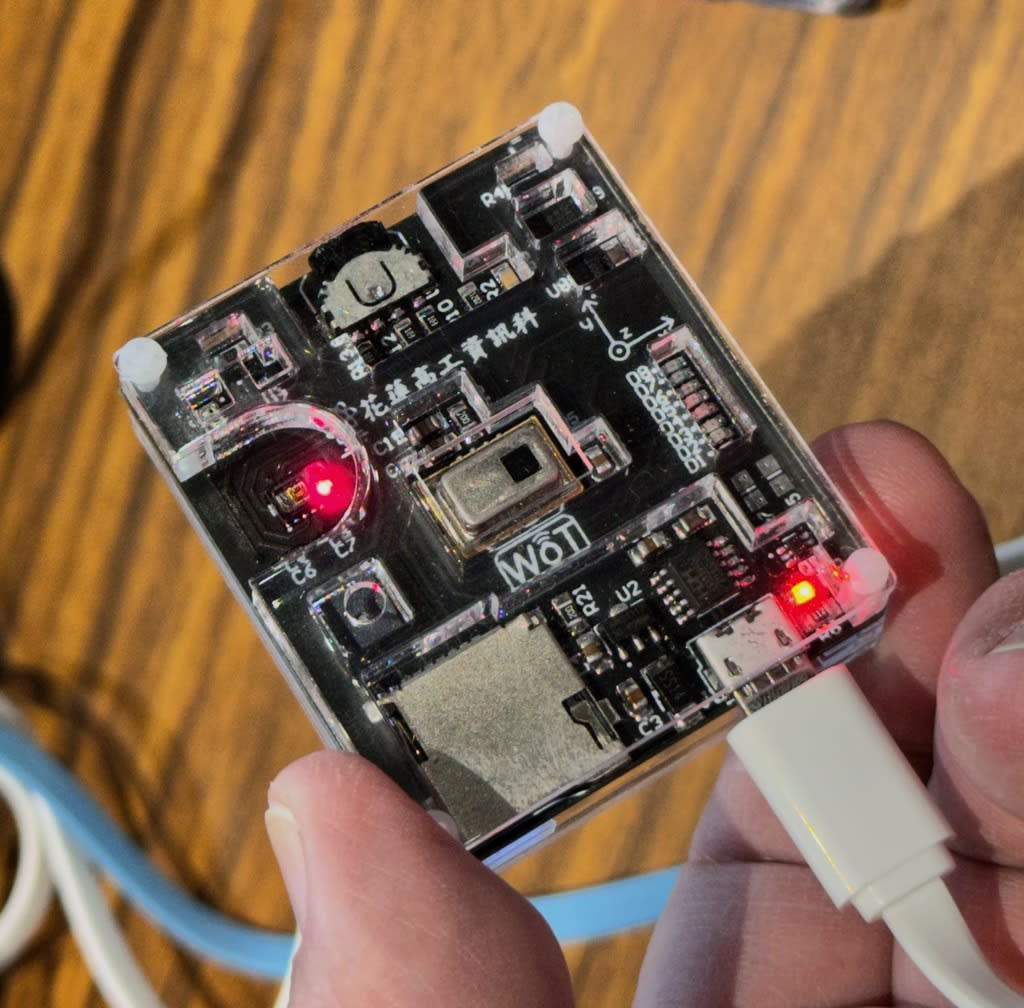
サイズ的にはM5Stackと同じくらいですが、てんこ盛りなのでいろいろできます。
てんこ盛りといえば、
隣のA2棟にミニチュア工具のテンコさんが居ました。

広島に引っ越したそうです。

これはPD対応のバッテリーです。このサイズで60W。

横にUSBAのコネクタを増設したり、
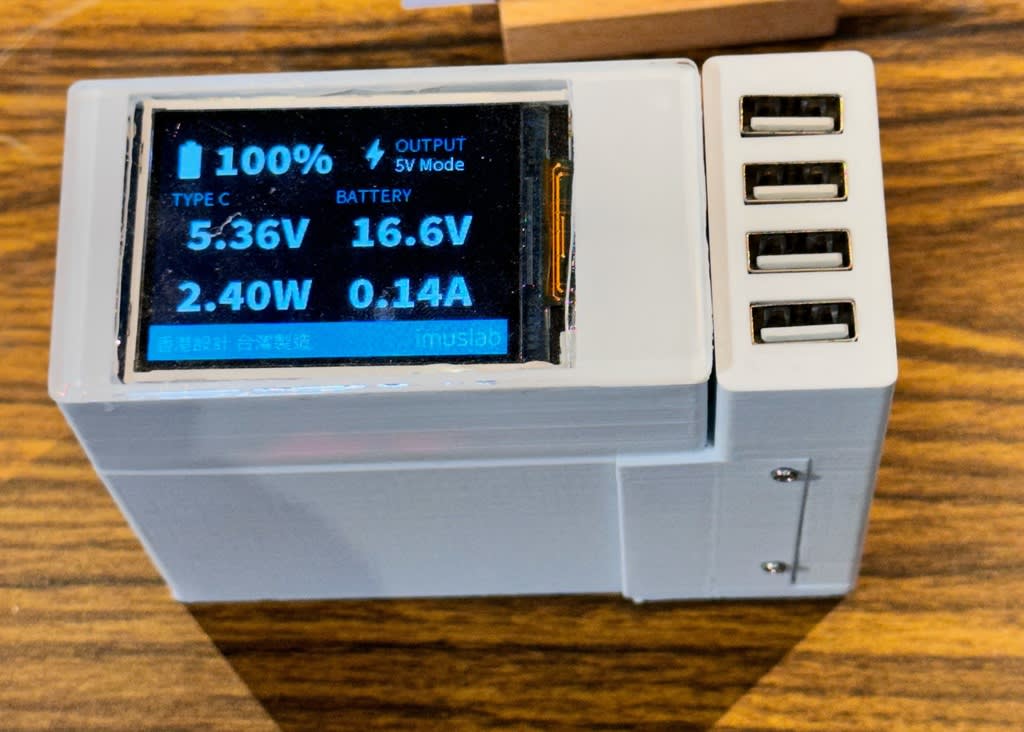
実験用の可変電圧もできます。

こっちはMicro Bitをゲーム機にしたもの。
これは教材や部品までいろいろ扱っている会社が出しているようです。

こちらはラズパイの裏側に設置できるブレッドボードです。
左上のところで電圧や周波数を簡易表示できるのがミソです。
また、透明カバーが付いているので持ち運びにも便利。

で、大型もあります。いずれも未発売のようです。
日本語の字幕付きのビデオを見せてくれました。

これは黒いけど猫型ロボットです。
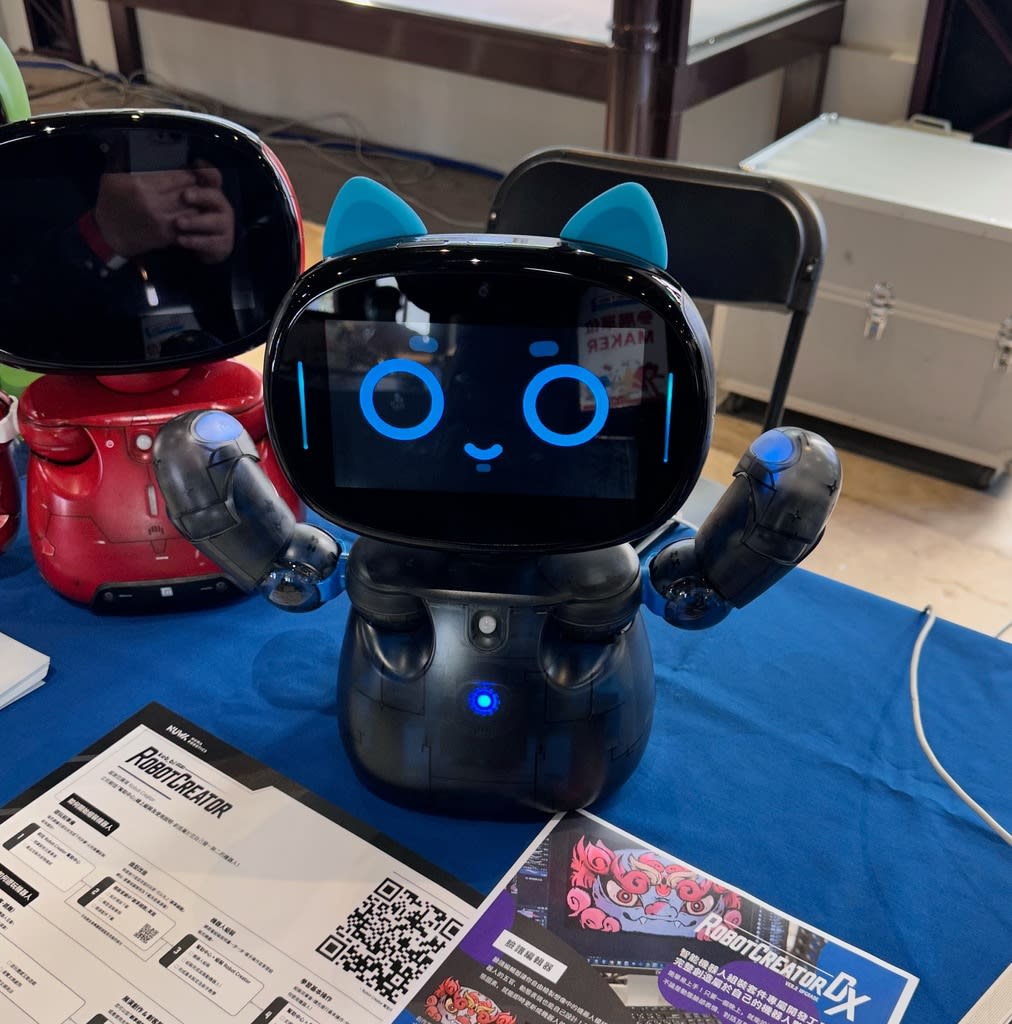
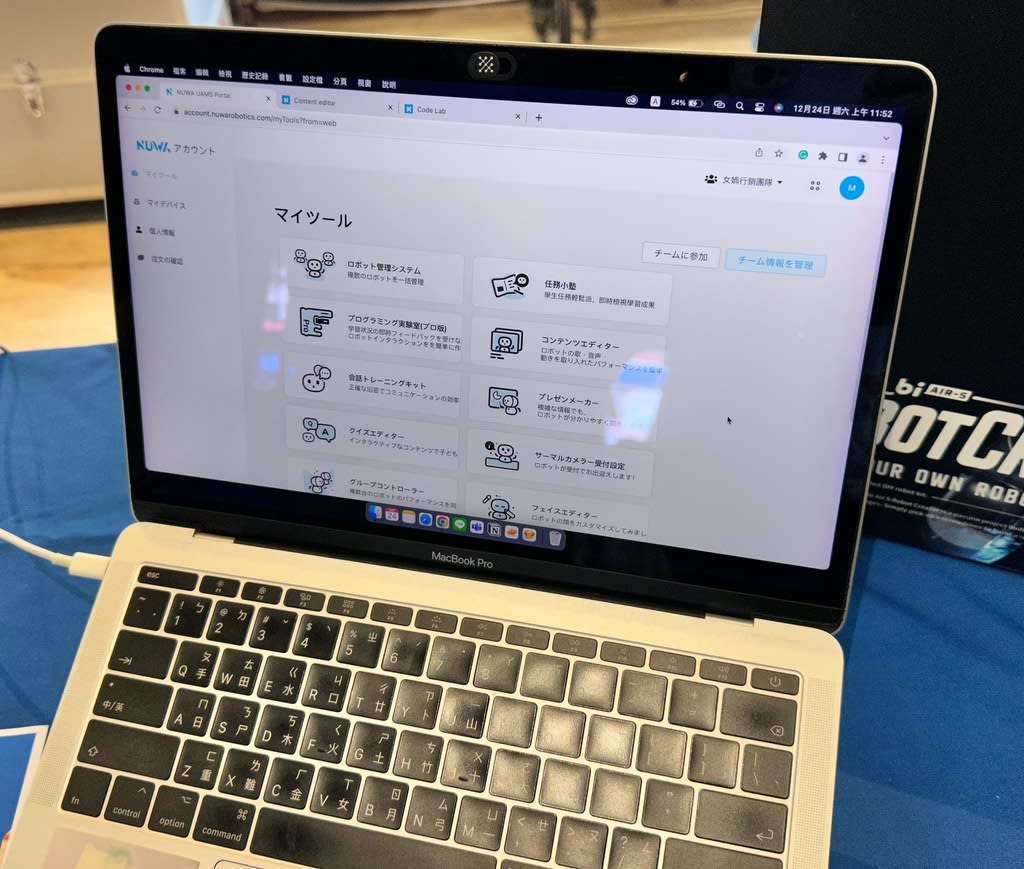
設定ツールには日本語のメニューがありました。
自作キーボードもありました。

これはMFTaipeiのFBにも紹介されていたオルゴールです。
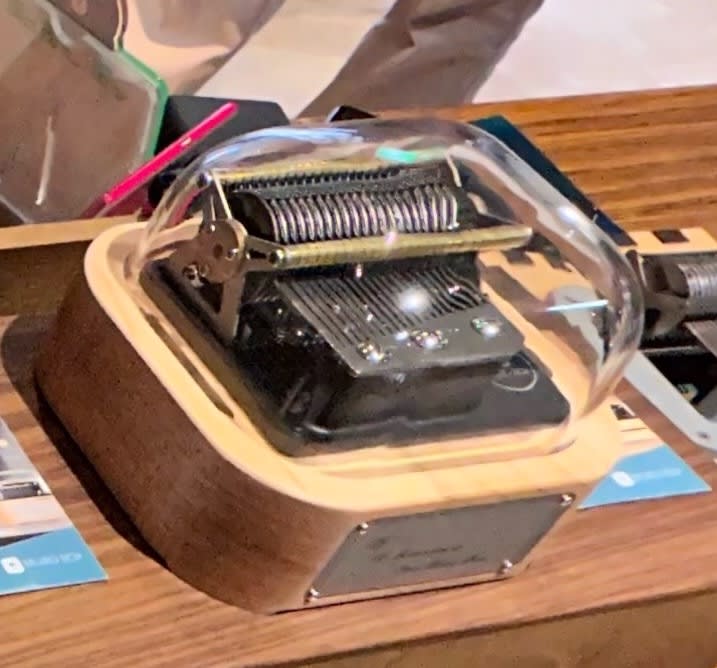
これが左側のMIDIキーボードで演奏ができるのです。
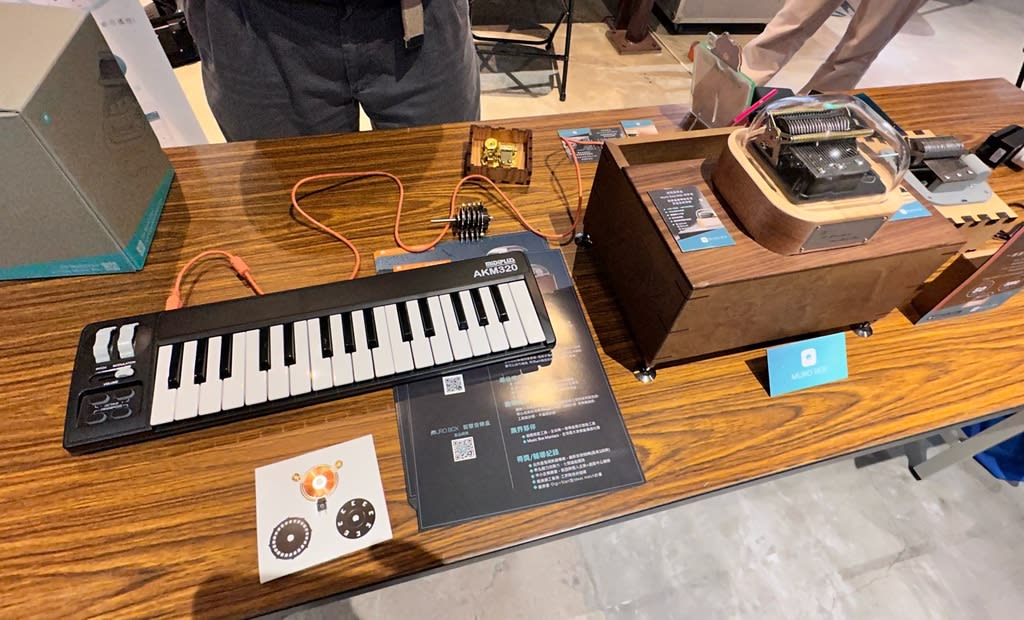
このような機構で1音階ずつ爪を動かしたり止めたりできるようです。