Today being Saturday I could have concentrated on my
onging work..., but then you can never predict things.
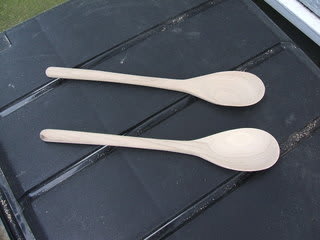
See below.

They all look alright, but they were found to be faulty,
one with a too thin bottom, almost transparent, and
the other with a small crack at its tip.
They will have to be thrown away. One thing, though,
is that the speed at which I can reproduce one of
these is minimal.
If I am really hard pressed I think I can make one
within 30 minutes. Actually, I found another of my
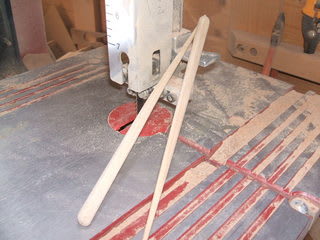
current lot to be faulty. See below.

One of the member is actually not straight, at all!
It has to be thrown away, too. All in all, however,
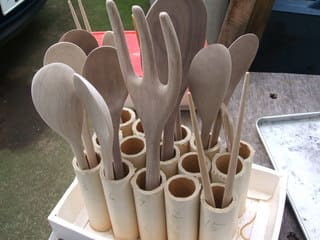
I am very nearly there, as can be seen with the next.

While working on the current lot, which is for
commercial profits my mind was constantly
drifting away towards the brush hanger.
See below the bottm plate sitting atop the cross-table.

There are a few fixing jigs that I have and the one below is
one of them.

One would natutrally hope that anything might be used
with some conjuring, but not this one! This one is meant for
fixing your work pieces against the wooden block you see
(bolted to the cross-table) to the left, laterally,
that is horizontally!

So, I had to run to the nearest DIY shop to purchase
sets of square nuts and bolts. The idea here is that
with a metal bridge and these nuts and bolts
I should be able to fix the bottom base of my brush
hanger firmly to the cross-table for my milling work.
That is, I want to make grooves.

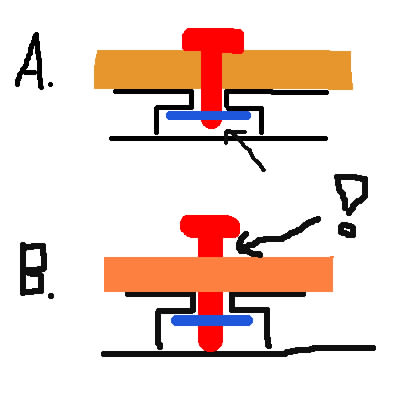
However, one has to be careful. As with the schematic B
if tightening of the bolt reaches a stage where the tip
actually touches the bottom of the gap seen here
you have a problem, particularly if there is a space
between the bolt head and the top of the work piece.
Schematic A indicates just that.
So, what is the course of your action? Yes, spacers!
You may now understand the sort of problems
I am facing day in day out, trying to tackle new
problems...
Am I getting a kick out of all this? I should
think so... (Am I?!)


onging work..., but then you can never predict things.
See below.

They all look alright, but they were found to be faulty,
one with a too thin bottom, almost transparent, and
the other with a small crack at its tip.
They will have to be thrown away. One thing, though,
is that the speed at which I can reproduce one of
these is minimal.
If I am really hard pressed I think I can make one
within 30 minutes. Actually, I found another of my
current lot to be faulty. See below.

One of the member is actually not straight, at all!
It has to be thrown away, too. All in all, however,
I am very nearly there, as can be seen with the next.

While working on the current lot, which is for
commercial profits my mind was constantly
drifting away towards the brush hanger.
See below the bottm plate sitting atop the cross-table.

There are a few fixing jigs that I have and the one below is
one of them.

One would natutrally hope that anything might be used
with some conjuring, but not this one! This one is meant for
fixing your work pieces against the wooden block you see
(bolted to the cross-table) to the left, laterally,
that is horizontally!

So, I had to run to the nearest DIY shop to purchase
sets of square nuts and bolts. The idea here is that
with a metal bridge and these nuts and bolts
I should be able to fix the bottom base of my brush
hanger firmly to the cross-table for my milling work.
That is, I want to make grooves.

However, one has to be careful. As with the schematic B
if tightening of the bolt reaches a stage where the tip
actually touches the bottom of the gap seen here
you have a problem, particularly if there is a space
between the bolt head and the top of the work piece.
Schematic A indicates just that.
So, what is the course of your action? Yes, spacers!
You may now understand the sort of problems
I am facing day in day out, trying to tackle new
problems...
Am I getting a kick out of all this? I should
think so... (Am I?!)


