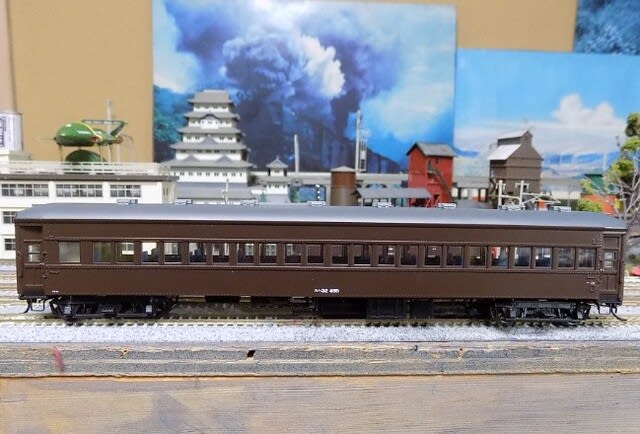
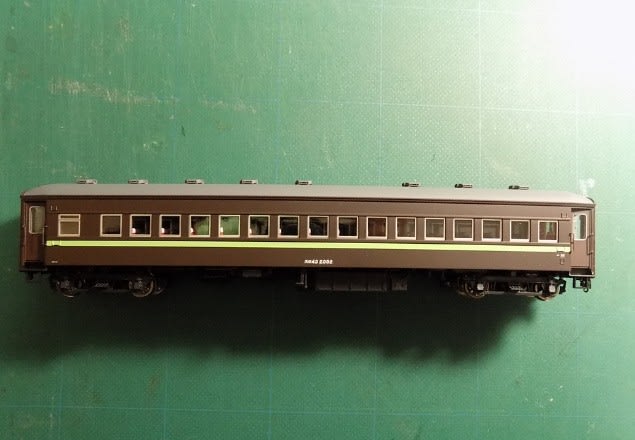
今日はこちらの2両
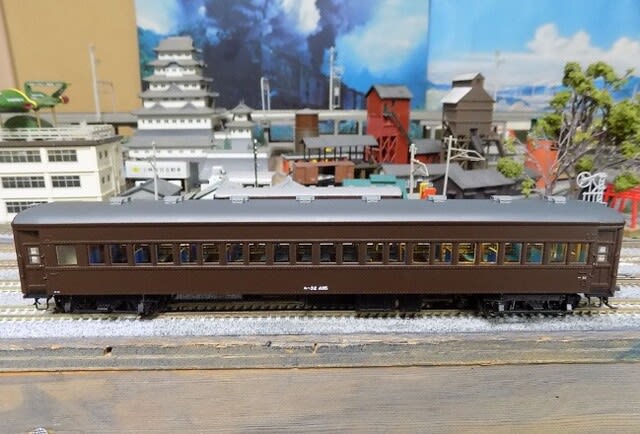
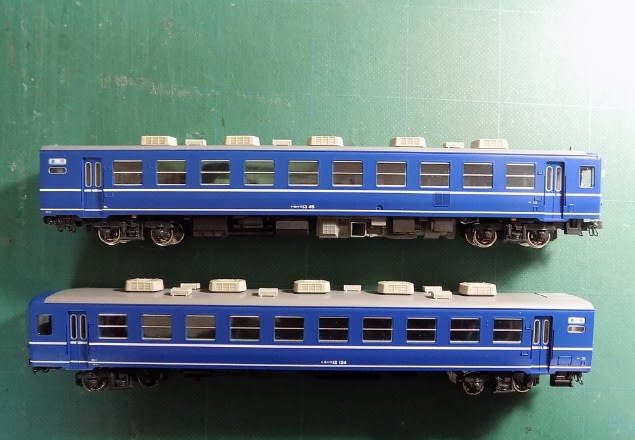
作業内容が一緒ですので同時進行で行きます。 上がスハフ12で下がオハフ13
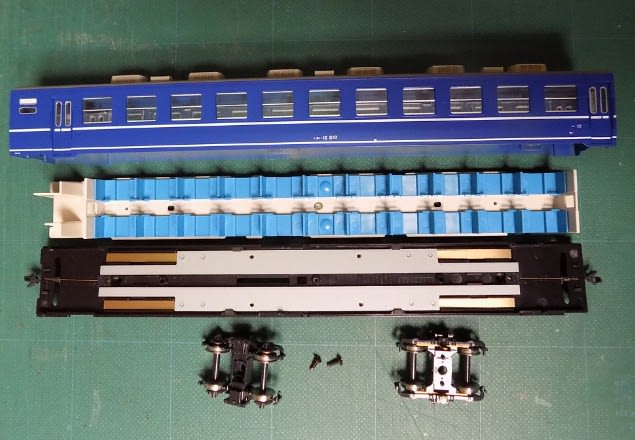
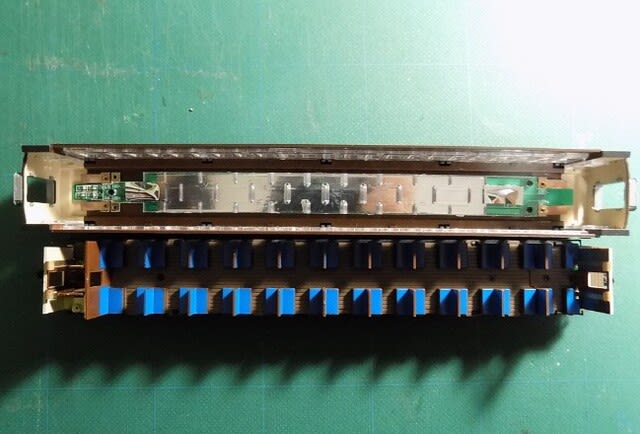
ボディを分解

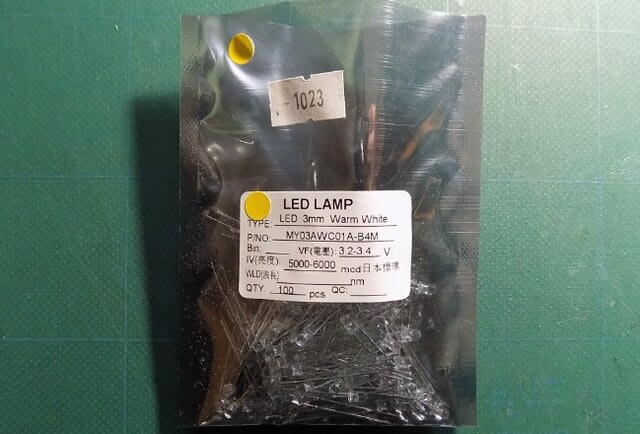
ボディ天井にあらかじめ加工してあるテープLEDの室内灯(白色)を取付。
接続方法は今までの方法と同じです。そちらを参照してください。

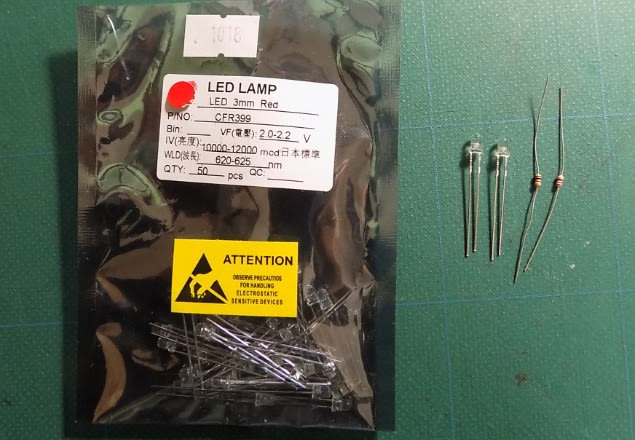
テールライトはムギ球の電球仕様です。

取り外して

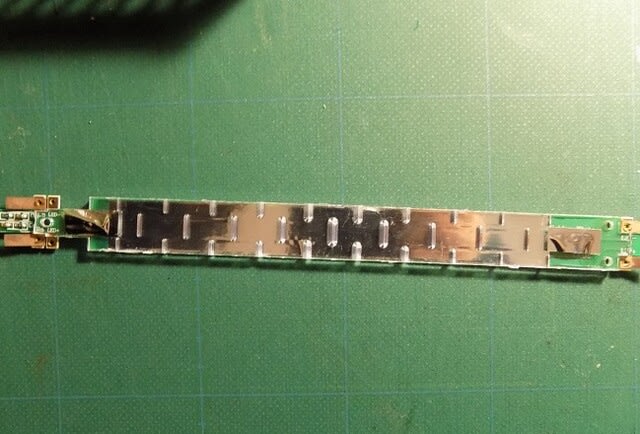
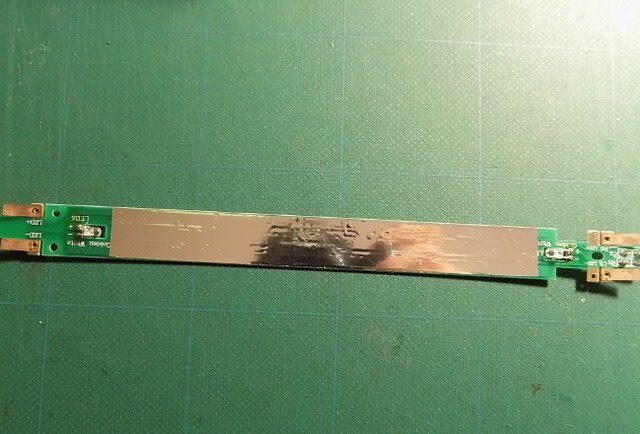
ライト基板

これらのパーツを使い
組み立てます。

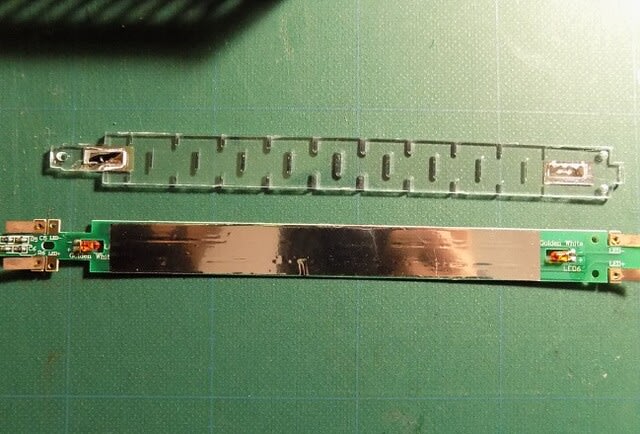
組み立てたライト基板と取付状態(右側)穴周辺を大きくする加工が必要です。

取り付けたライトユニットを裏側から

組み戻して点灯テスト・・・スハフ12の室内灯

こちらはテールライト

オハフ15の室内灯点灯

テールライトも点灯

今日まで精力的に加工してきたHOゲージの車両ですがいよいよ披露するチャンスがやってきました。
このブログをご覧の方で下記の当日ご来場できる方はお出かけください。
メンバー以外の方は見学のみですが入場無料です。
MRFC村井レールファンクラブ HO部会運転会
日程:4月17・18日(土・日)
時間:17日(土)13:00~16:00
18日(日)10:00~15:00
場所:松本市神林公民館 二階大会議室
本来非公開ですがブログを見てきた方はご来場いただけます。
時節柄、多人数になった場合は入場を制限する場合があります。
場所が分らない方はコメント欄に連絡先を書き込んでいただければこちらからお知らせします。
尚、参加するメンバーの方は17日(土)9:00頃から準備しますので適宜参集ください。
今日も御覧頂き有難う御座います。
今日はここ迄
 にほんブログ村
作業内容が一緒ですので同時進行で行きます。 上がスハフ12で下がオハフ13
ボディを分解
ボディ天井にあらかじめ加工してあるテープLEDの室内灯(白色)を取付。
接続方法は今までの方法と同じです。そちらを参照してください。
テールライトはムギ球の電球仕様です。
取り外して
ライト基板
これらのパーツを使い
組み立てます。
組み立てたライト基板と取付状態(右側)穴周辺を大きくする加工が必要です。
取り付けたライトユニットを裏側から
組み戻して点灯テスト・・・スハフ12の室内灯
こちらはテールライト
オハフ15の室内灯点灯
テールライトも点灯
今日まで精力的に加工してきたHOゲージの車両ですがいよいよ披露するチャンスがやってきました。
このブログをご覧の方で下記の当日ご来場できる方はお出かけください。
メンバー以外の方は見学のみですが入場無料です。
MRFC村井レールファンクラブ HO部会運転会
日程:4月17・18日(土・日)
時間:17日(土)13:00~16:00
18日(日)10:00~15:00
場所:松本市神林公民館 二階大会議室
本来非公開ですがブログを見てきた方はご来場いただけます。
時節柄、多人数になった場合は入場を制限する場合があります。
場所が分らない方はコメント欄に連絡先を書き込んでいただければこちらからお知らせします。
尚、参加するメンバーの方は17日(土)9:00頃から準備しますので適宜参集ください。
今日も御覧頂き有難う御座います。
今日はここ迄