


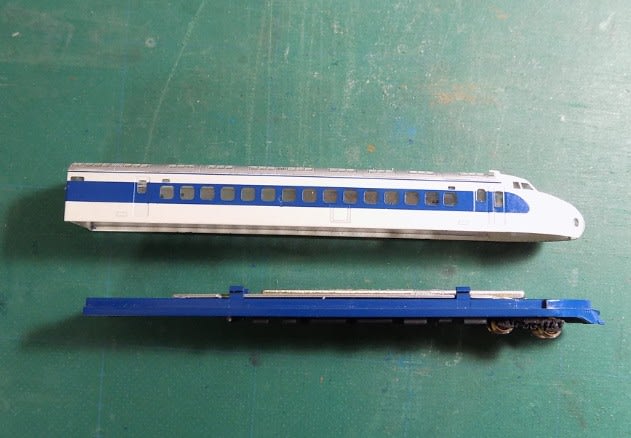
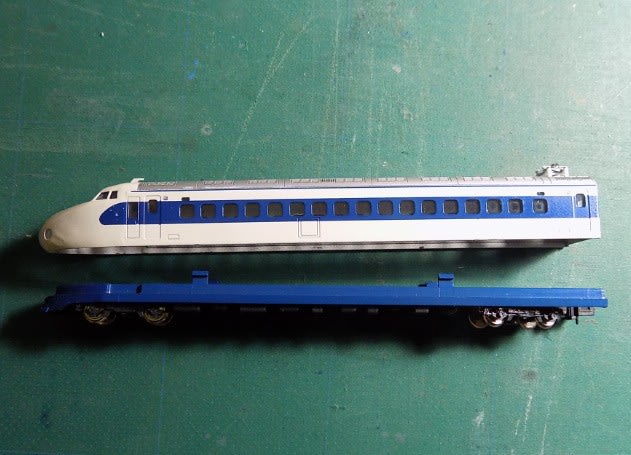
エンドウの0系新幹線の先頭車両です。
分解して
窓パーツと一体のライトレンズをカットして

KATO製品から取り外したライトのプリズムを入れてみました。
一筋縄ではいかず削って勘合を見ての繰り返しでようやくIN!

これが取り付けられると言う事は~ライトの点灯化が出来ると言う事で・・・。

先に仕入れて有ったこれ!を使います。

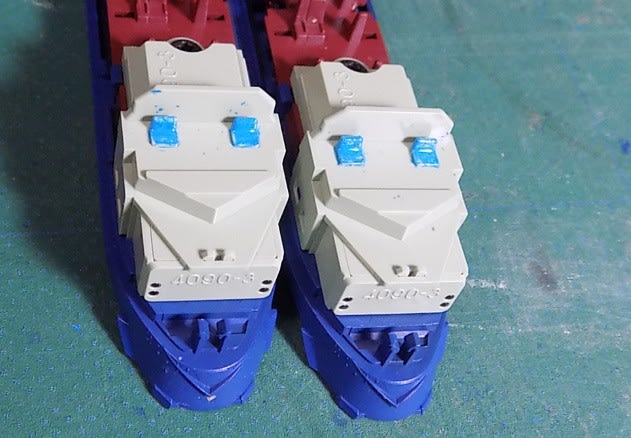
正統のKATO製と同様に運転席を塗りました。 そうだった運転士の手配を忘れた。まっ、良いか!
ライトレンズはゴム系でポン付けして、床板を挿入
台車は以前取付のKATO製台車を取り外して使用
線路上で点灯テスト・・・ヘッドライト

テールライト・・・どちらも2灯の表現が生きています。

そういえば、運転席は? 一応見えますがやはり無人運転です。

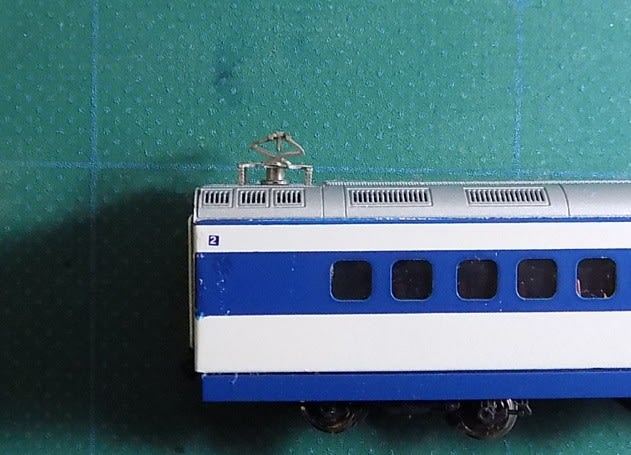
今度は中間車両・・・この車両のパンタグラフは非可動形ですので交換することにします。

パンタグラフ部を拡大で
引き抜いて

こちらのパンタグラフに・・・。

ピッチが違うので1.2mmで穴を開けなおし

交換しました

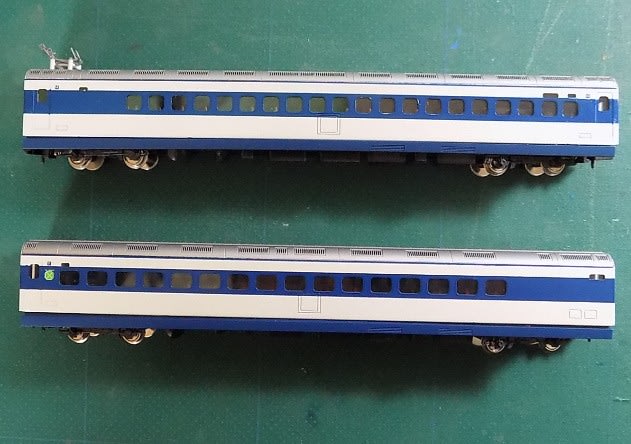
続いて、床下を調達・・・3両分ありますが1個は別の物への使用が決まっています。

この2両分の床下を

オリジナルのエンドウ製から

KATO製に換装しました。
交換後・・・台車はエンドウ製に履かせて有ったKATO製を再利用しました。
そしてこちらは反対側先頭車の1両(16号車)

分解
床の付け替え・・・他車と同様にエンドウ製から外した台車を利用しました。(過去にKATO製に換装の物)

ライトレンズをゴム系で取付

完成・・・ボディの固定は両面テープ使用です。
テールライト点灯

ヘッドライト点灯・・・新幹線車両は一部の例外を除き室内灯は非装備です。

今回の作業によりボディ以外は全てKATO製になりましたが違和感は有りません。
1両のみ追加で番外編・・・GAKKENの26形の床下を交換
実は型番を間違えててしまったので25形の物ですが、いつか正しい物と交換する予定で・・・それがこちら。

一応交換完了 台車はエンドウ製同様過去に入れ替えたものを再びKATOの床下へ取付
ガラスパーツが厚く床下パーツに干渉する為多少加工して有ります。 写真下側はGAKKNの床下

組立完了・・・床下がKATO製に統一されたのでKATOとも、エンドウとも違和感無く連結可能です。

学研の車両は先頭車が2両在籍ですが交換により捻出した床下を使って加工する予定です。
だが、しかし、予定は未定です。
今日も御覧頂き有難う御座います。
今日はここ迄
 にほんブログ村

分解して
窓パーツと一体のライトレンズをカットして
KATO製品から取り外したライトのプリズムを入れてみました。
一筋縄ではいかず削って勘合を見ての繰り返しでようやくIN!
これが取り付けられると言う事は~ライトの点灯化が出来ると言う事で・・・。
先に仕入れて有ったこれ!を使います。
正統のKATO製と同様に運転席を塗りました。 そうだった運転士の手配を忘れた。まっ、良いか!
ライトレンズはゴム系でポン付けして、床板を挿入
台車は以前取付のKATO製台車を取り外して使用
線路上で点灯テスト・・・ヘッドライト
テールライト・・・どちらも2灯の表現が生きています。
そういえば、運転席は? 一応見えますがやはり無人運転です。
今度は中間車両・・・この車両のパンタグラフは非可動形ですので交換することにします。
パンタグラフ部を拡大で
引き抜いて
こちらのパンタグラフに・・・。
ピッチが違うので1.2mmで穴を開けなおし
交換しました
続いて、床下を調達・・・3両分ありますが1個は別の物への使用が決まっています。
この2両分の床下を
オリジナルのエンドウ製から
KATO製に換装しました。
交換後・・・台車はエンドウ製に履かせて有ったKATO製を再利用しました。
そしてこちらは反対側先頭車の1両(16号車)
分解
床の付け替え・・・他車と同様にエンドウ製から外した台車を利用しました。(過去にKATO製に換装の物)
ライトレンズをゴム系で取付
完成・・・ボディの固定は両面テープ使用です。
テールライト点灯
ヘッドライト点灯・・・新幹線車両は一部の例外を除き室内灯は非装備です。
今回の作業によりボディ以外は全てKATO製になりましたが違和感は有りません。
1両のみ追加で番外編・・・GAKKENの26形の床下を交換
実は型番を間違えててしまったので25形の物ですが、いつか正しい物と交換する予定で・・・それがこちら。
一応交換完了 台車はエンドウ製同様過去に入れ替えたものを再びKATOの床下へ取付
ガラスパーツが厚く床下パーツに干渉する為多少加工して有ります。 写真下側はGAKKNの床下
組立完了・・・床下がKATO製に統一されたのでKATOとも、エンドウとも違和感無く連結可能です。
学研の車両は先頭車が2両在籍ですが交換により捻出した床下を使って加工する予定です。
だが、しかし、予定は未定です。
今日も御覧頂き有難う御座います。
今日はここ迄