


Glary Utilities を起動すると、以下のポップアップがでてきました。

「ダウンロード」をクリック。
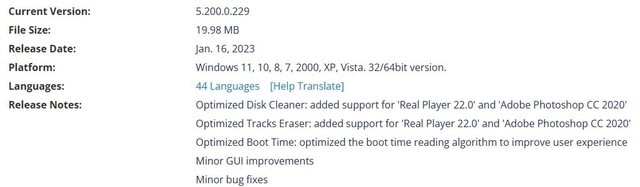
リリースノートです。いつも通り、ディスククリーナーの最適化、バグ修正とあります。
以下の画面の「Download Now」をクリックし、セットアップファイルをダウンロードします。

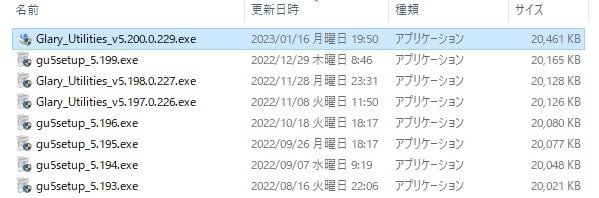
以下、最近の更新履歴です。
続いて、セットアップファイルを実行。

1分ほどでアップデート完了。

「ダウンロード」をクリック。
リリースノートです。いつも通り、ディスククリーナーの最適化、バグ修正とあります。
以下の画面の「Download Now」をクリックし、セットアップファイルをダウンロードします。
以下、最近の更新履歴です。
続いて、セットアップファイルを実行。
1分ほどでアップデート完了。


※コメント投稿者のブログIDはブログ作成者のみに通知されます