


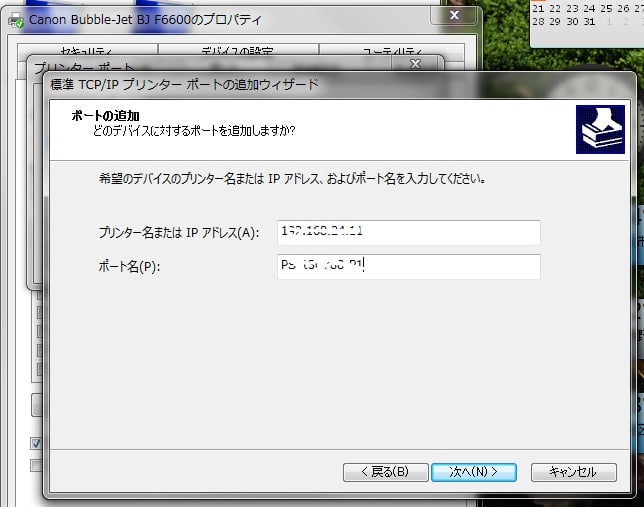
ここで次へをクリックすると、「追加のポート情報が必要です」というページになります。
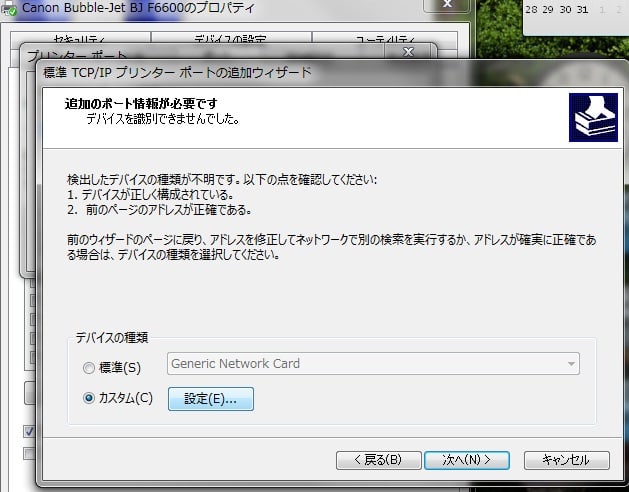
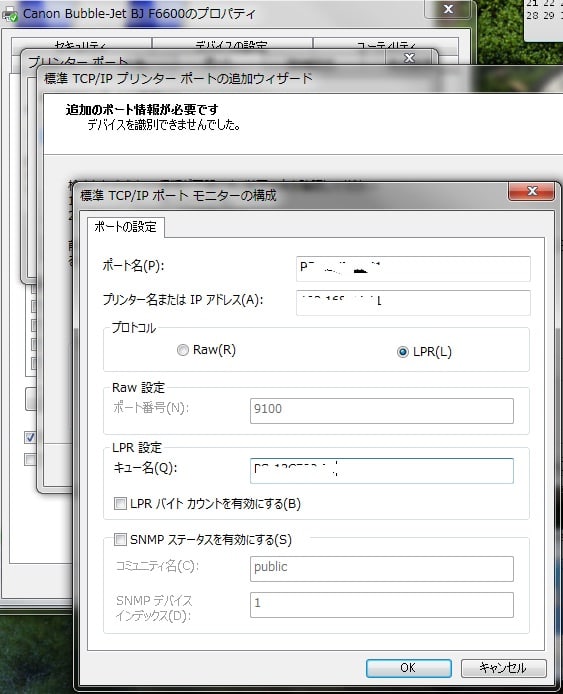
ここでは「カスタム」「設定」をクリックします。すると以下のような画面になりますので、ポート名、IPアドレスは上記と同じ値をインプットします。
プロトコルは「LPR」、キュー名には「ポート名」を入力し、OKをクリックします。
すると元のプリンターのプロパティ画面に戻ります。ここで「適用」をクリックし、新たなポート「PS-13... Canon Bubble-Jet BjF6600」が表示されていれば成功です。
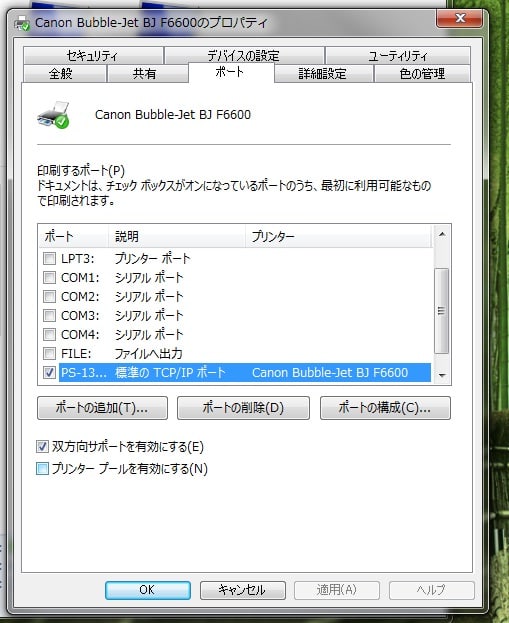
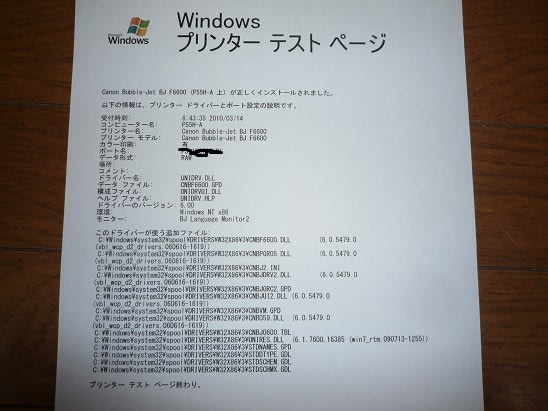
最後に「全般」タブをクリックし、「テストページの印刷」を実行します。
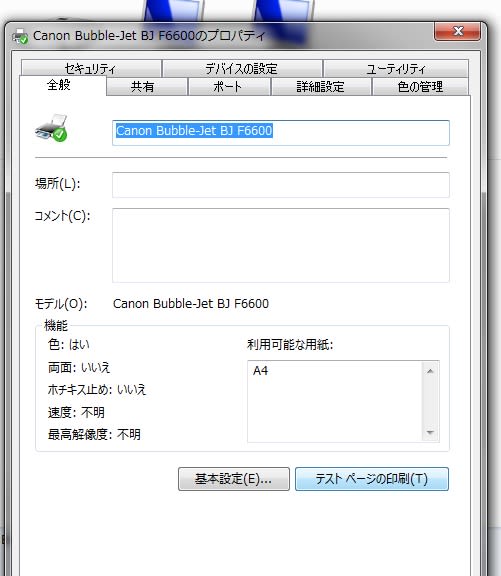
結果、以下のようにテスト印刷ができました。これでセットアップが完了しました。


※コメント投稿者のブログIDはブログ作成者のみに通知されます