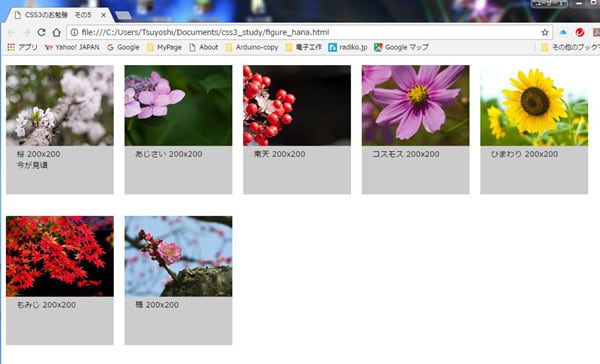
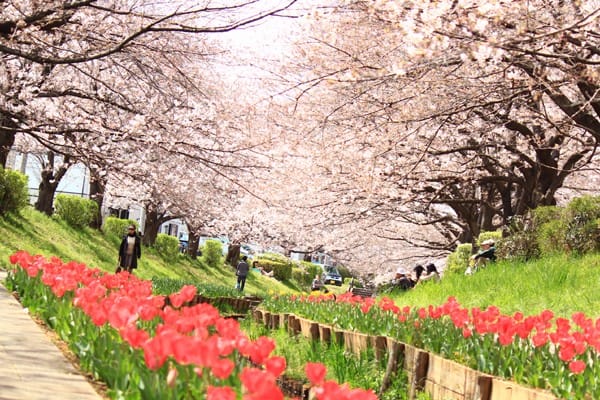
| CSS3のお勉強 その5 ー figure,figcaption ー ホームページやブログに複数の写真を載せる時にまずサムネイル画像を並べて表示するのに今までは<table>タグや<float>タグを使って結構手間が掛かる作業となっていた。最近はHTML5の仕様で<figure>タグが使えるようになり、この作業が格段と楽になった。 下記の赤ラインから赤ラインの間が作成したHTMLファイルで、スタイル部分は<head></head>内に組み込んでいます。 |
<!DOCTYPE html>
<html>
<html lang="ja">

<head>

  <title>CSS3のお勉強 その5</title>
  <style type="text/css">
    figure {
      height: 240px;
      float: left;
      /* 左に寄せて後続を右に回り込ませる */
      margin: 10px 20px 30px 0px;
      /* 外側に余白を加える(右に10px・下に30px) */
      background-color: #ccc;
      /* 背景色 */
    }

    figure img {
      display: block;
      /* 余計な余白が出ないようにする */
      margin: 0px 0px 3px 0px;
      /* 下側にだけ3pxの余白を追加 */
    }

    figcaption {
      font-size: 0.9em;
      /* 文字サイズを90%に */
      /*text-align: center;       中身をセンタリング */
      margin: 5px 20px;
      /* 説明文の余白を上に5px、左に20px空ける */
    }

    div.imagearea:after {
      /* 回り込みの解除 */
      content: "";
      /* after疑似要素にClearfixを加えることで、回り込みを解除している */
      clear: both;
      display: block;
    }
  </style>
</head>

<body>
  <div class="imagearea">
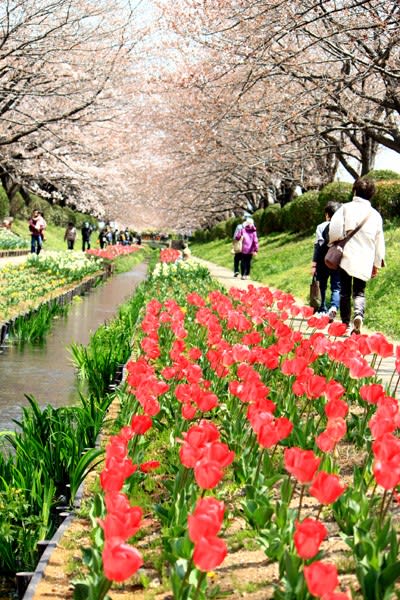
    <figure><img src="hana/Resized/sakura.jpg" alt="桜の写真">
      <figcaption>桜 200x200
        <br>今が見頃</figcaption>
    </figure>
    <figure><img src="hana/Resized/ajisai.jpg" alt="あじさいの写真">
      <figcaption>あじさい 200x200</figcaption>
    </figure>
    <figure><img src="hana/Resized/nanten.jpg" alt="南天の写真">
      <figcaption>南天 200x200</figcaption>
    </figure>
    <figure><img src="hana/Resized/cosmos200x200.jpg" alt="コスモスの写真">
      <figcaption>コスモス 200x200</figcaption>
    </figure>
    <figure><img src="hana/Resized/himawari200x200.jpg" alt="ひまわりの写真">
      <figcaption>ひまわり 200x200</figcaption>
    </figure>
    <figure><img src="hana/Resized/momiji200x200.jpg" alt="もみじの写真">
      <figcaption>もみじ 200x200</figcaption>
    </figure>
    <figure><img src="hana/Resized/ume200x200.jpg" alt="梅の写真">
      <figcaption>梅 200x200</figcaption>
    </figure>
  </div>

</body>

</html>
*Webでの表示*
