


こんなの作ります。

●手順1:jqtwitterのダウンロード
http://code.google.com/p/jqtwitter/
にいったら、
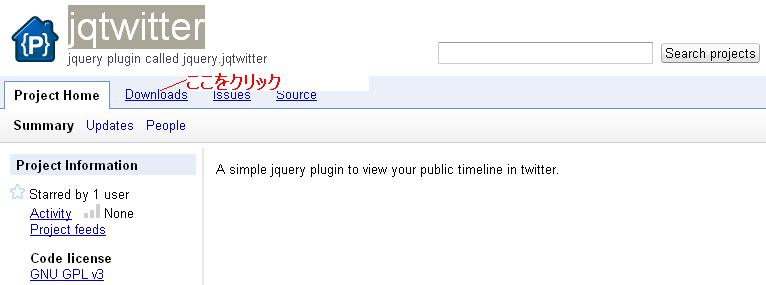
「Download」をクリック
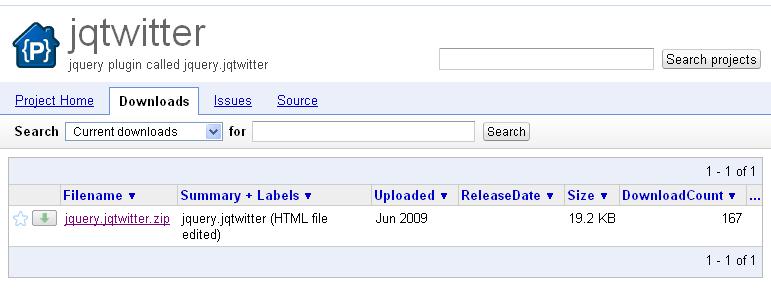
ZIPファイルをダウンロード
●手順2:解凍して、サンプルchama_jqtwitter.htmlを起動する
こんなのがでてくるはず。

これだと、見る人を変えられない
●手順3:ソース修正
そこで、見る人を変えられるようにする。
chama_jqtwitter.htmlのソースを、以下のように変更する
(赤字が変更箇所。< > #は、本当は半角)
これを、適当なファイル名にして、開くと、上のサンプルのようになる。
IDを変えて、検索ボタンをクリックすれば、その人のものが見れる。
おまけ:ここから見つけてきました。
10 of the Best Twitter Plugins
http://www.jquery4u.com/plugins/10-twitter-plugins/
●手順1:jqtwitterのダウンロード
http://code.google.com/p/jqtwitter/
にいったら、
「Download」をクリック
ZIPファイルをダウンロード
●手順2:解凍して、サンプルchama_jqtwitter.htmlを起動する
こんなのがでてくるはず。
これだと、見る人を変えられない
●手順3:ソース修正
そこで、見る人を変えられるようにする。
chama_jqtwitter.htmlのソースを、以下のように変更する
<html>
	<head>
		<script type="text/javascript" src="jquery.js"></script>
		<script type="text/javascript" src="jquery.jqtwitter.js"></script>
		<script type="text/javascript">

			function twitter()	{
				$("#tweets").empty();
				$("#tweets").html("<div align='center'><img src='ajax-loader.gif'

/><br />Carregando...</div>");
				$("#tweets").empty();
				$('#tweets').jqtwitter($("#twitterid").val());
				setTimeout(twitter, 60000);
			}

			$(document).ready(function()	{
				$("#twitterid").val("xmldtp");
				twitter();

				$("#button1").click(function()	{
					twitter();
				});
			});
		</script>
		<style type='text/css'>
			*	{
				font-size: 12px;
			}

			#container	{
				width: 210px;
				height: auto;
				background-color: #CCCCCC;
				border: 1px solid black;
			}

			#container .header	{
				background-color: #F2F2F2;
				width: 200px;
				line-height: 50px;
				border: 1px solid black;
				padding: 1px 1px 1px 1px;
				margin-left: 2px;
			}

			#container .footer	{
				background-color: #F2F2F2;
				border: 1px solid black;
				width: 200px;
				margin-left: 2px;
			}

			#container .footer a	{
				font-size: 10px;
				color: #000000;
				text-decoration: none;
			}

			#container .footer a:link	{
				font-size: 10px;
				color: #000000;
				text-decoration: none;
			}

			#container .footer a:active	{
				font-size: 10px;
				color: #000000;
				text-decoration: none;
			}

			#container .footer a:visited	{
				font-size: 10px;
				color: #000000;
				text-decoration: none;
			}

			#container .footer a:hover	{
				font-size: 10px;
				color: #000000;
				text-decoration: none;
			}

			#tweets	{
				width: 200px;
				height: auto;
				border: 1px solid black;
				background-color: #F2F2F2;
				padding: 2px 2px 2px 2px;
				margin-left: 2px;
			}

			#tweets	a	{
				color: #0000FF;
				text-decoration: none;
			}

			#tweets	a:link	{
				color: #0000FF;
				text-decoration: none;
			}

			#tweets	a:visited	{
				color: #0000FF;
				text-decoration: none;
			}

			#tweets	a:active	{
				color: #0000FF;
				text-decoration: none;
			}

			#tweets	a:hover	{
				color: #0000FF;
				text-decoration: none;
			}

			#tweets .created_at	{
				color: #FF0000;
				font-size: 9px;
			}

			#tweets .created_at	a	{
				color: #FF0000;
				font-size: 9px;
				text-decoration: none;
			}

			#tweets .created_at	a:link	{
				color: #FF0000;
				font-size: 9px;
				text-decoration: none;
			}

			#tweets .created_at	a:visited	{
				color: #FF0000;
				font-size: 9px;
				text-decoration: none;
			}

			#tweets .created_at	a:active	{
				color: #FF0000;
				font-size: 9px;
				text-decoration: none;
			}

			#tweets .created_at	a:hover	{
				color: #FF0000;
				font-size: 9px;
				text-decoration: none;
			}
		</style>
	</head>

	<body>
ID:<input type=text id="twitterid"/><button id="button1">検索</button><BR/>
		<div id="container">
			<br />
			<div align='center' class='header'>
				<table border='0' cellpadding='0' cellspacing='0' width='100%'>
					<tr>
						<td align='center'><div id="uname"></div></td>
						<td><img id="profile" /></td>
					</tr>
				</table>
			</div>
			<br />
			<div id="tweets"></div>
			<br />
			<div align='center' class='footer'>
				<table border='0' cellpadding='0' cellspacing='0' width='100%'>
					<tr>
						<td align='center'><div id="ulink"></div></td>
					</tr>
				</table>
			</div>
			<br />
		</div>
	</body>
</html>
|
(赤字が変更箇所。< > #は、本当は半角)
これを、適当なファイル名にして、開くと、上のサンプルのようになる。
IDを変えて、検索ボタンをクリックすれば、その人のものが見れる。
おまけ:ここから見つけてきました。
10 of the Best Twitter Plugins
http://www.jquery4u.com/plugins/10-twitter-plugins/


