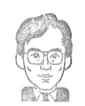
夏の熱い日差しを避ける為にも、サンルームPJの完成を急がねば。今日は昨日作りかけた窓枠を完成させ、2枚引き違い戸の上部の三角窓を中空ポリカーボネート板で塞ぐ所までの作業予定。
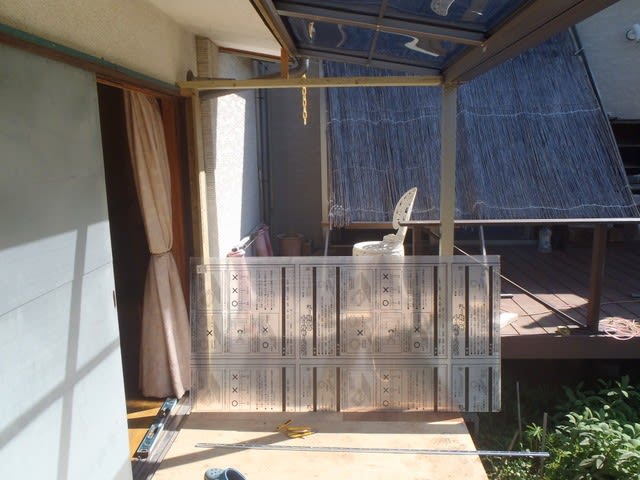
南側の窓枠の上桟を固定する為の2X4金具をテラス屋根支柱に取付ける。

窓枠の上桟、横桟とも戸袋と干渉する部分を切り欠き、所定寸法に加工する。

横桟はモルタル塗りの戸袋に取り付けるので、モルタルに穴をあけ、コンクリプラグをねじ込んでおく。

横桟裏にシリコンシールを塗り、横桟をネジ固定する。

上桟はさらに、三角窓の4mm中空ポリカ板を嵌める為に巾5mm、深さ15mmの溝をトリマーで加工してから組立。

さてここからが面倒なポリカ板の合わせ加工。
一枚目の三角窓、組立可能なこと確認してから、一度取り外し端面保護テープを貼る。

2枚目の三角窓も同様にチェックしてから、組立る。
南側が終わったら、昨日組み立ててあった北側三角窓にもポリカ板を入れていく。

北側三角窓も組立て、ポリカ板と上桟や縦桟との間にシリコンシールを塗り、今日の予定作業を日暮れ前に完了することができた。